Starting plants from seeds is something that always challenges many gardeners. We have a method of growing healthy plants with almost zero issues. As long as the seeds are good we have great results! We will show you from start to finish how we start seeds and how the plants are raised until they are ready to be transplanted. As always we took lots of pictures to show you exactly IN DETAIL how we do it!
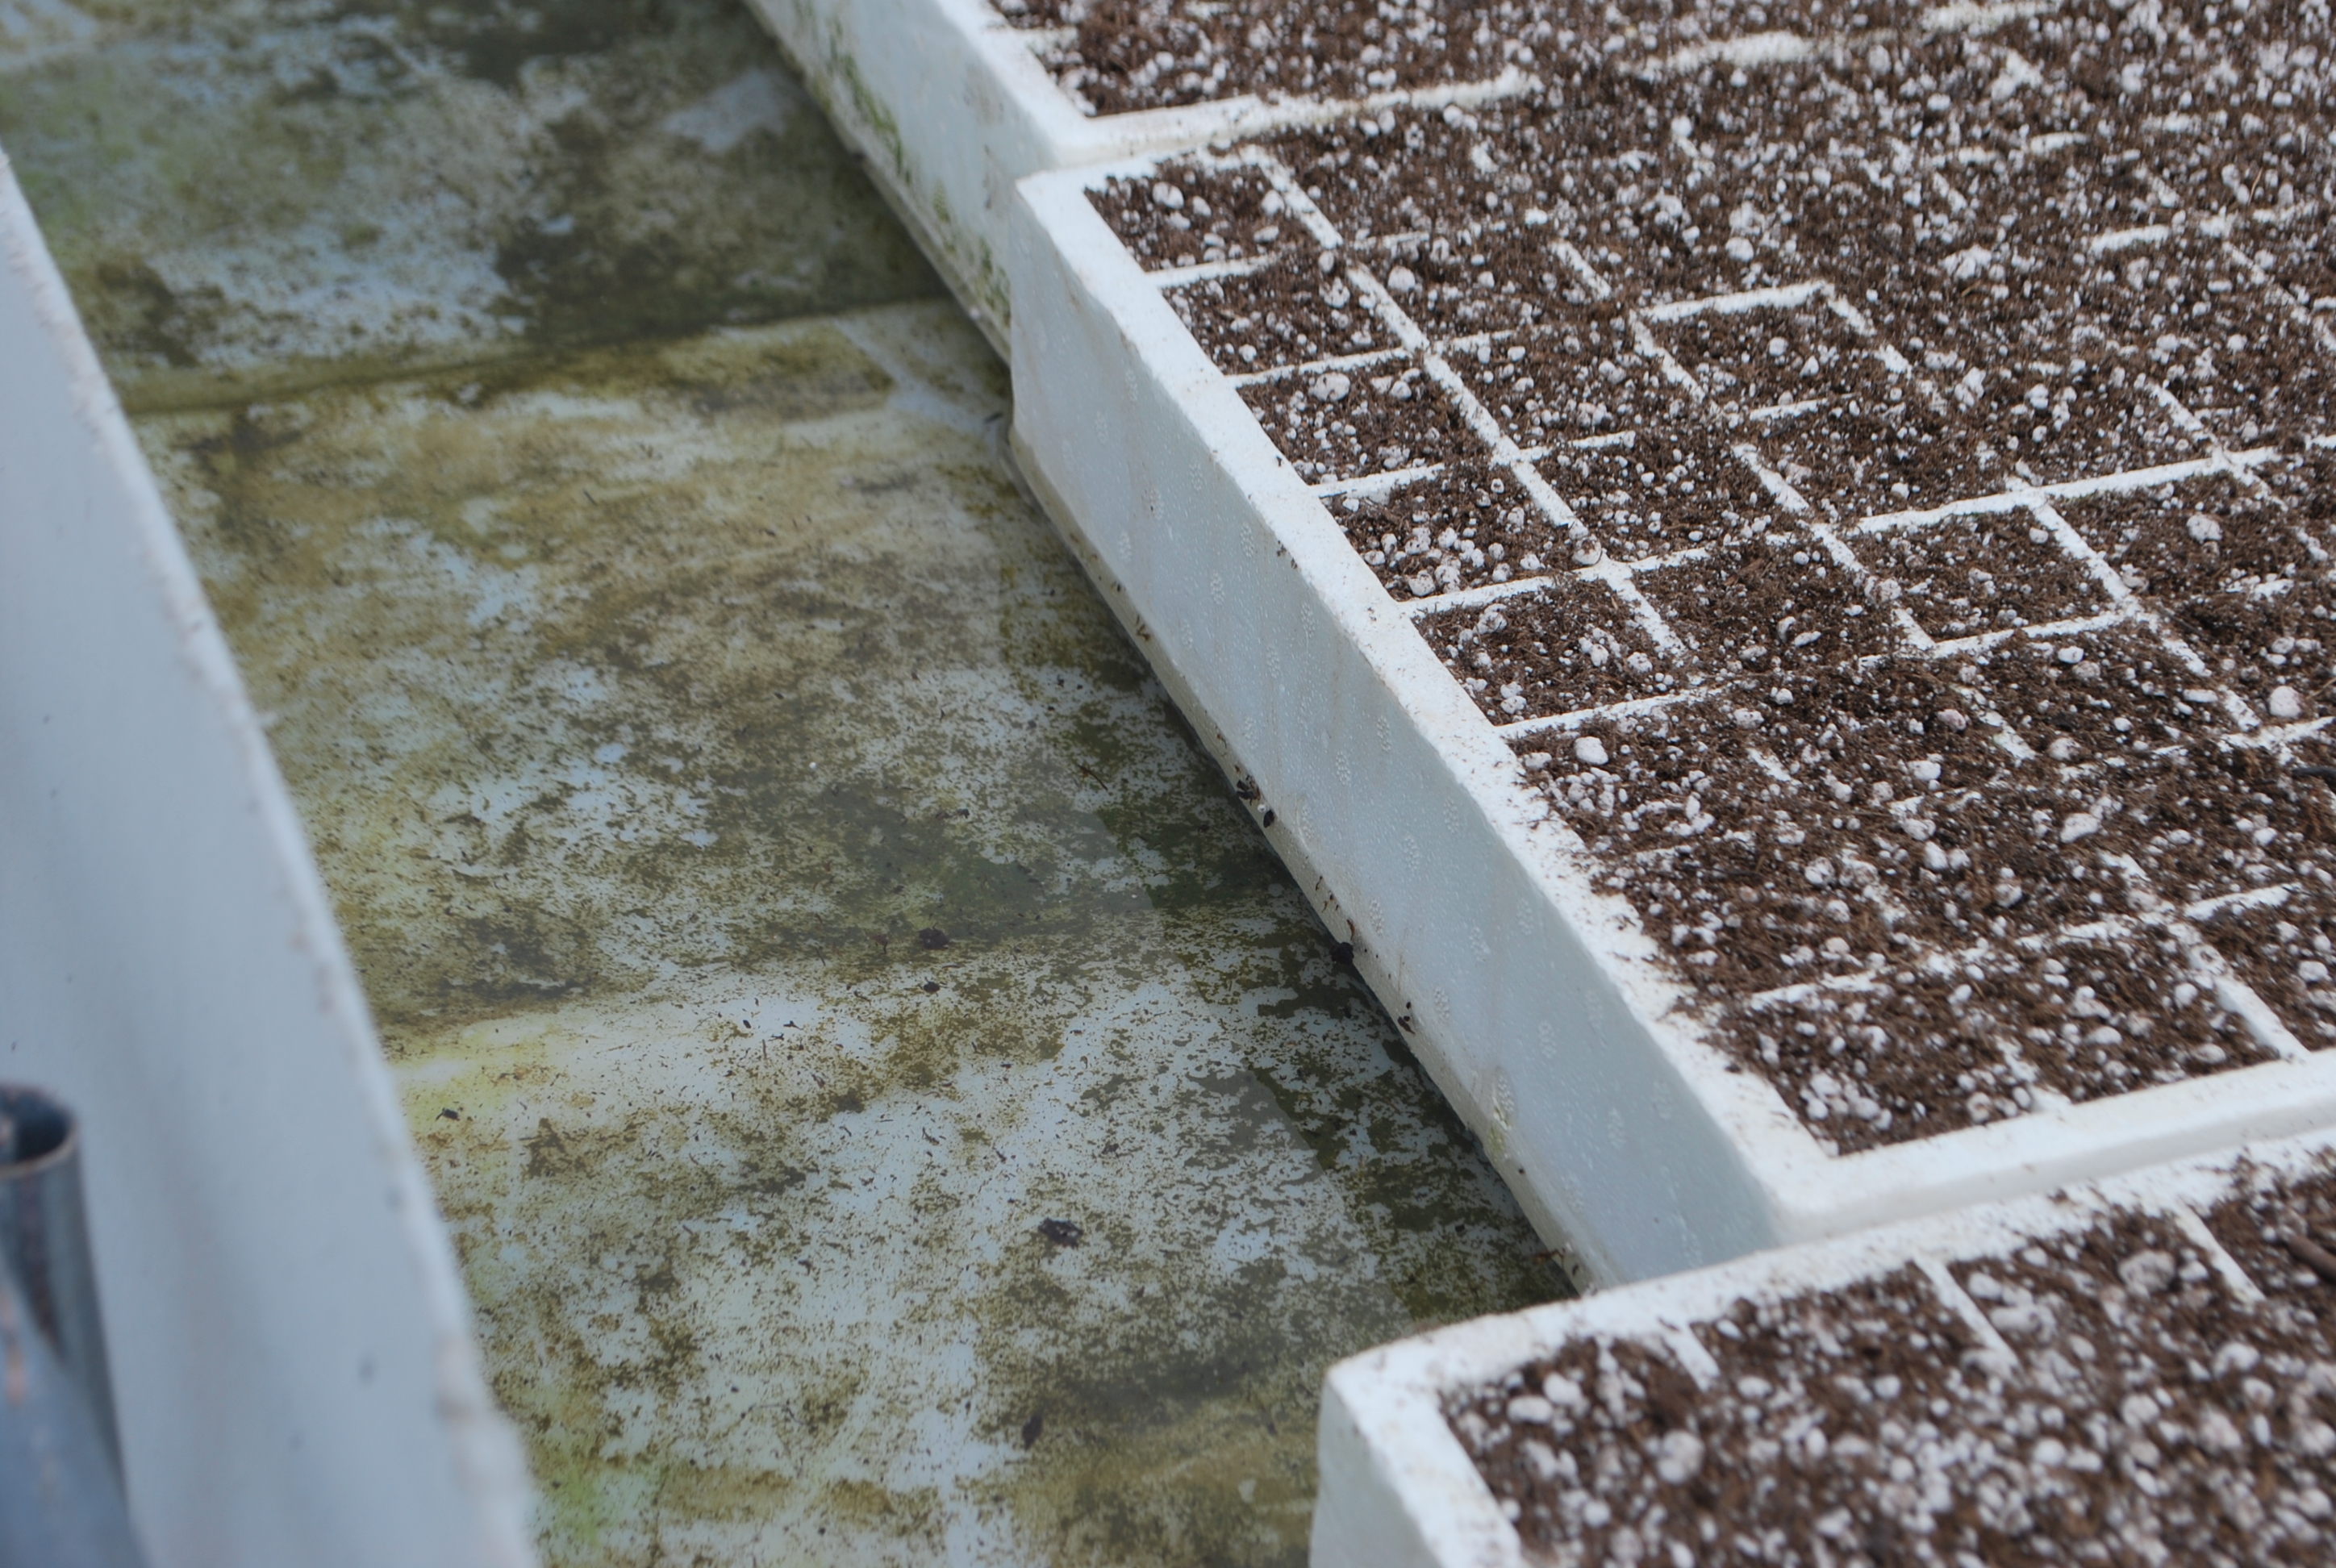
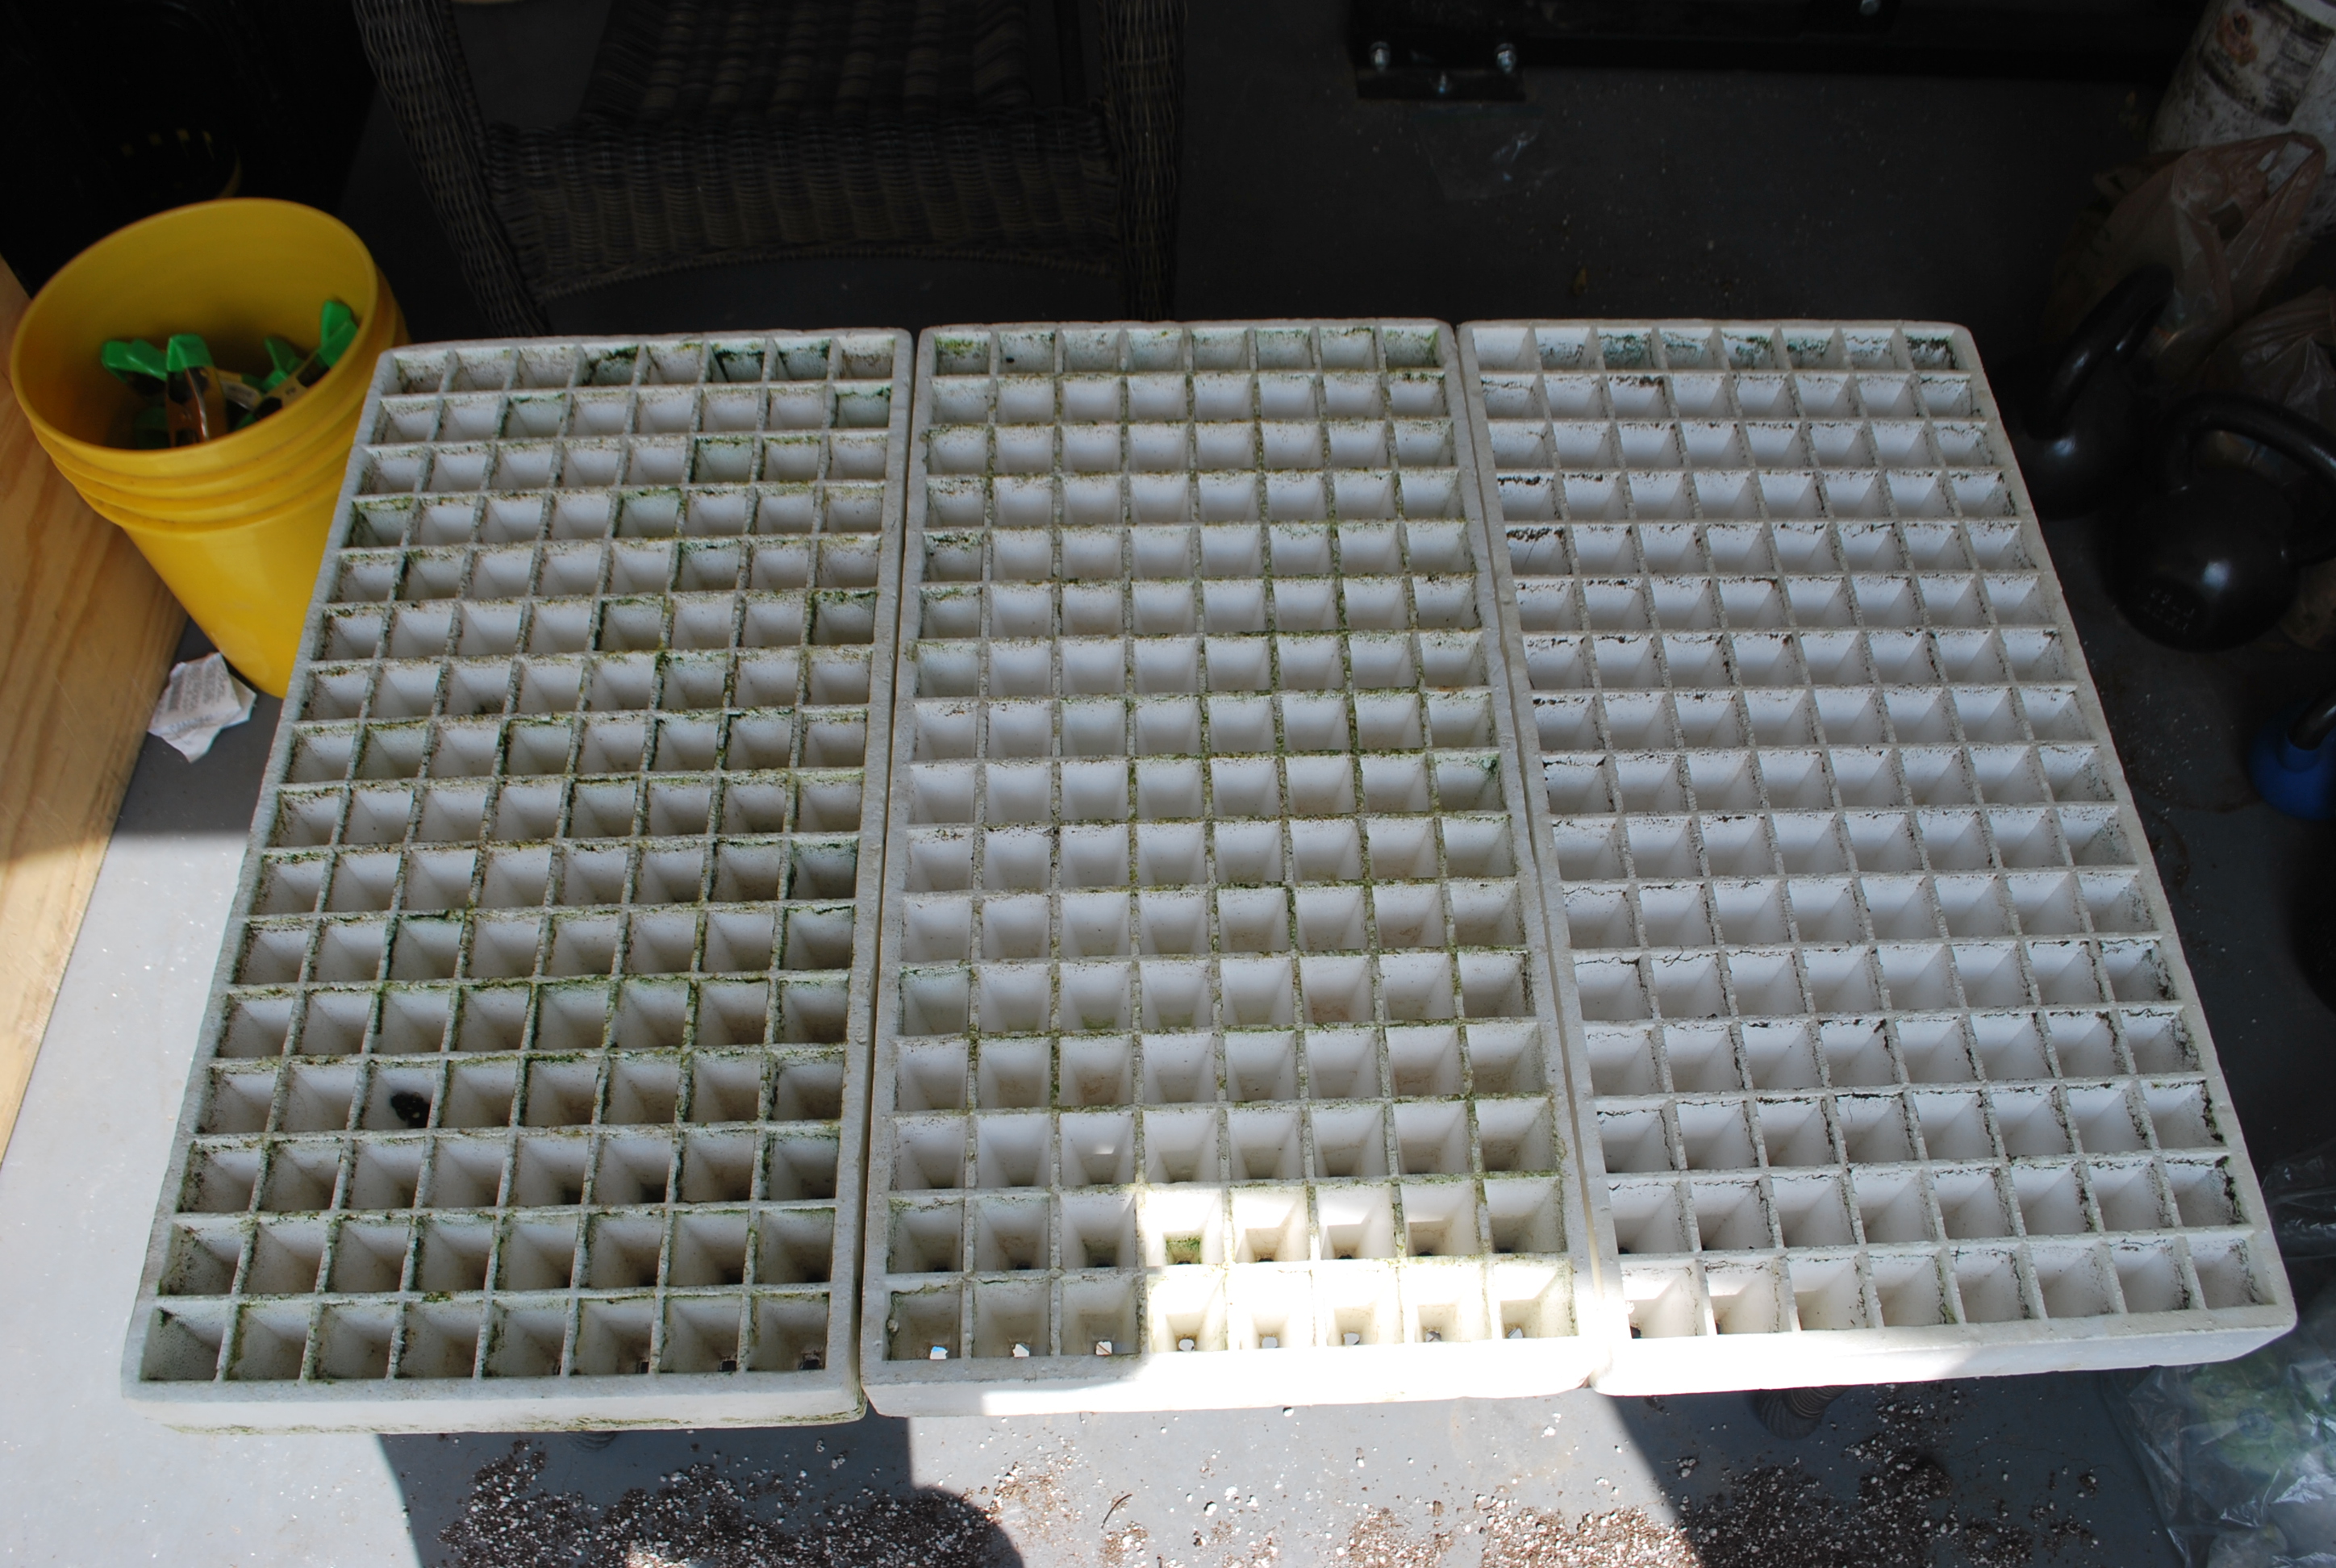 We start with our starter trays. These are Styrofoam trays that float on water. By floating the trays in a nutrient solution you encourage healthy root growth! The first step is to clean the trays very well with fresh water. After they are cleaned out well you are ready to get started. The next picture is of the trays up close.
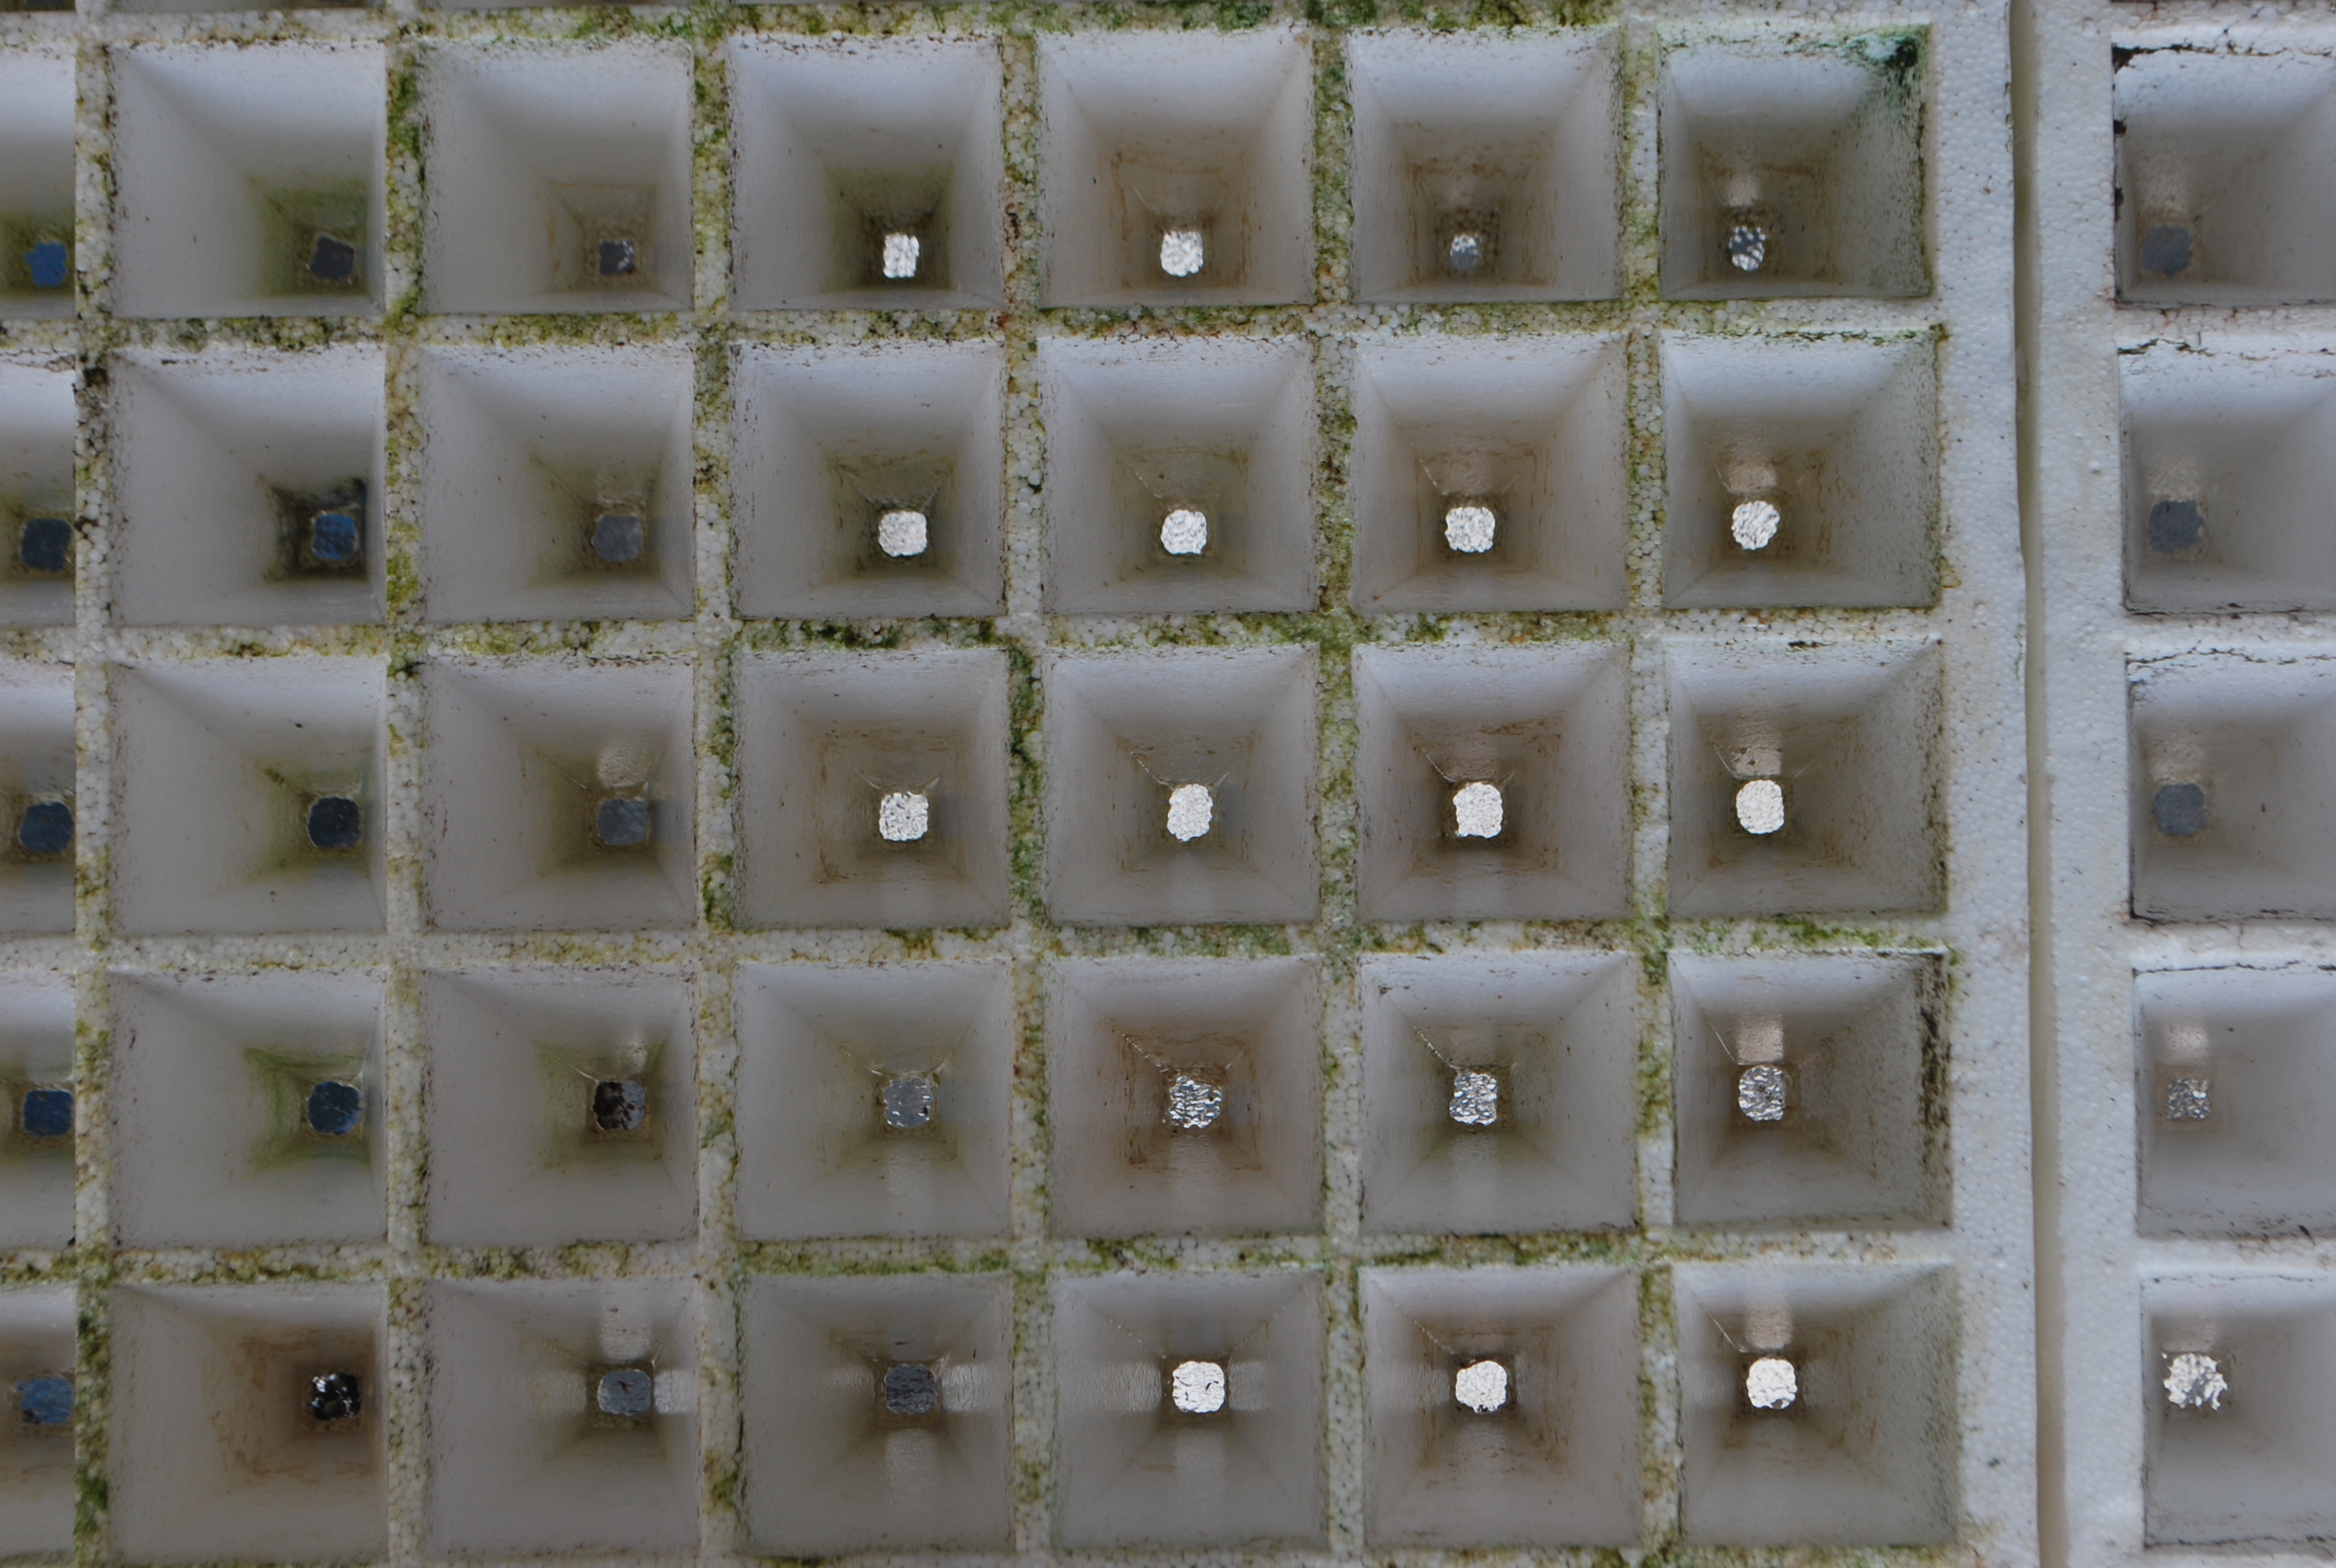 As you can see the trays have small holes in the base that allow the water and nutrients to soak into the planting mix.

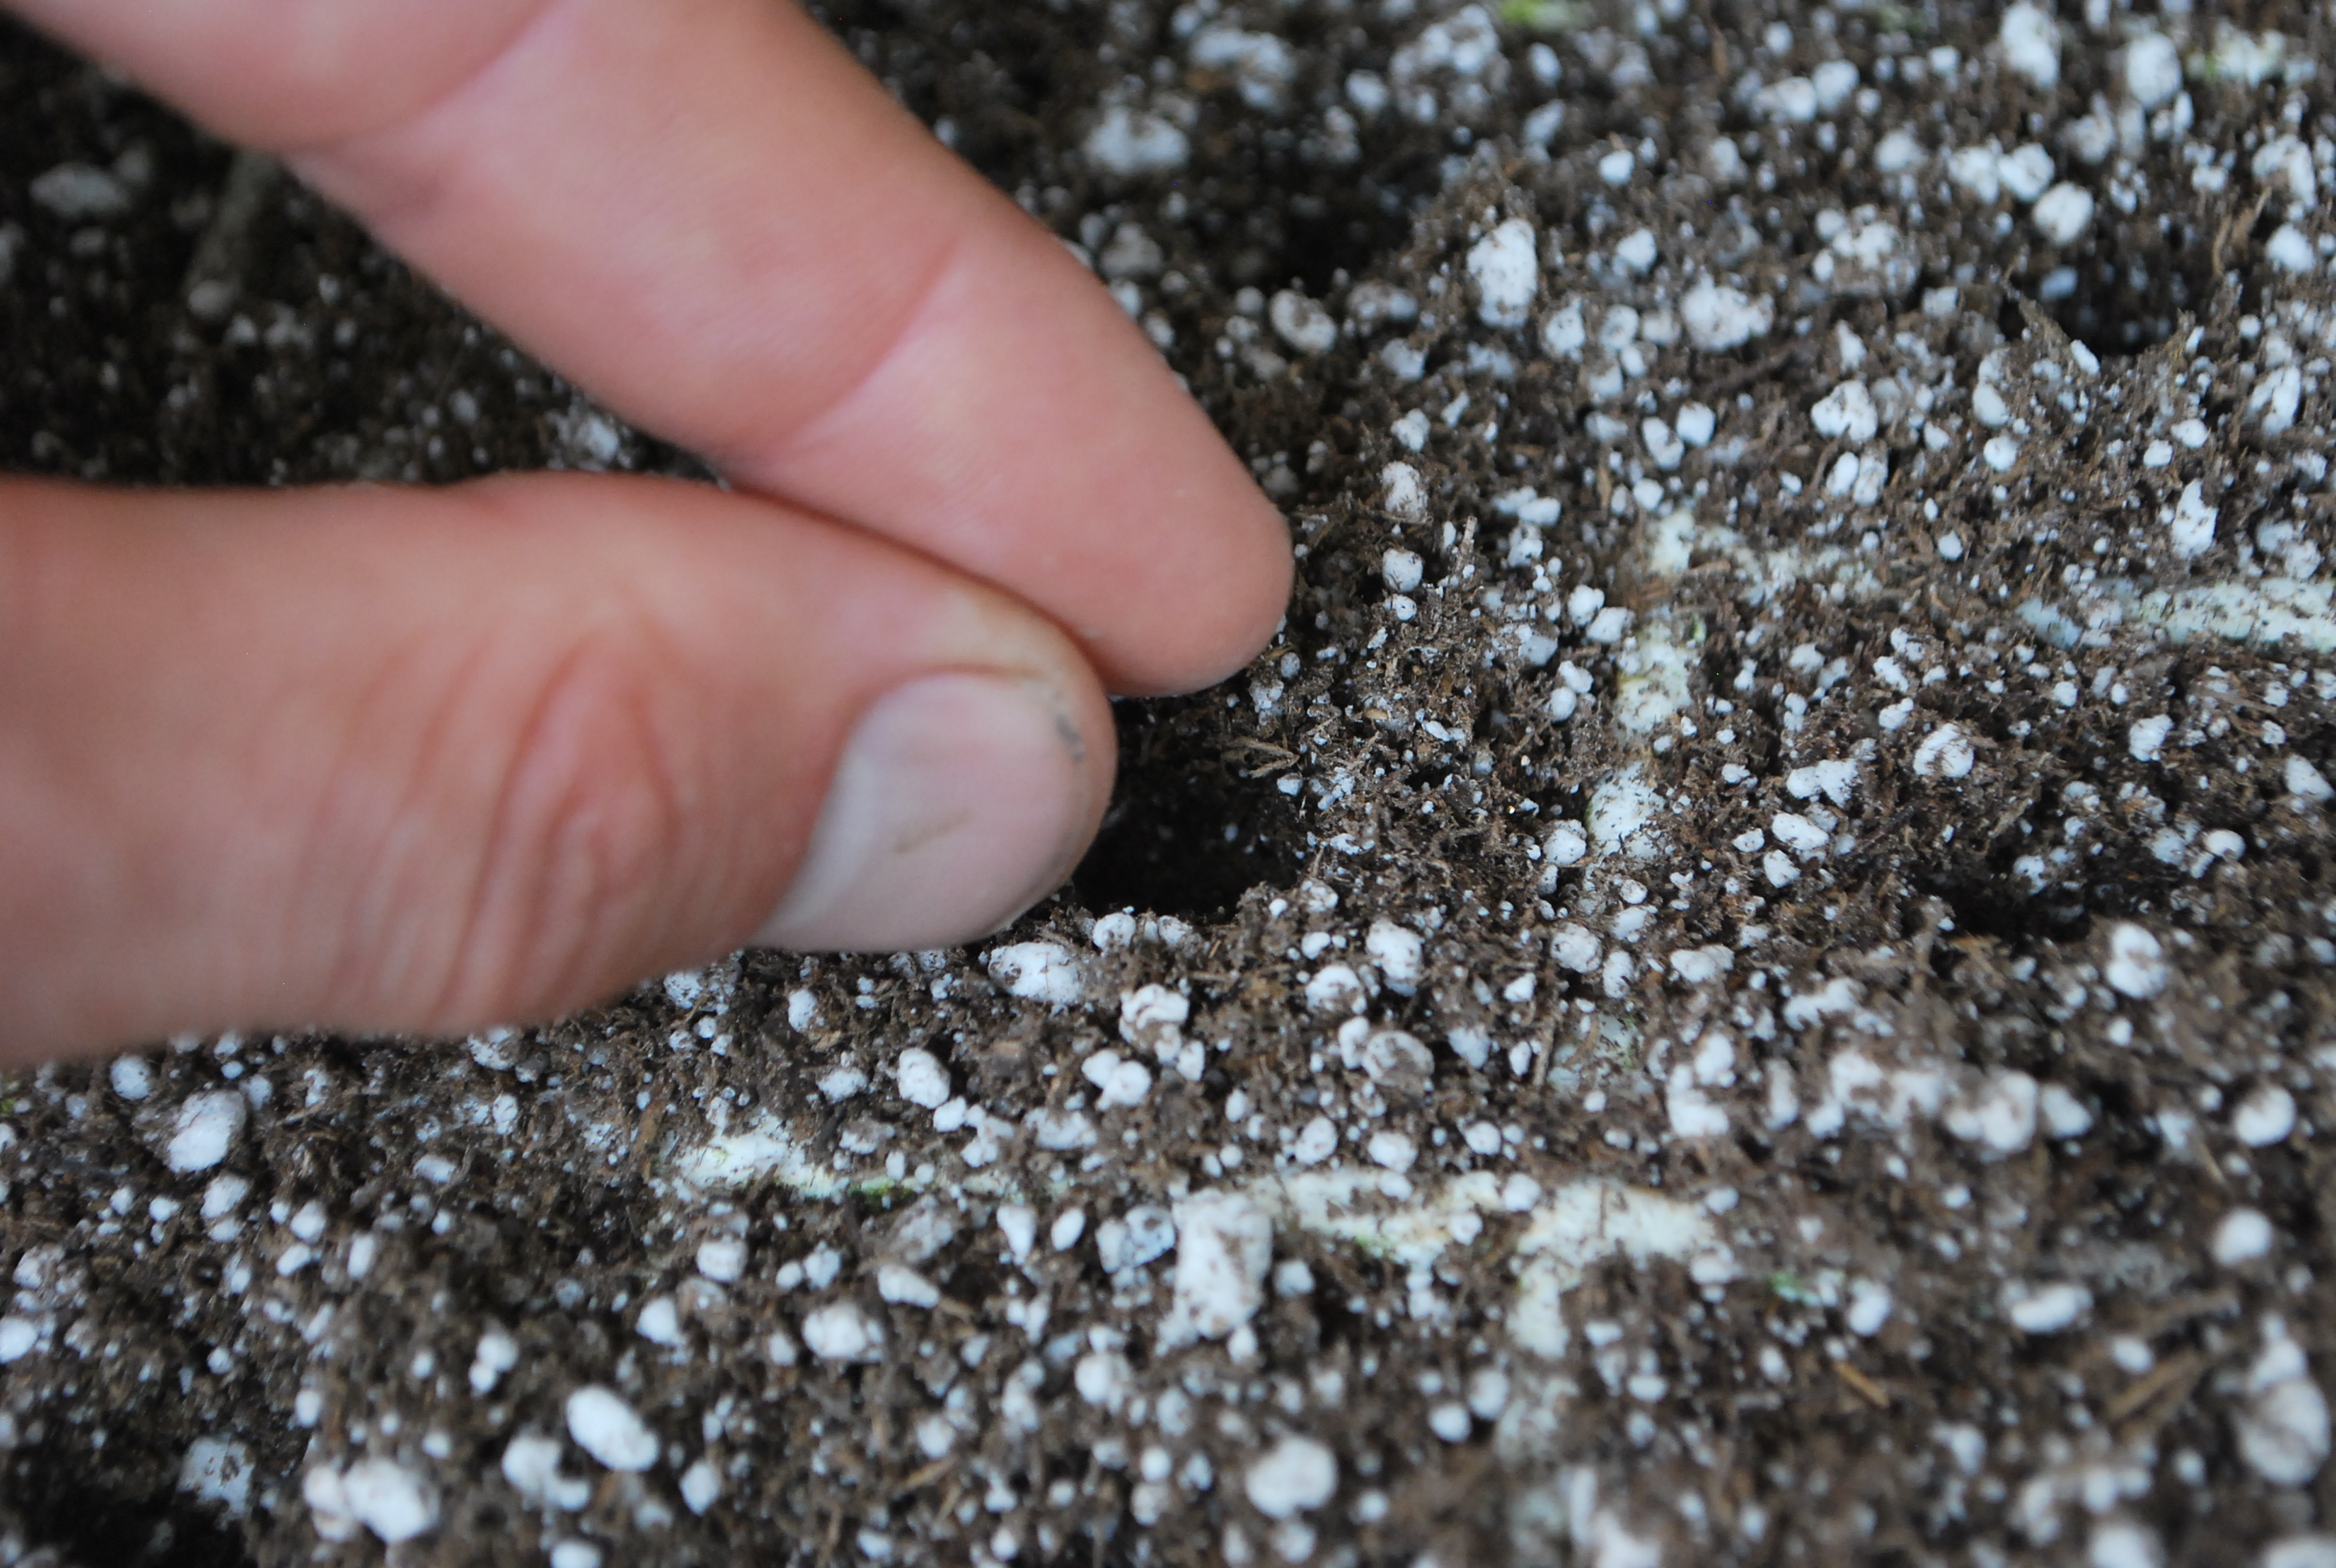
The next step is to fill the trays with planting potting mix. This is a mixture of 50% perlite and 50% peat moss. This is a great germination mix and you can pick it up at the local garden center. All we do is pour the mix onto the tray and spread it into all the holes by hand. Very easy! Next pic is an up close pic of the mix.
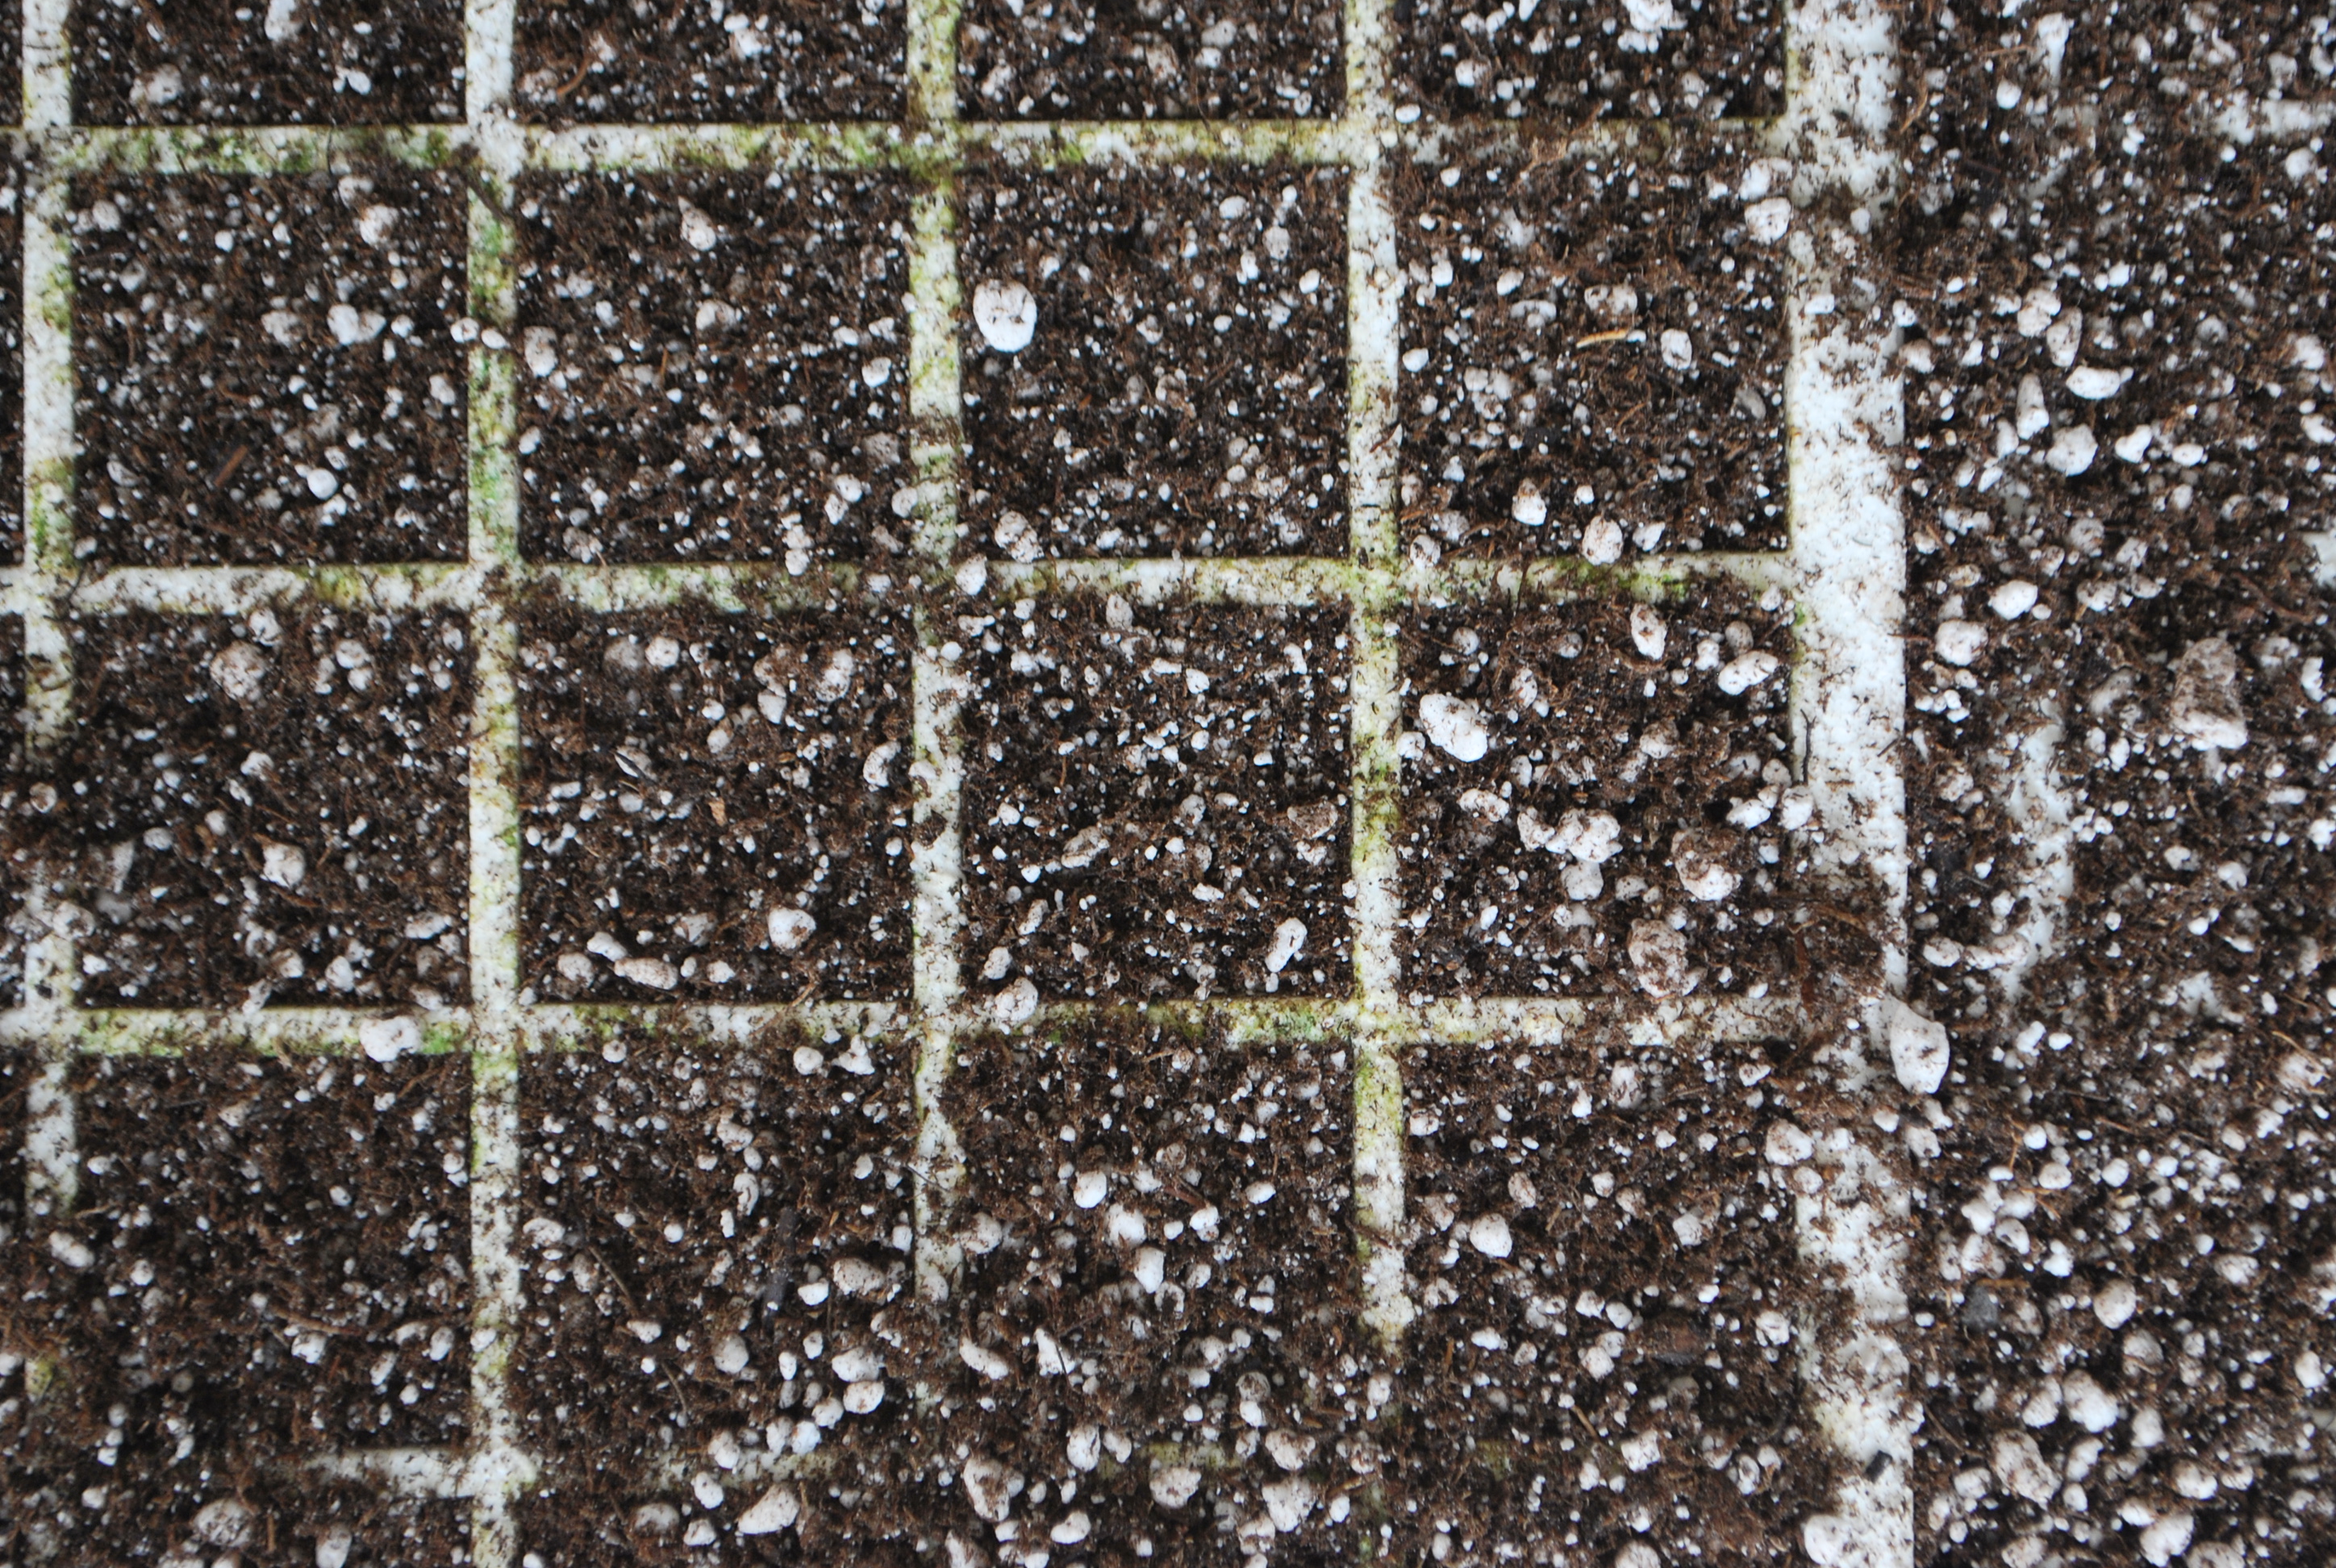
For the beginning gardener. The white is perlite and the brown is the peat moss. Next pic is of our secret trick to forming perfect holes for the seeds to go into.
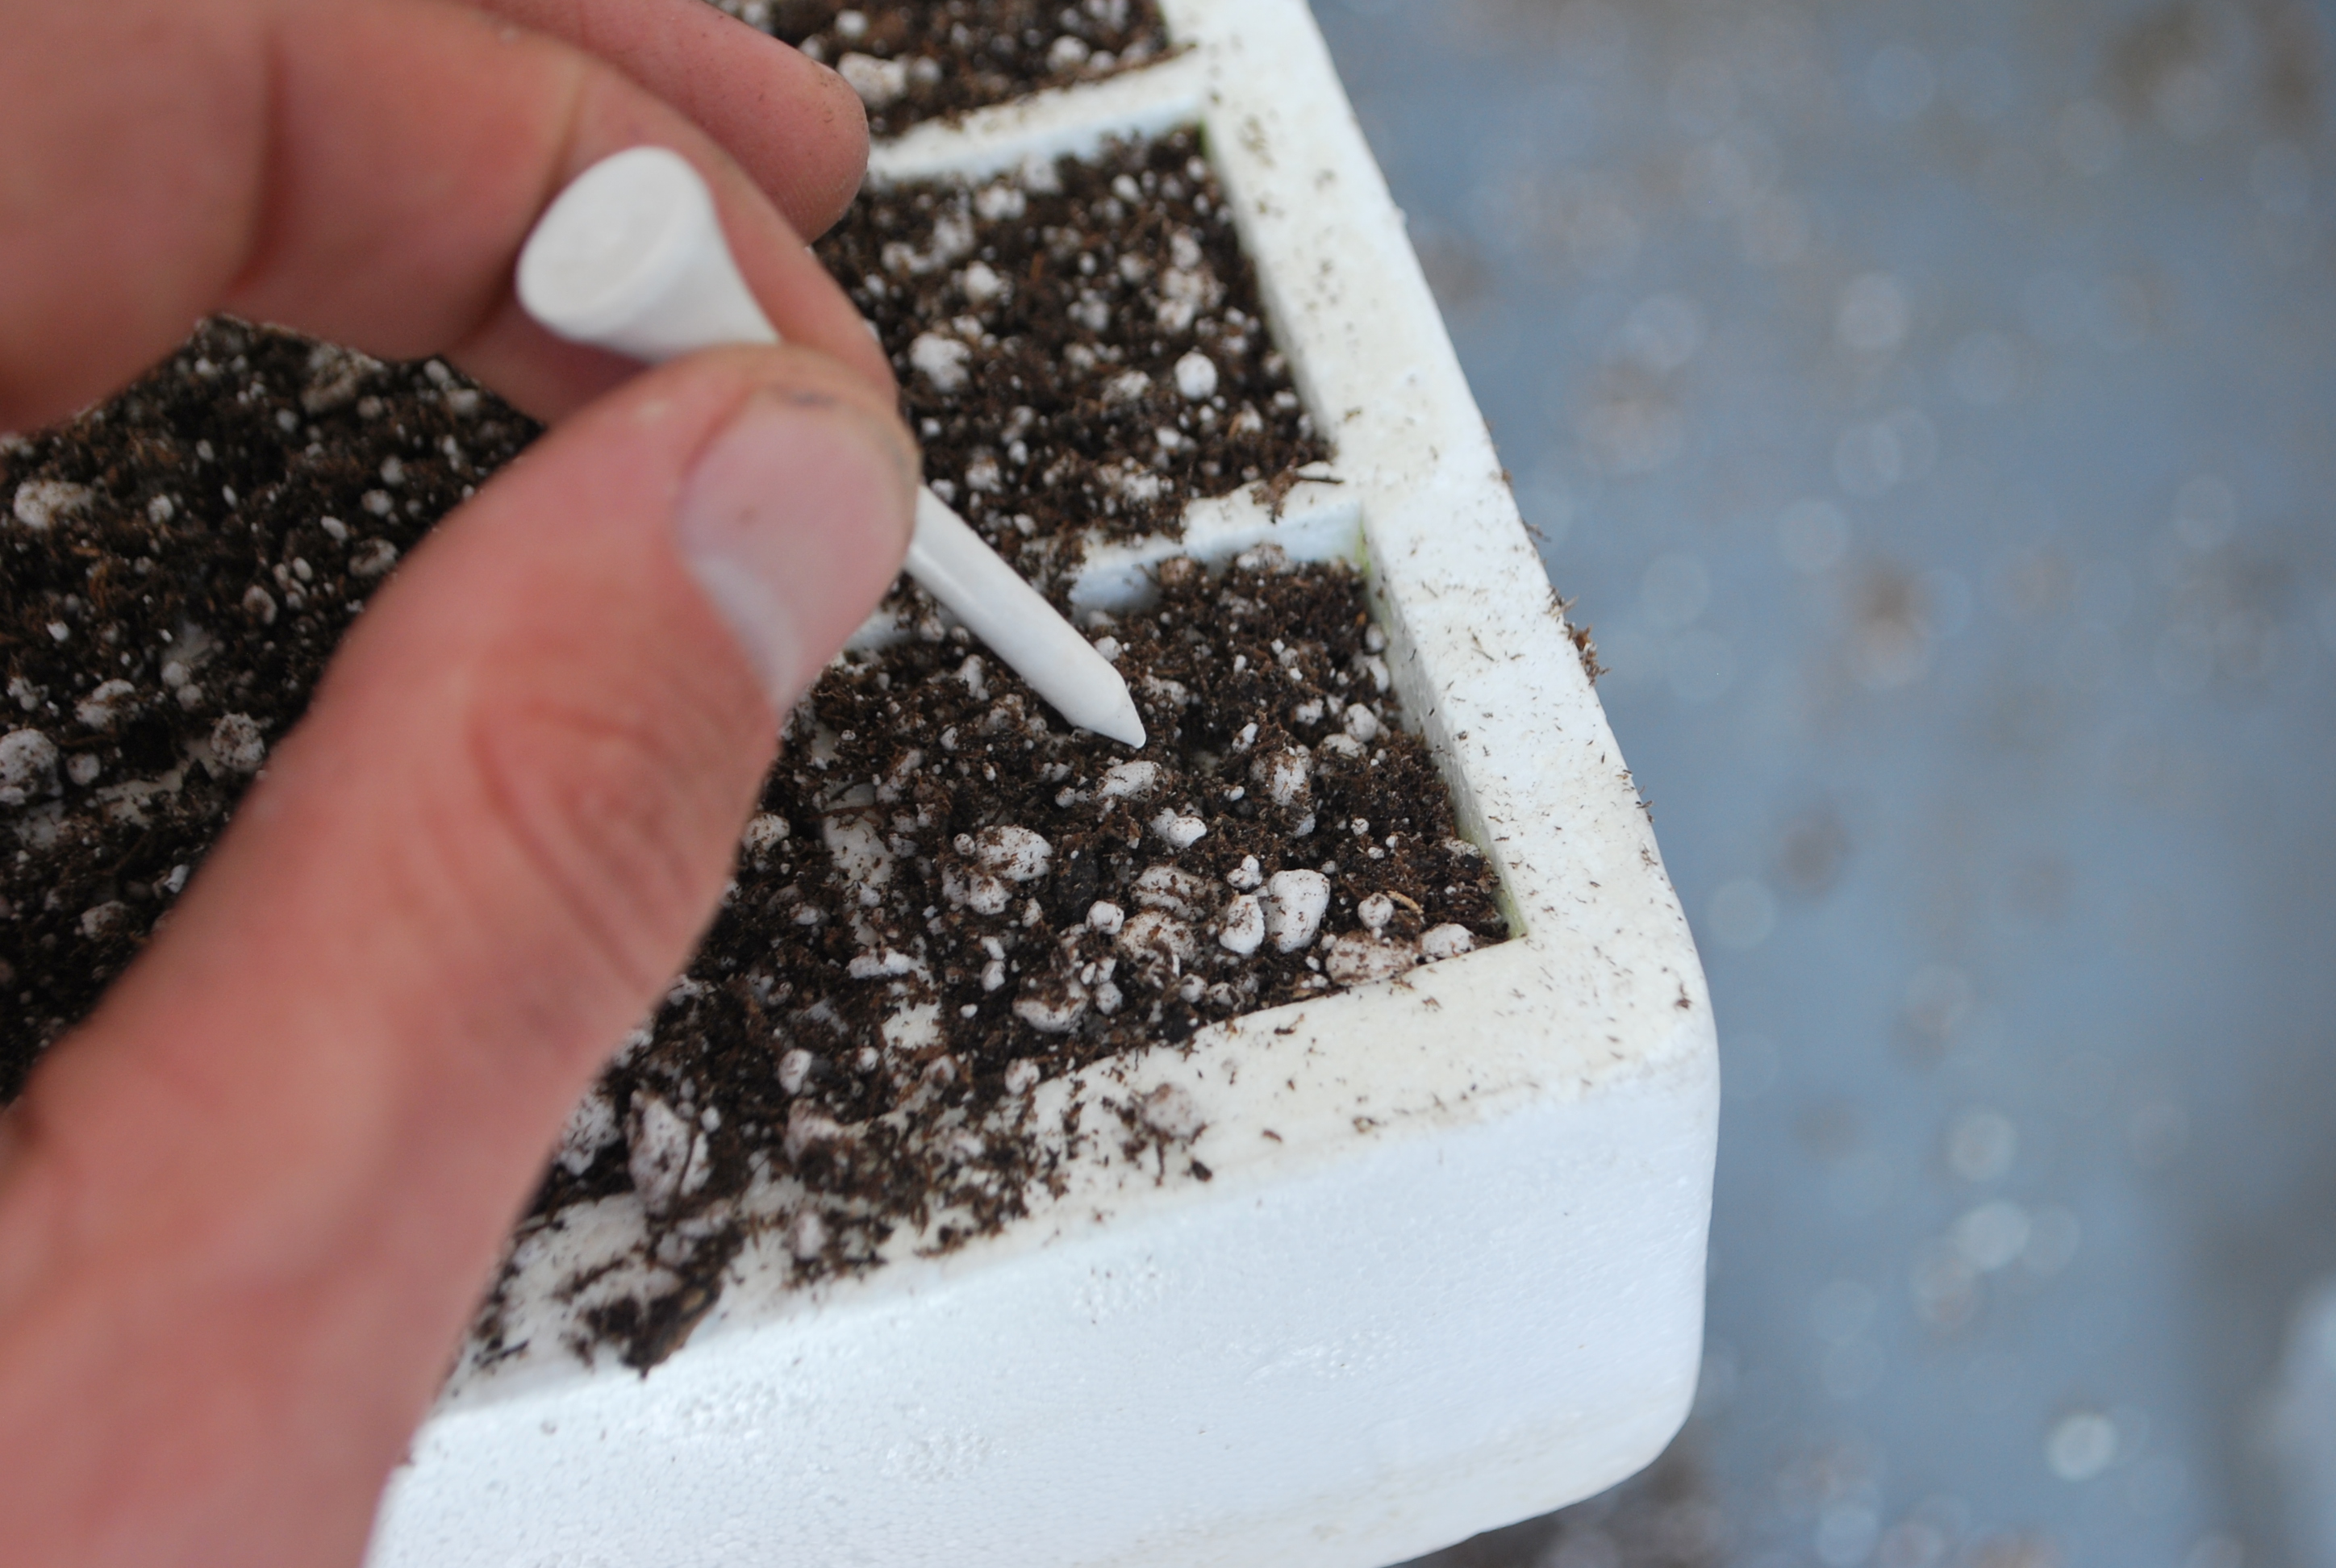
Yes that is a golf tee and they work great for forming perfect sized holes for seeds to be put into.
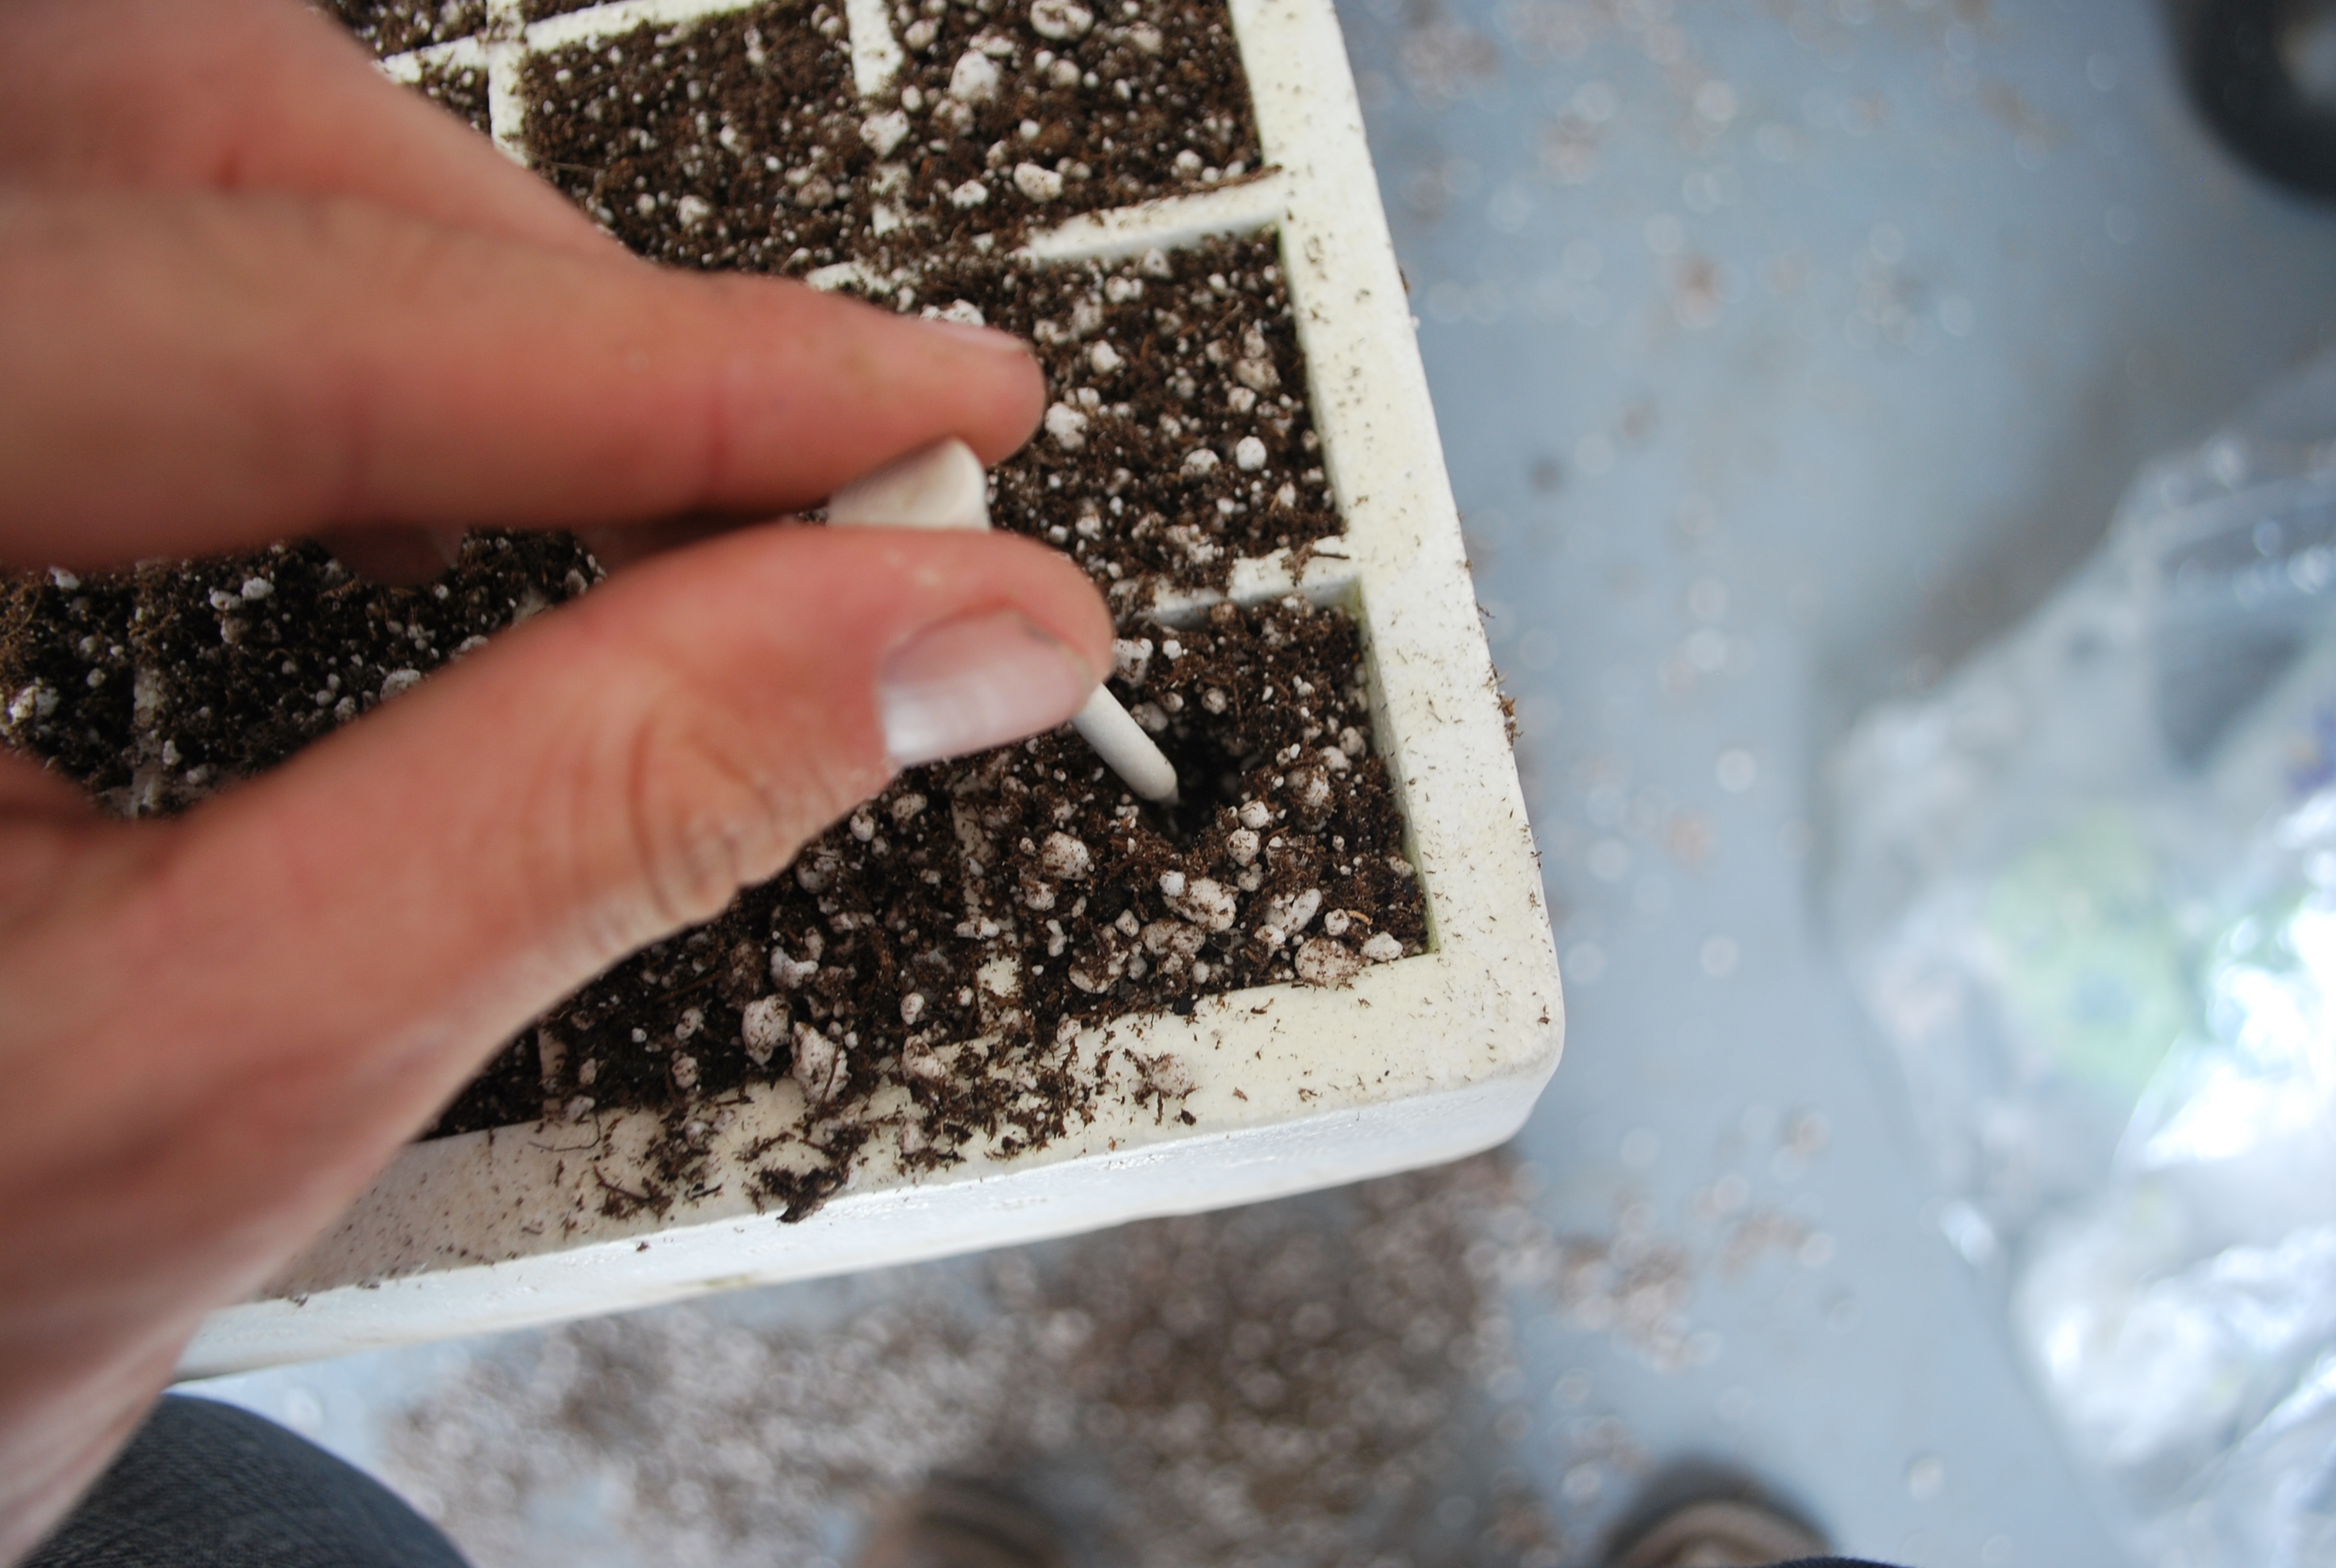
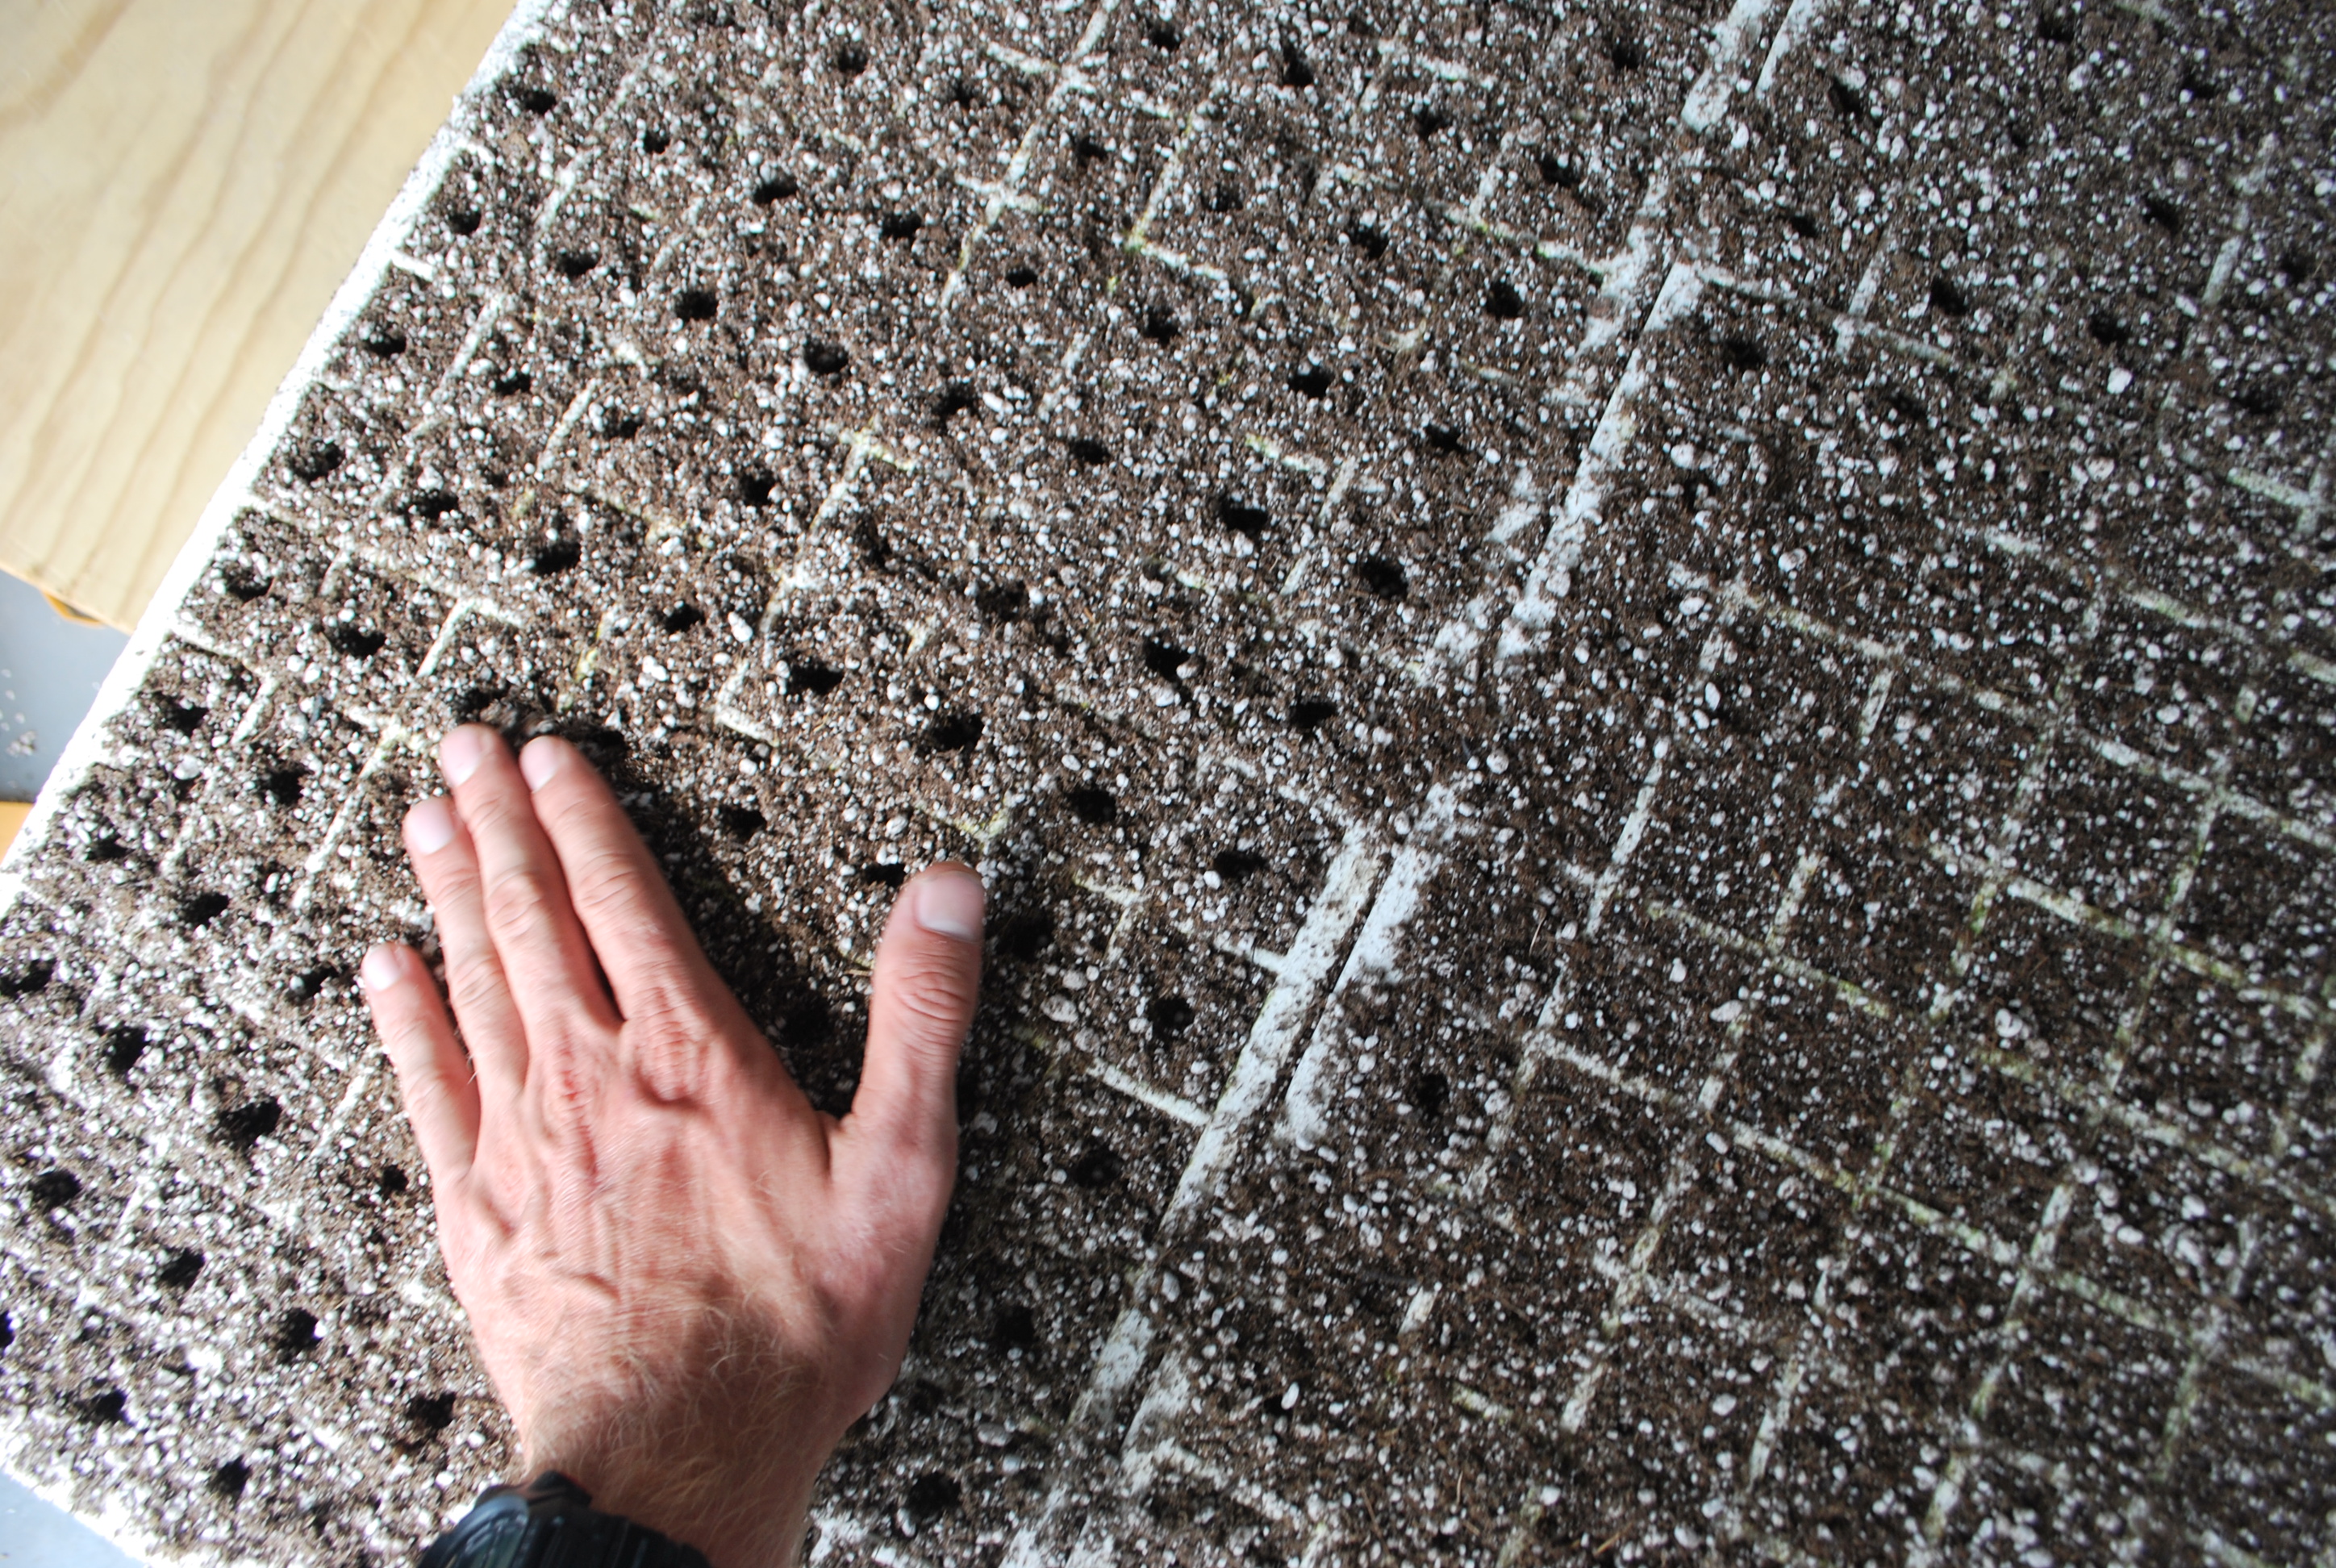
Forming the holes for the seeds. we are shooting for a depth of about 1/2 inch.
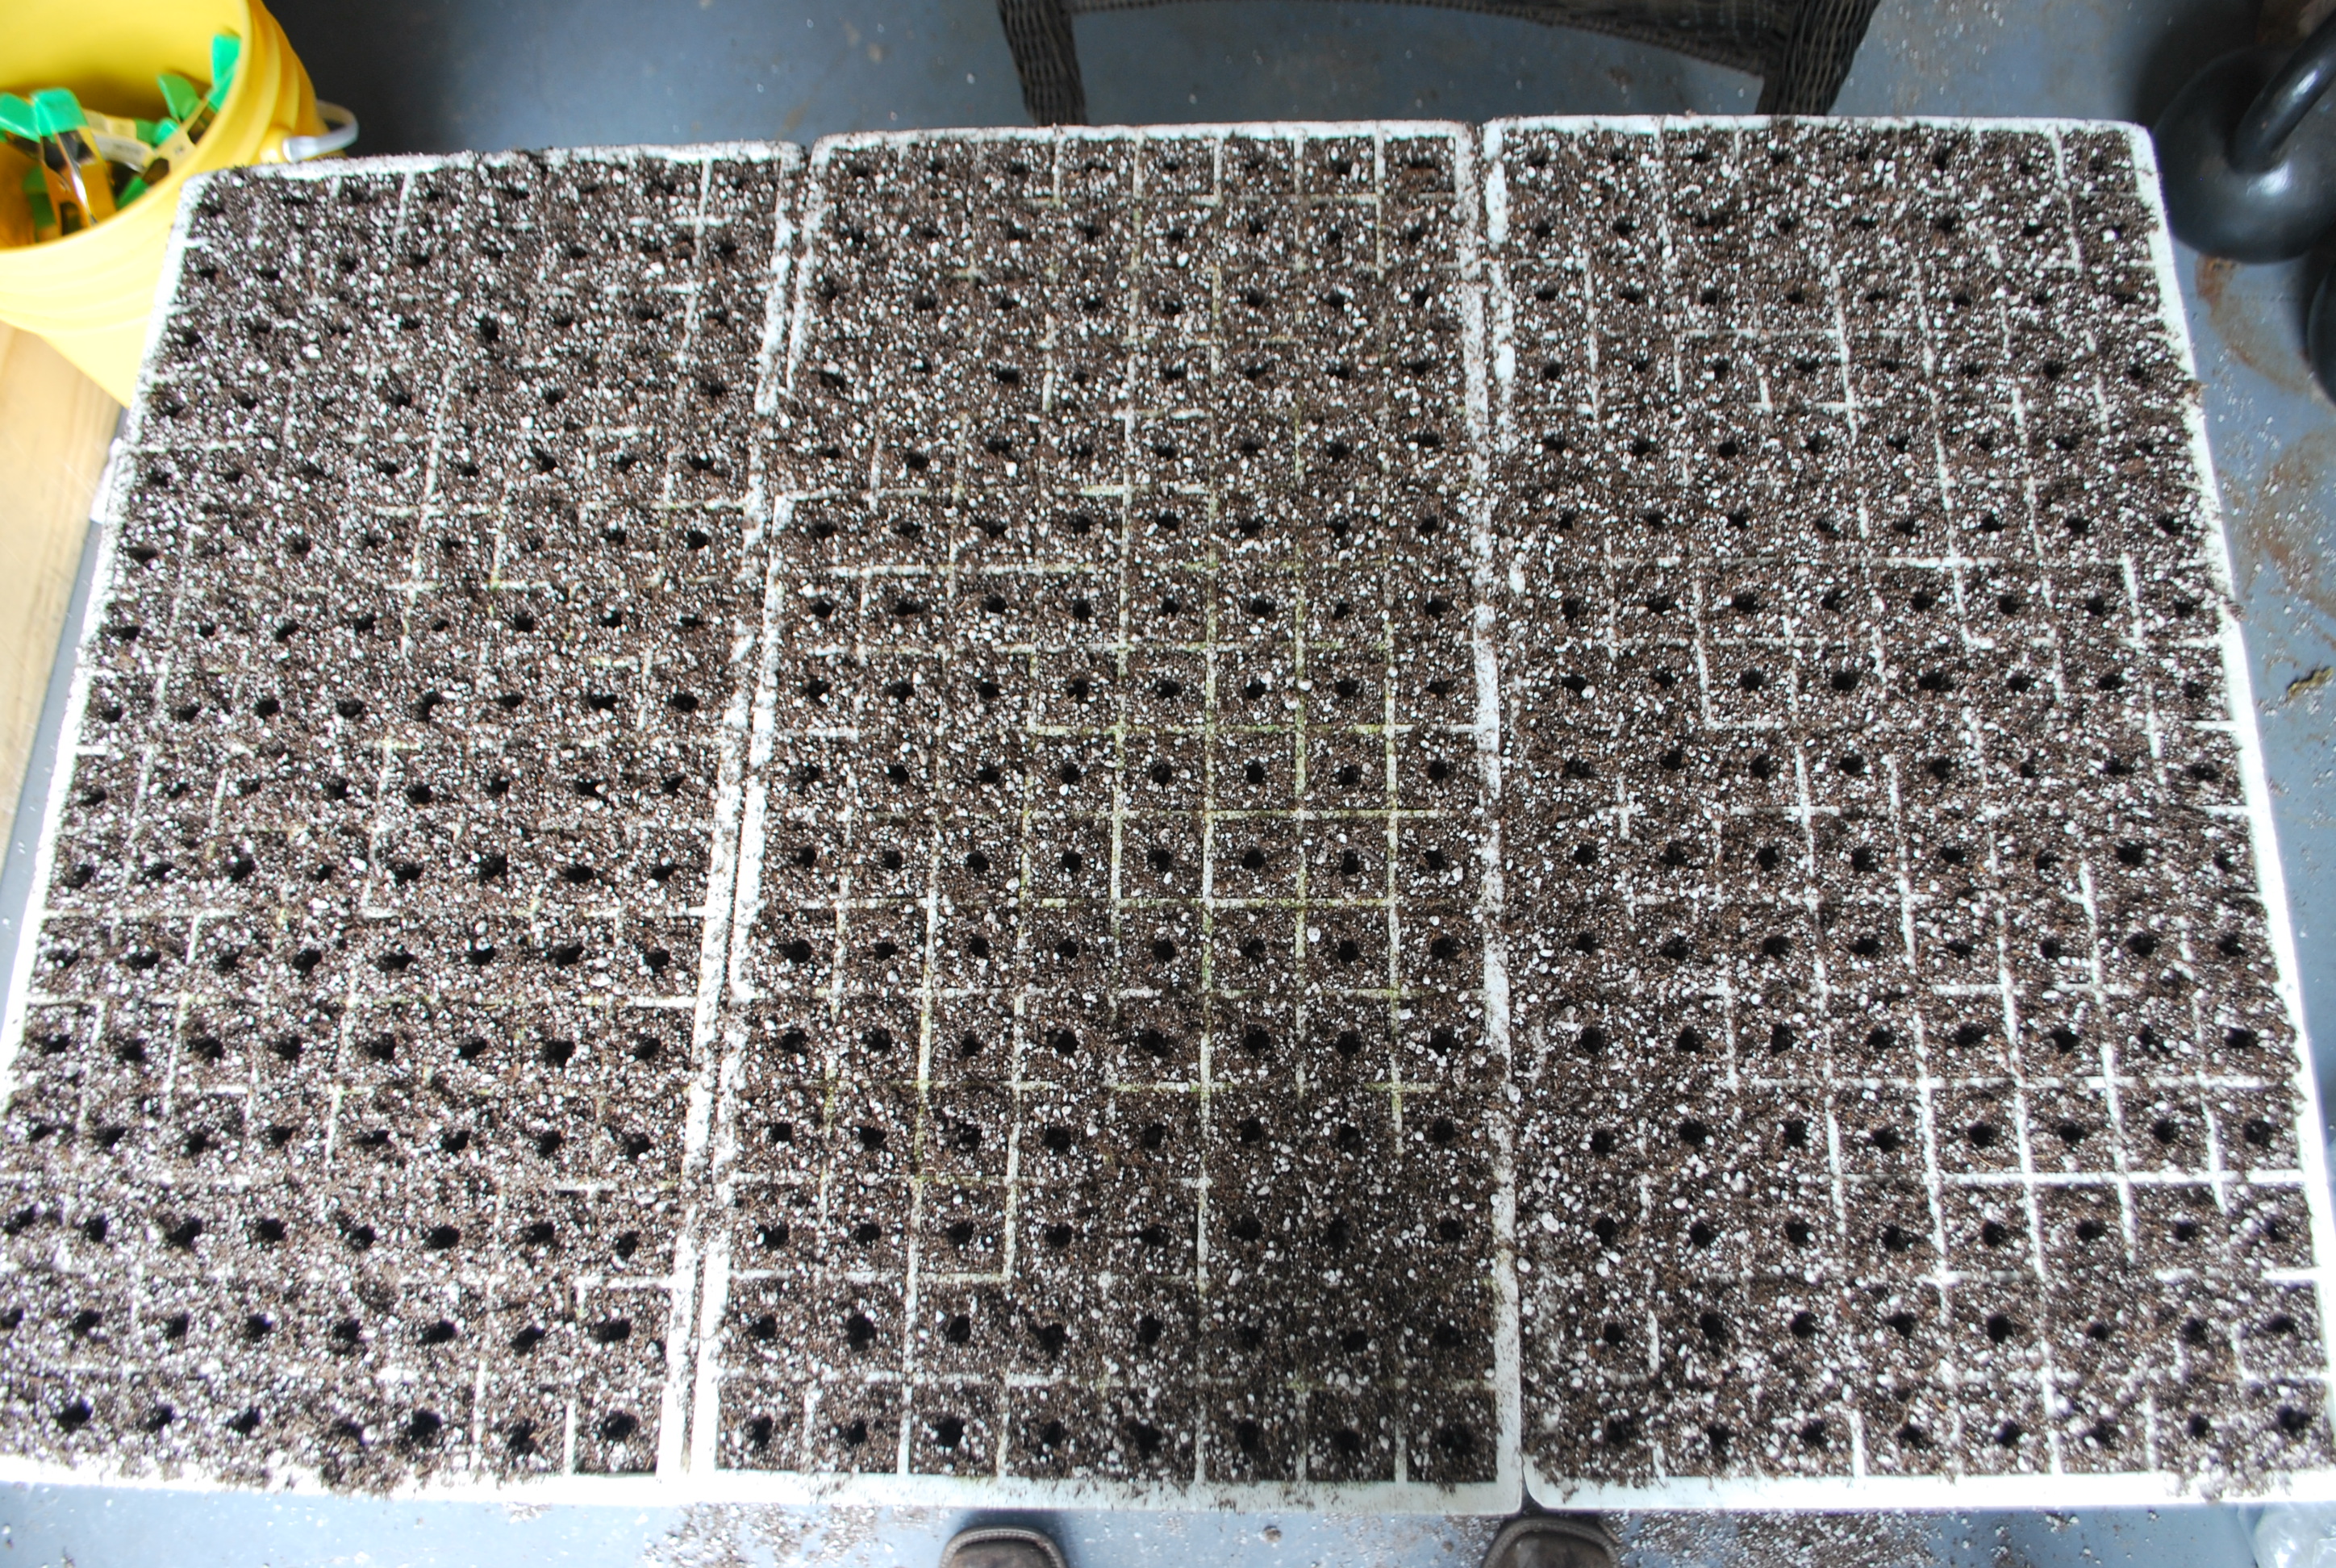
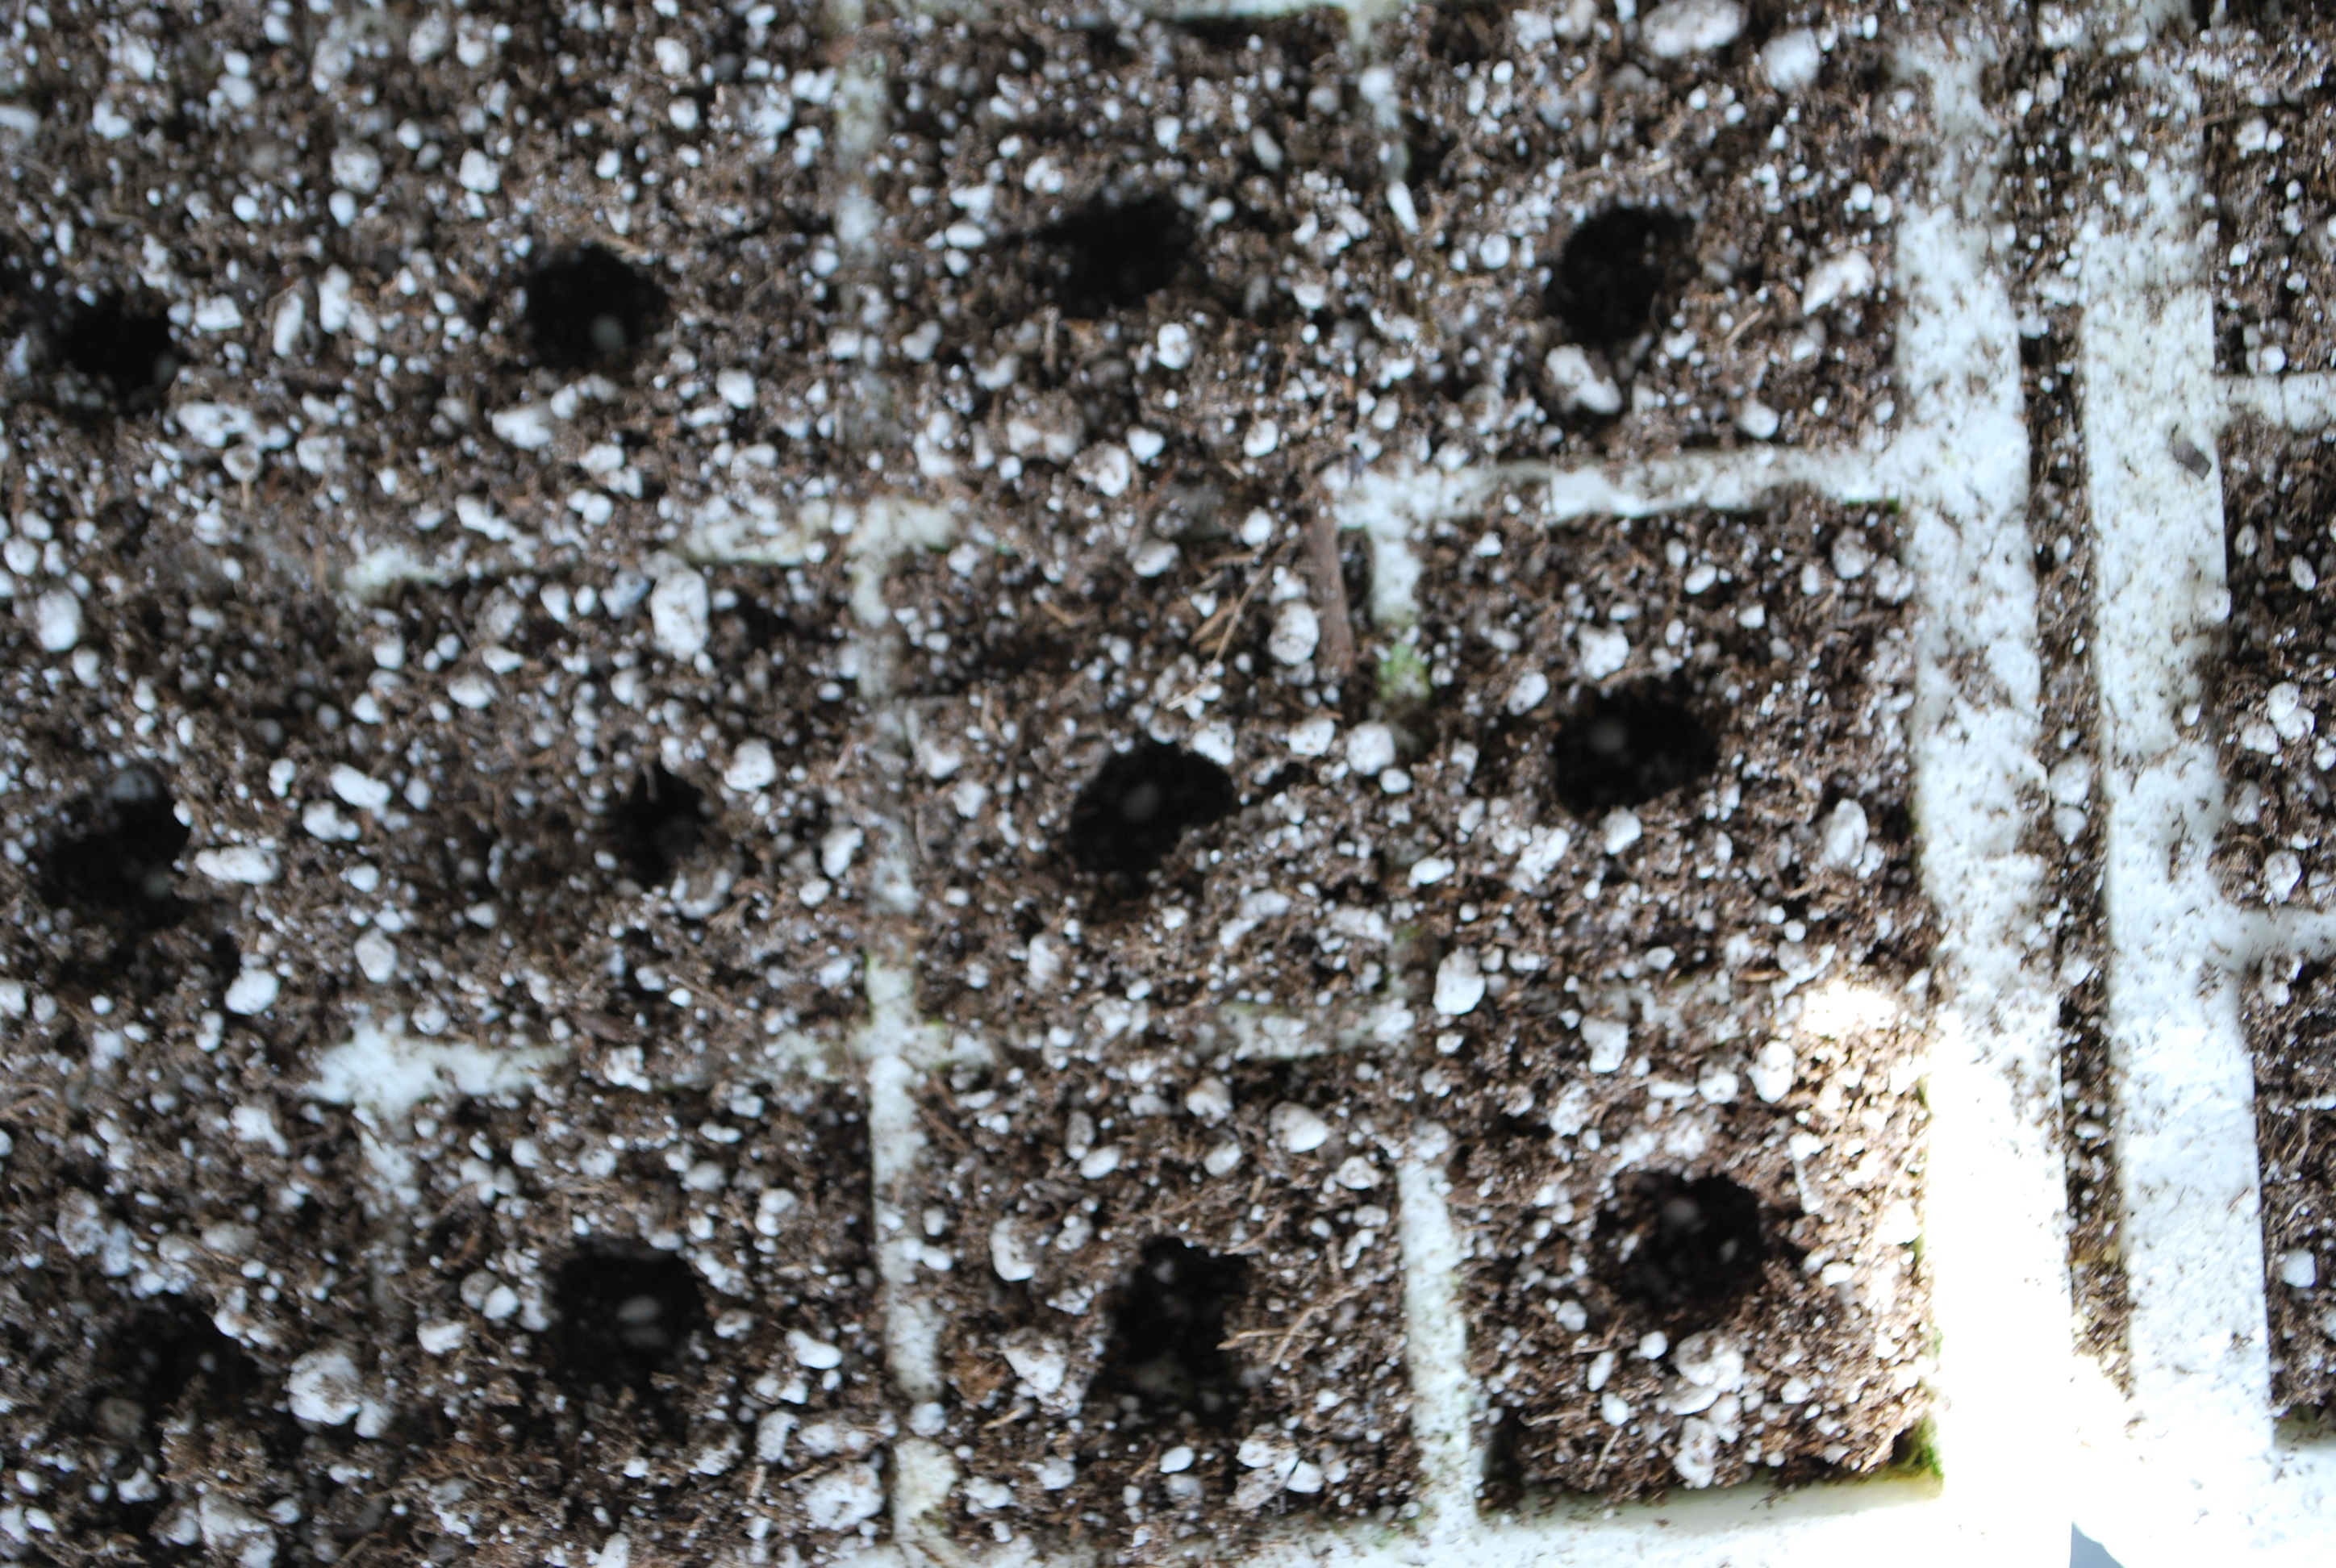
All of the holes are formed and ready to be seeded.
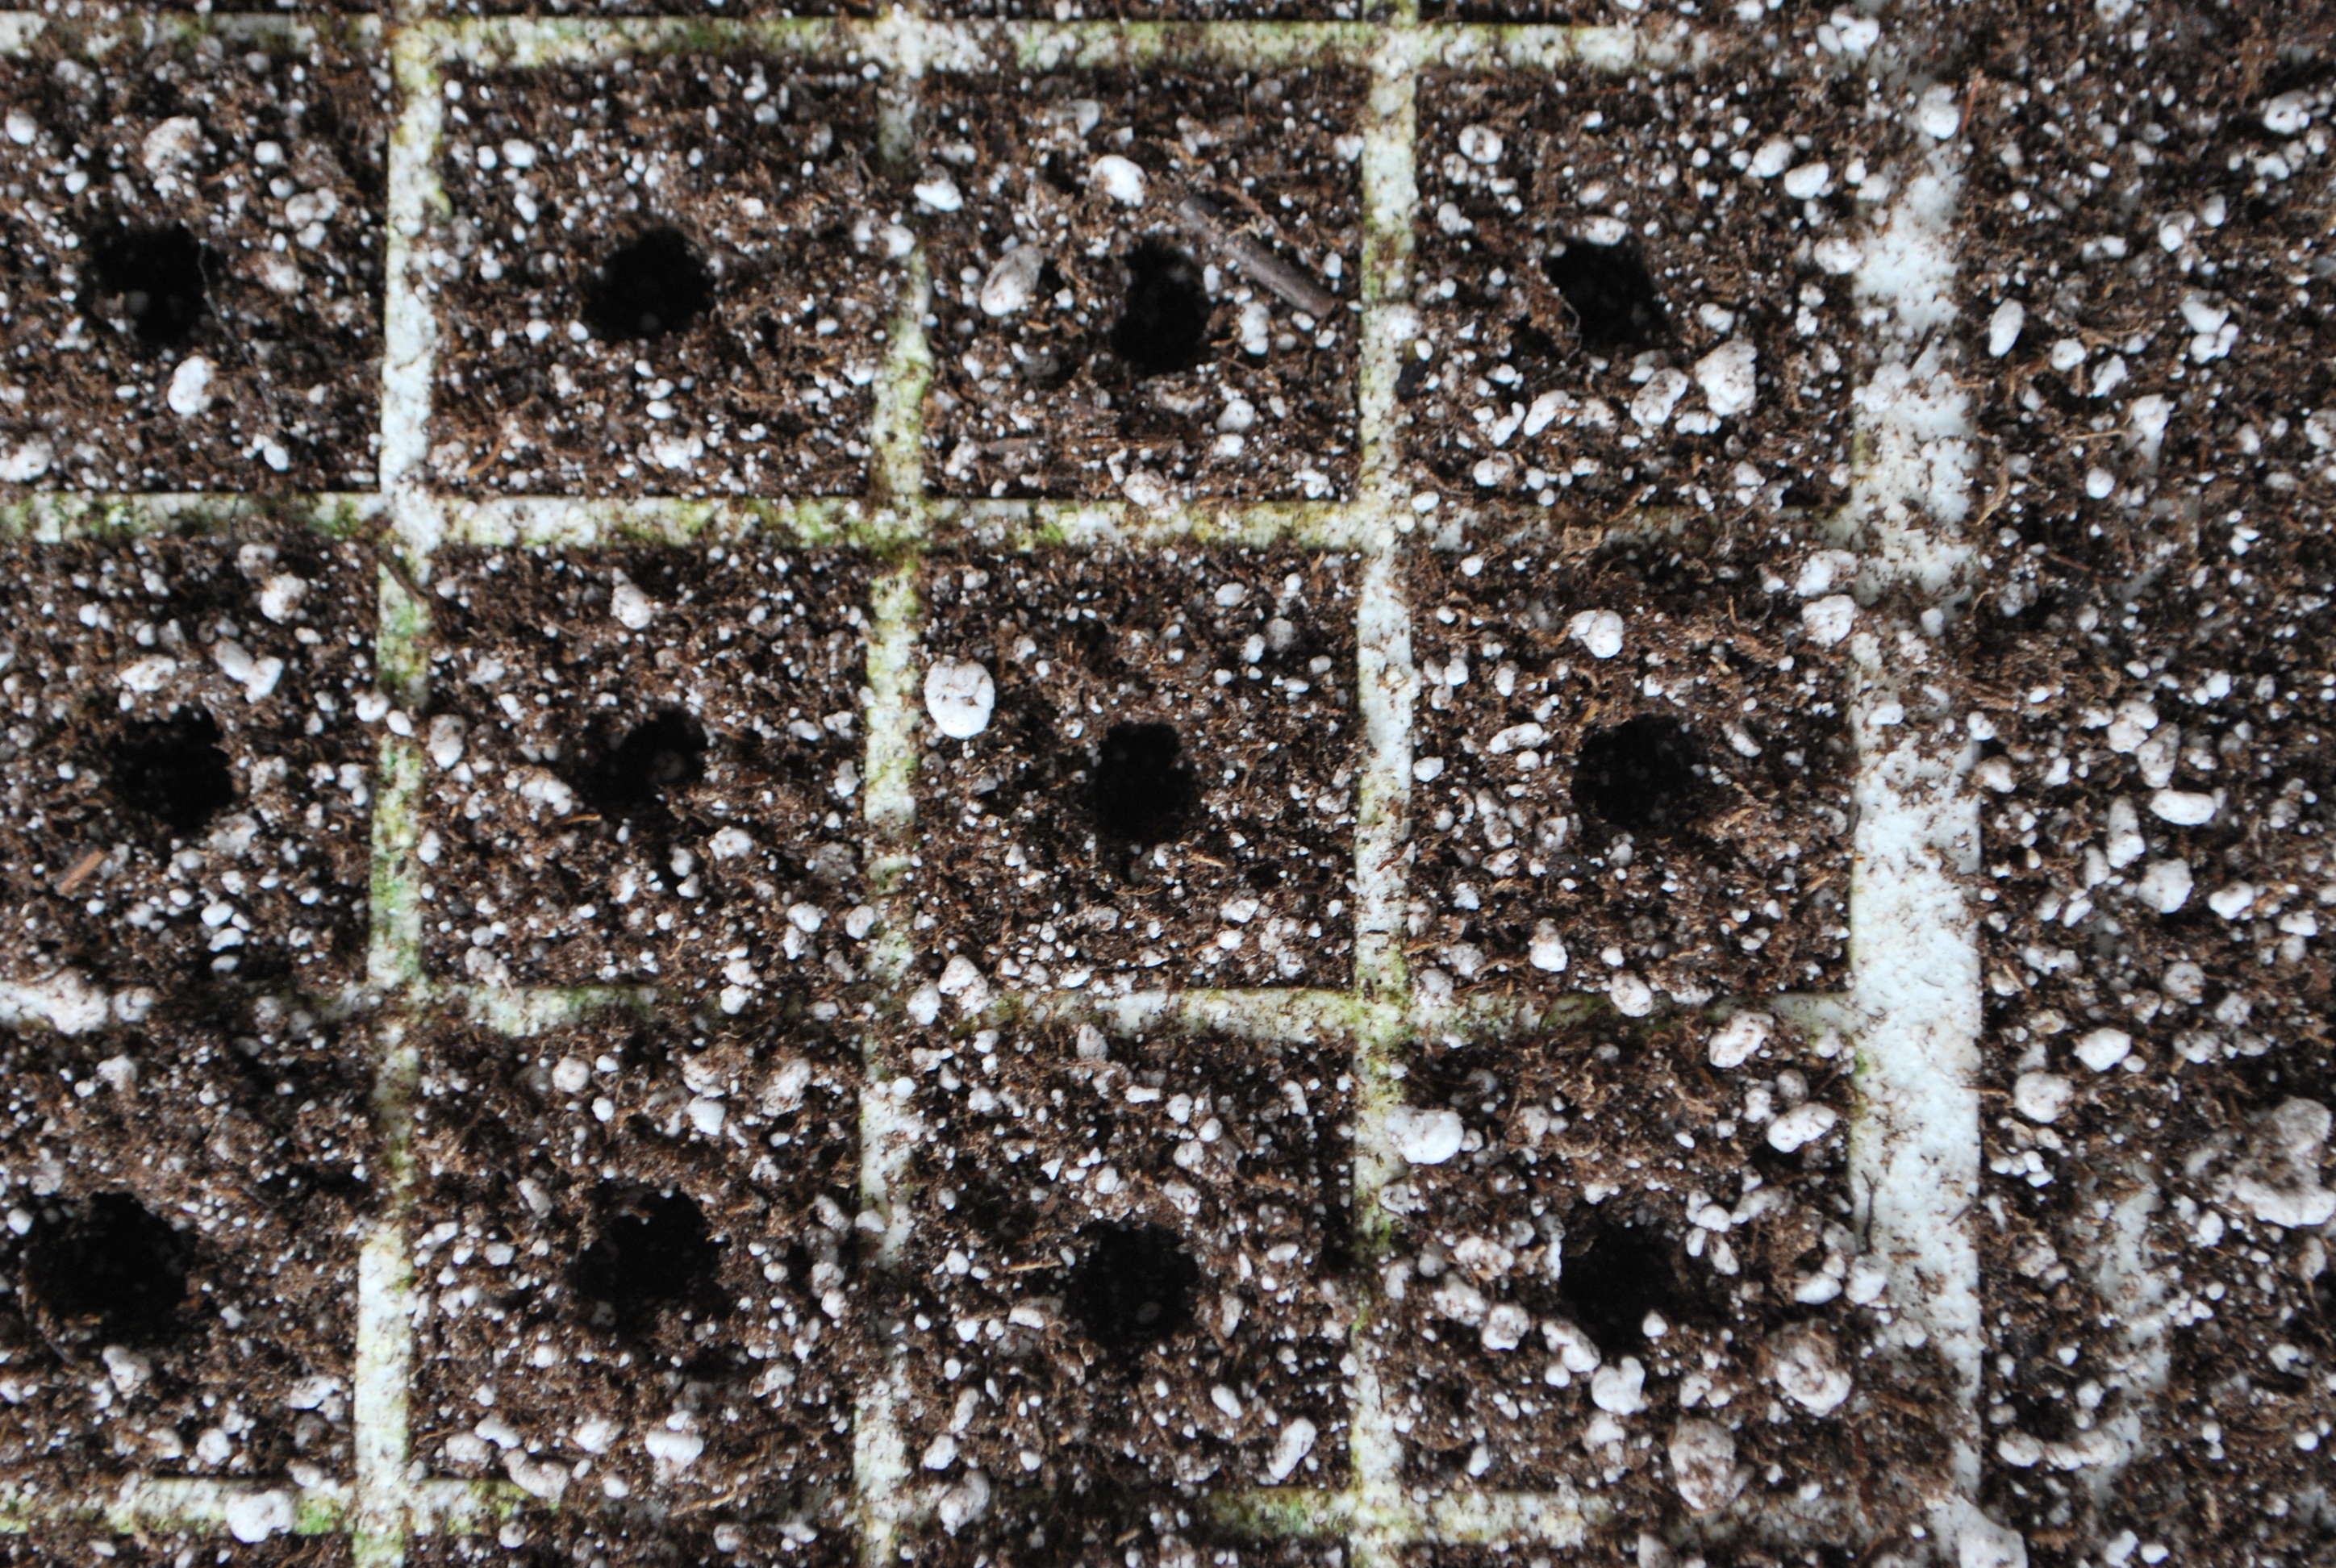
Up close pic of the holes formed with the golf tee and ready for seeds.
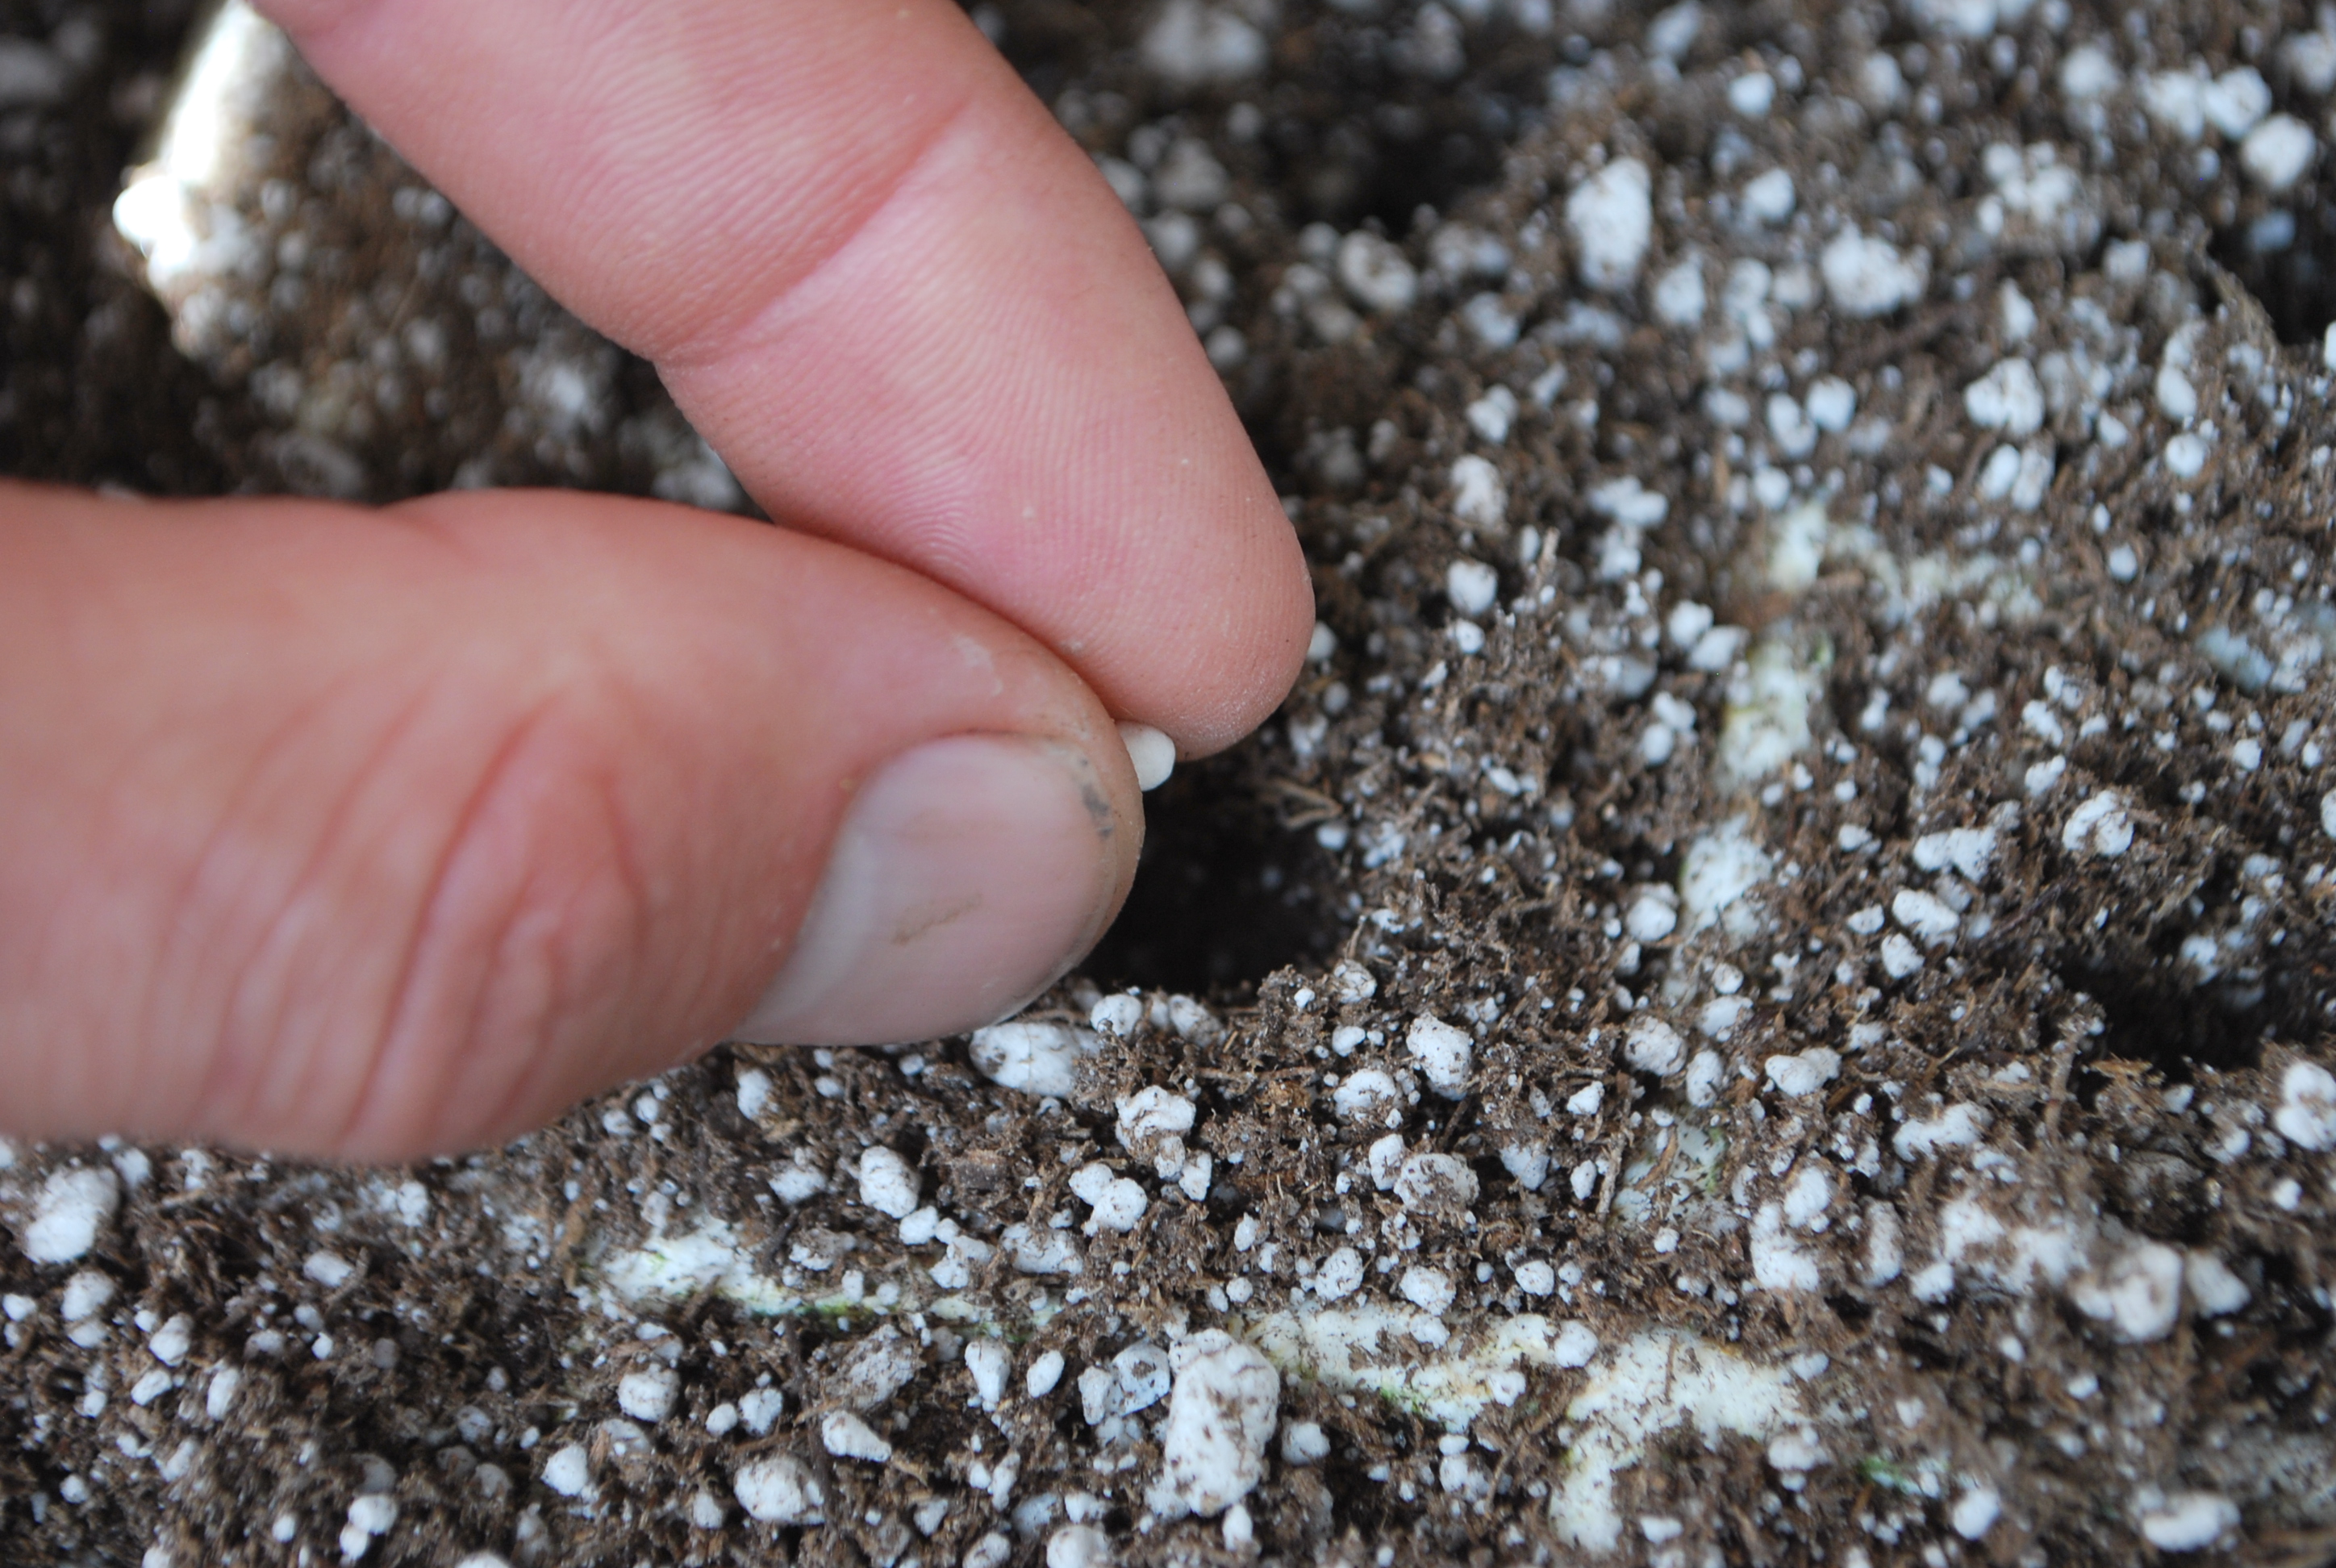
In this pic you see a pelleted seed that we are dropping into the holes. We like to use pelleted seeds because we see better results by using them.
Just drop the seed into the hole.
Pic of the seeds in the holes formed with the golf tee. You can notice them at the bottom of the hole. Only one seed per hole.
After the seeds are placed in all the holes we need to fill them in. Nothing fancy here just use your hand and move the potting mix around to cover the seeds.
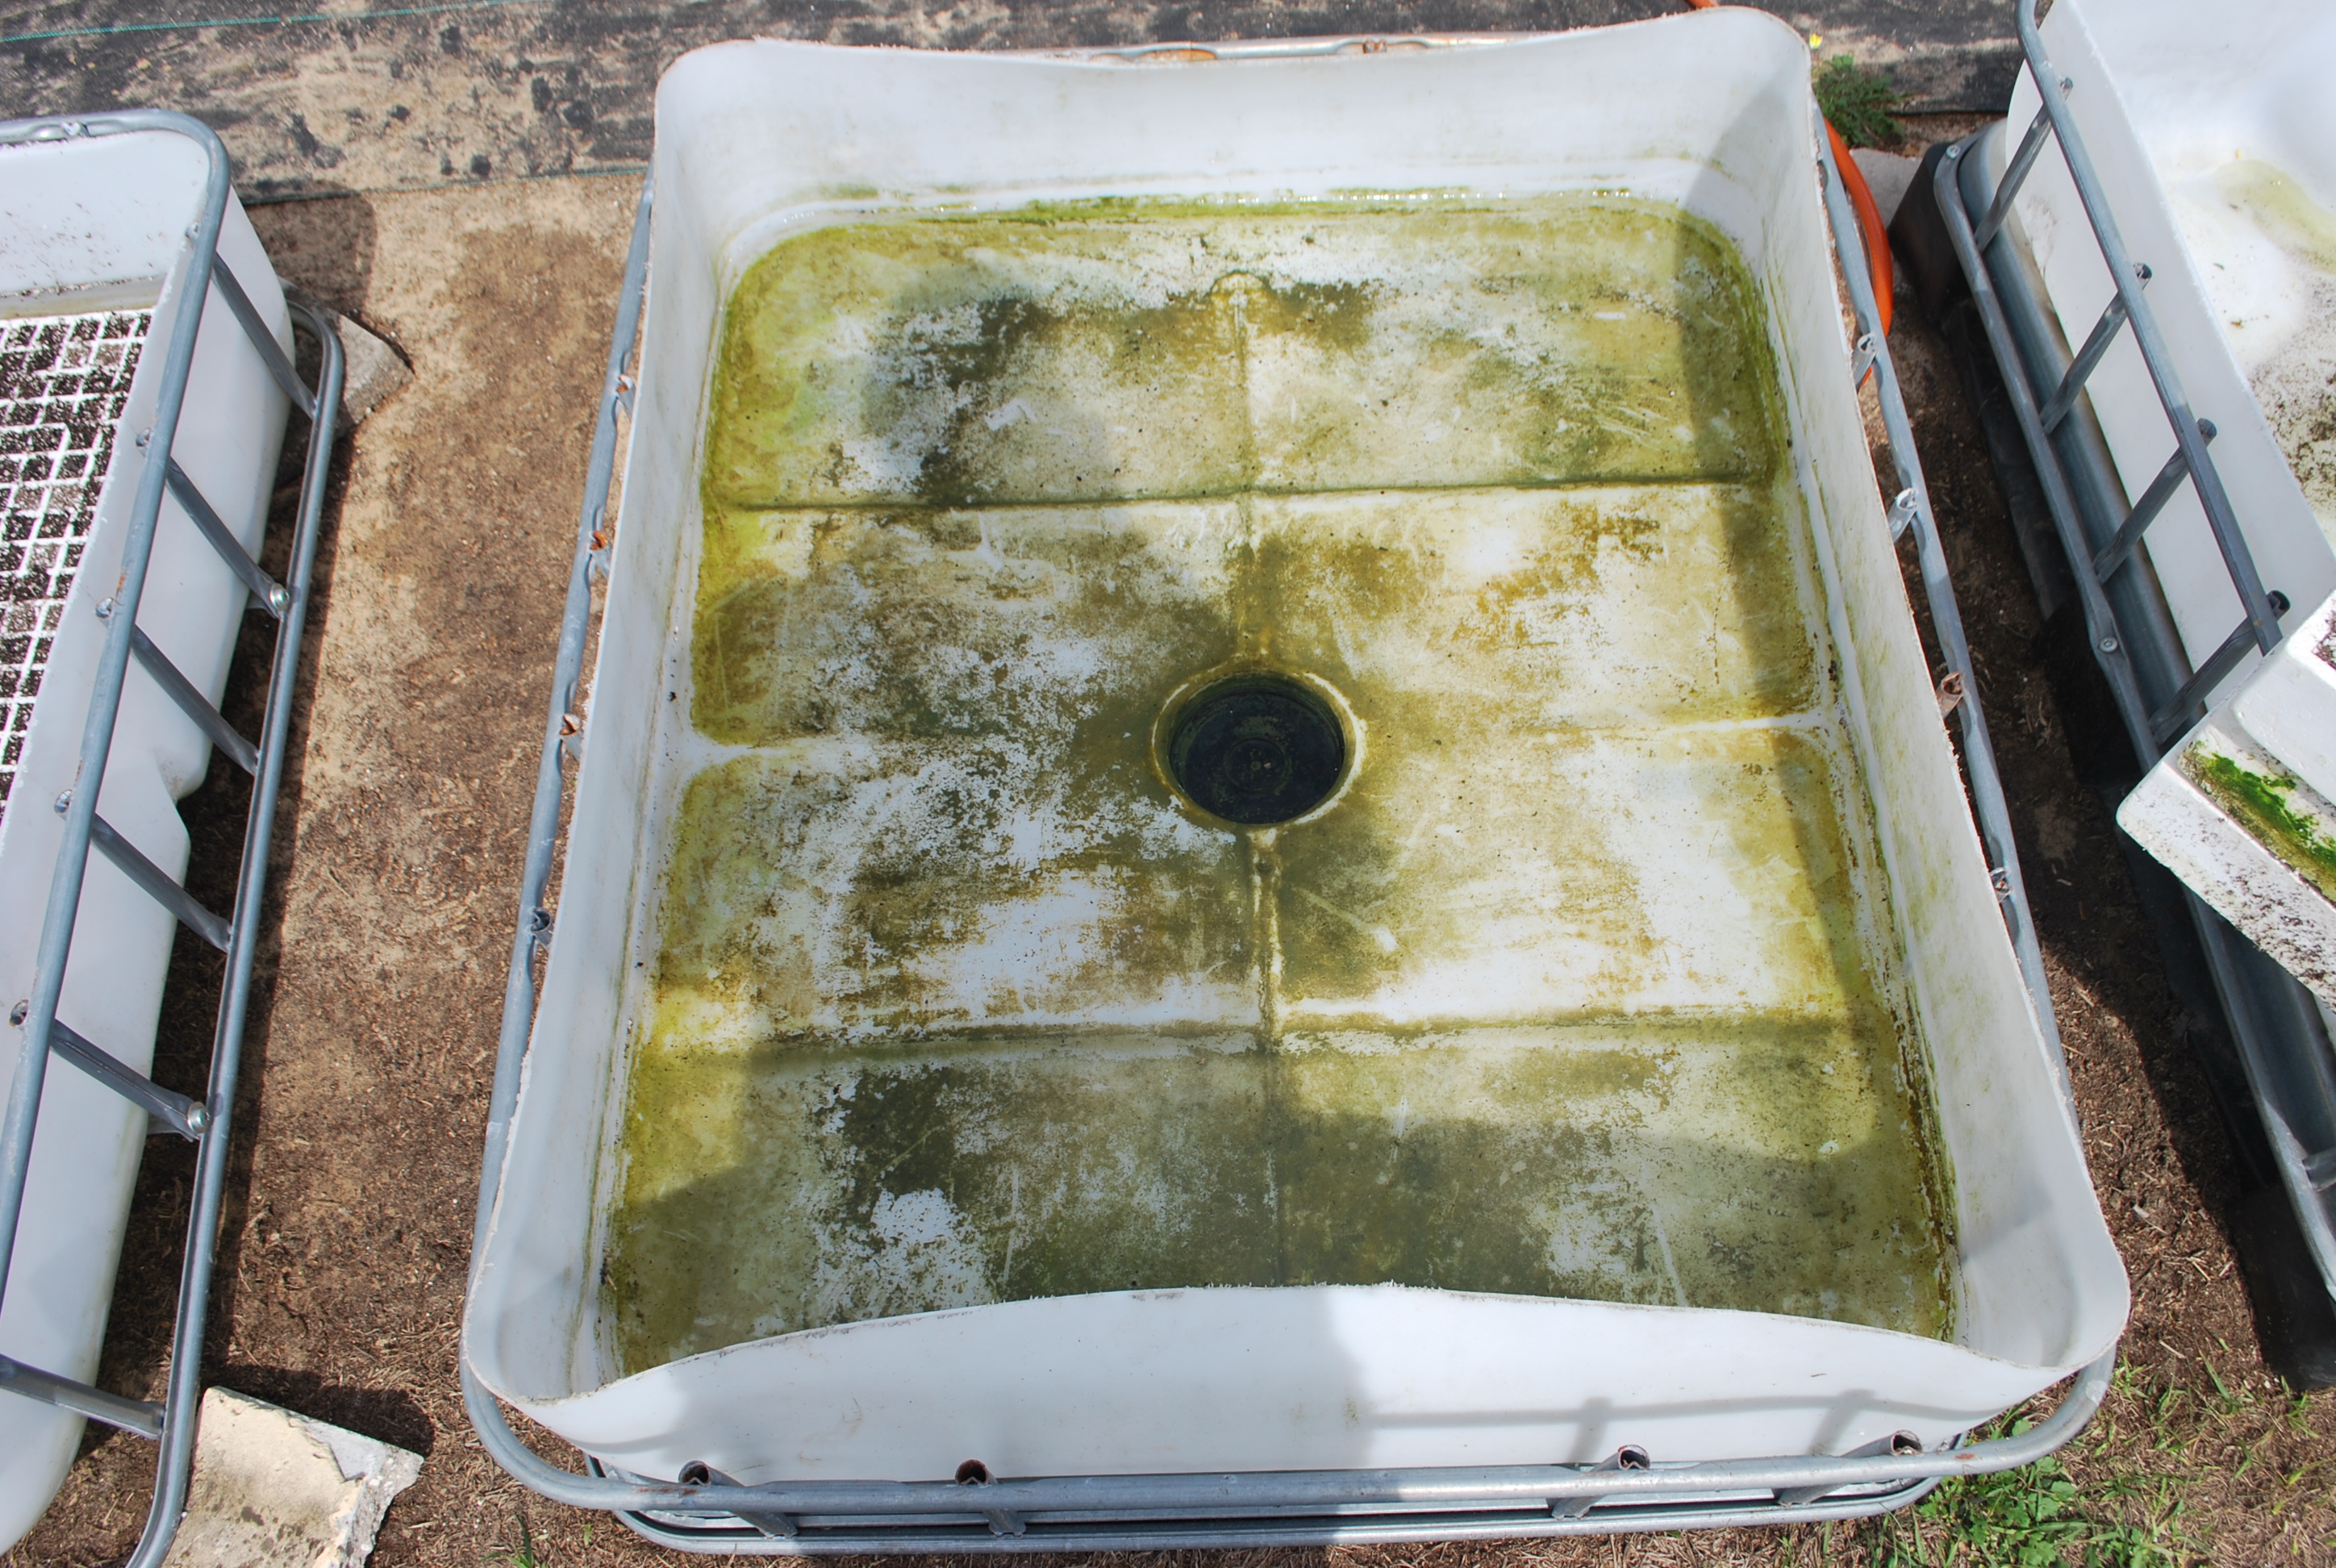
After the trays are seeded and ready to be floated you will need to get your container ready to float the trays. We use ICB sipping containers. We cut them to a depth of about 1 foot. We will fill with STRAIGHT water (aka, no nutrients). We will to a depth that varies. All that matters is that the trays float freely in the water.
Floating the trays.. Notice that the water comes up over the sides of the trays a little bit. This is so the water can be absorbed into the mix from the holes in the base of the trays.
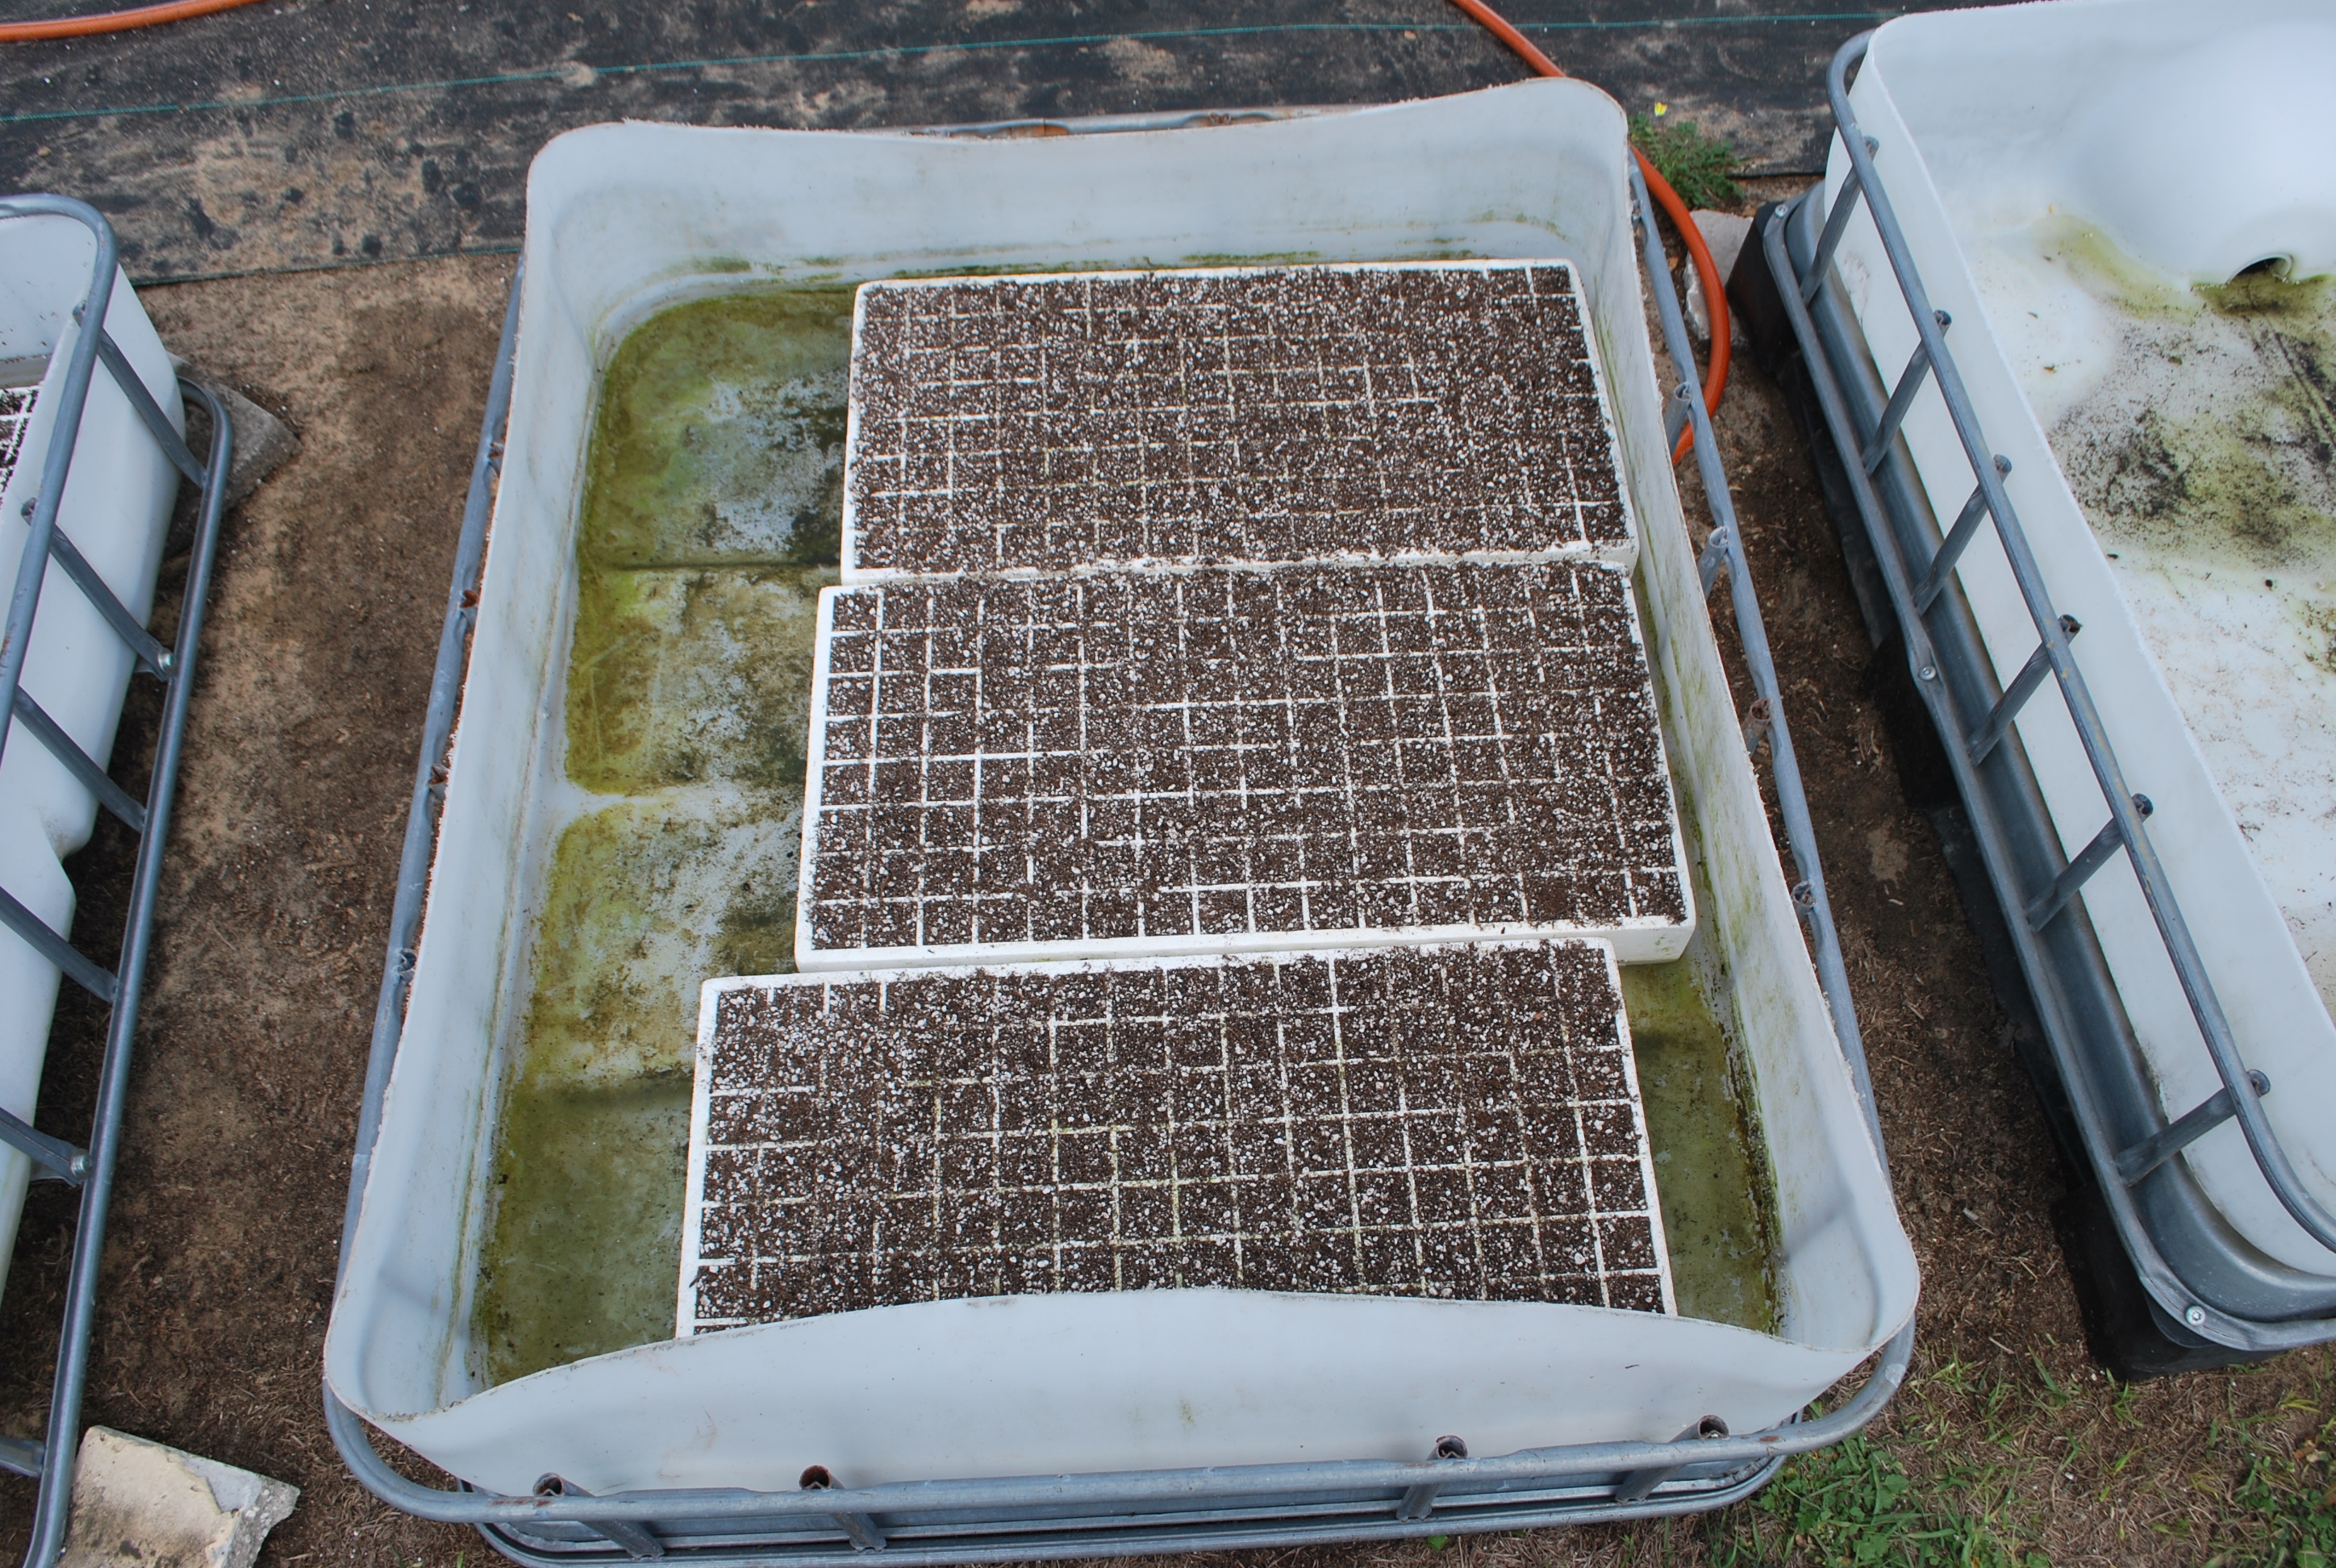
All done.. We will now leave these floating the water until all the seeds start. You do not want to let the seeds dry out. So leave them until you see growth. Wait until all seeds sprout to pull the trays out.
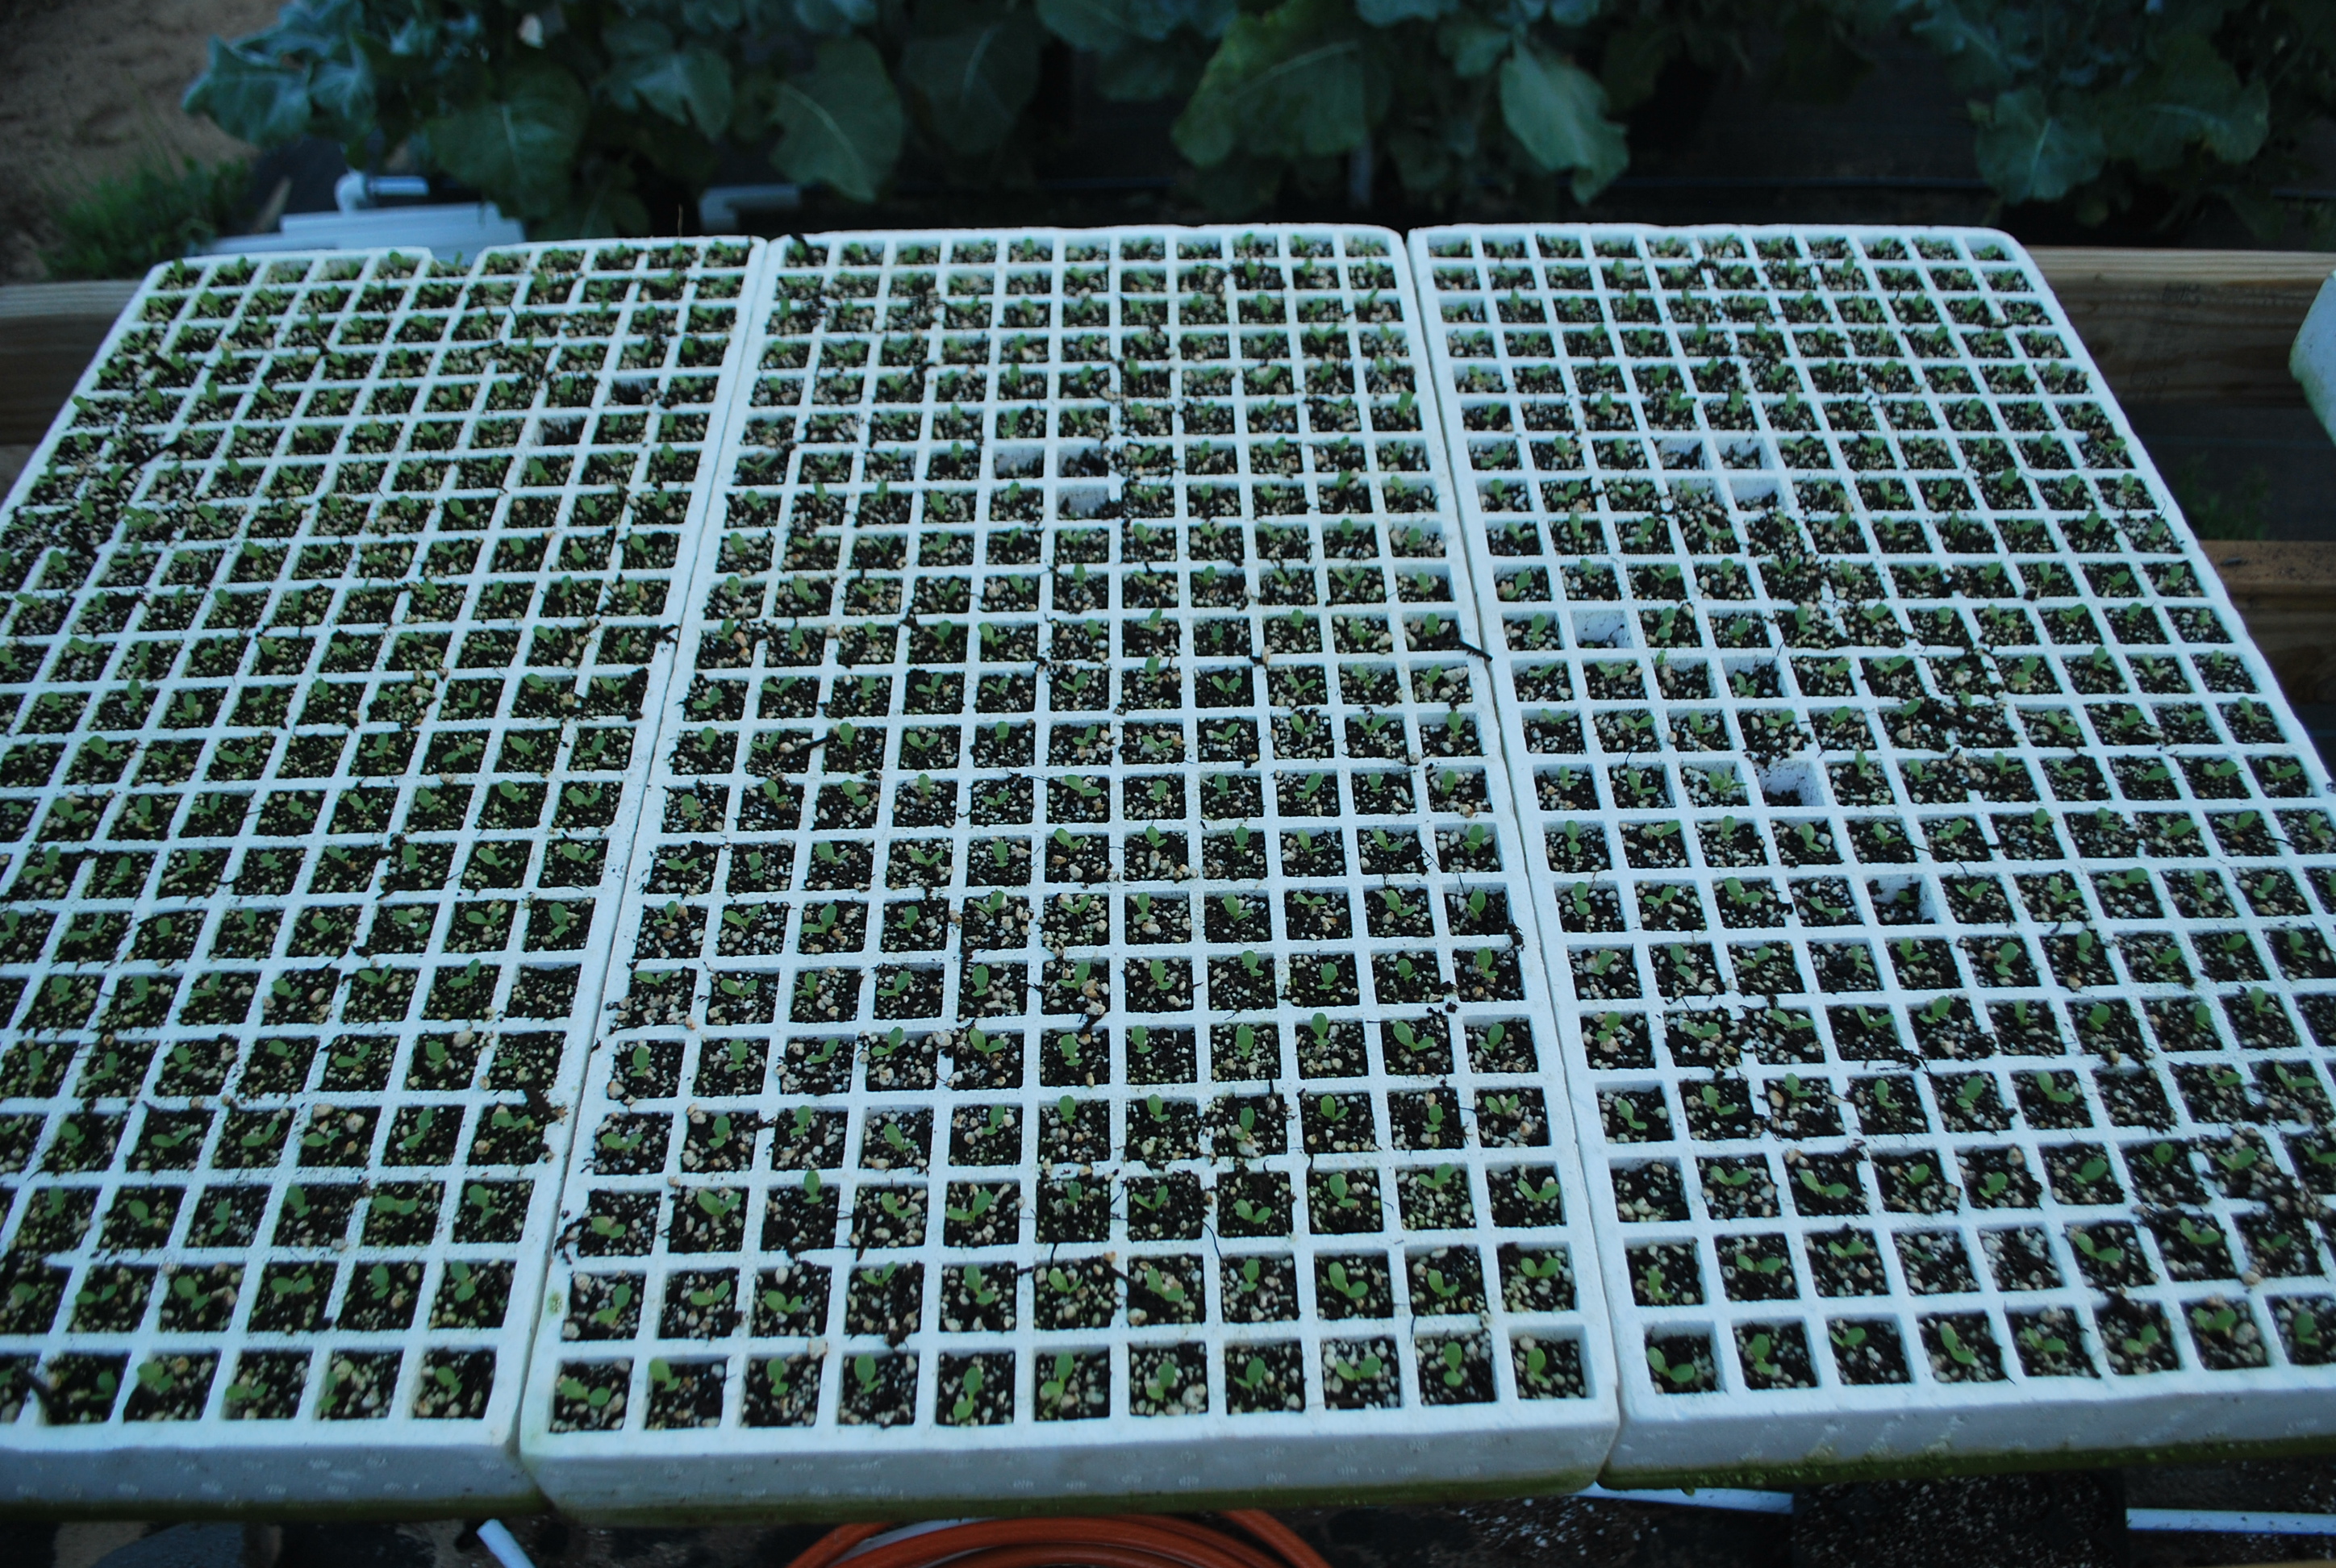
7 days later this is what our starter trays looked like. These are lettuce seeds that were planted on the same day. At this point you want to pull the trays out of the water and clean out the float container. Once clean you want to refill with water and nutrient water. We shoot for a TDS of about 800 ppm. This will help the plants to develop and not be too hot of a fertilizer and cause the plants to die from fertilizer burn.