For the visual learners of the world. You're going to love this!
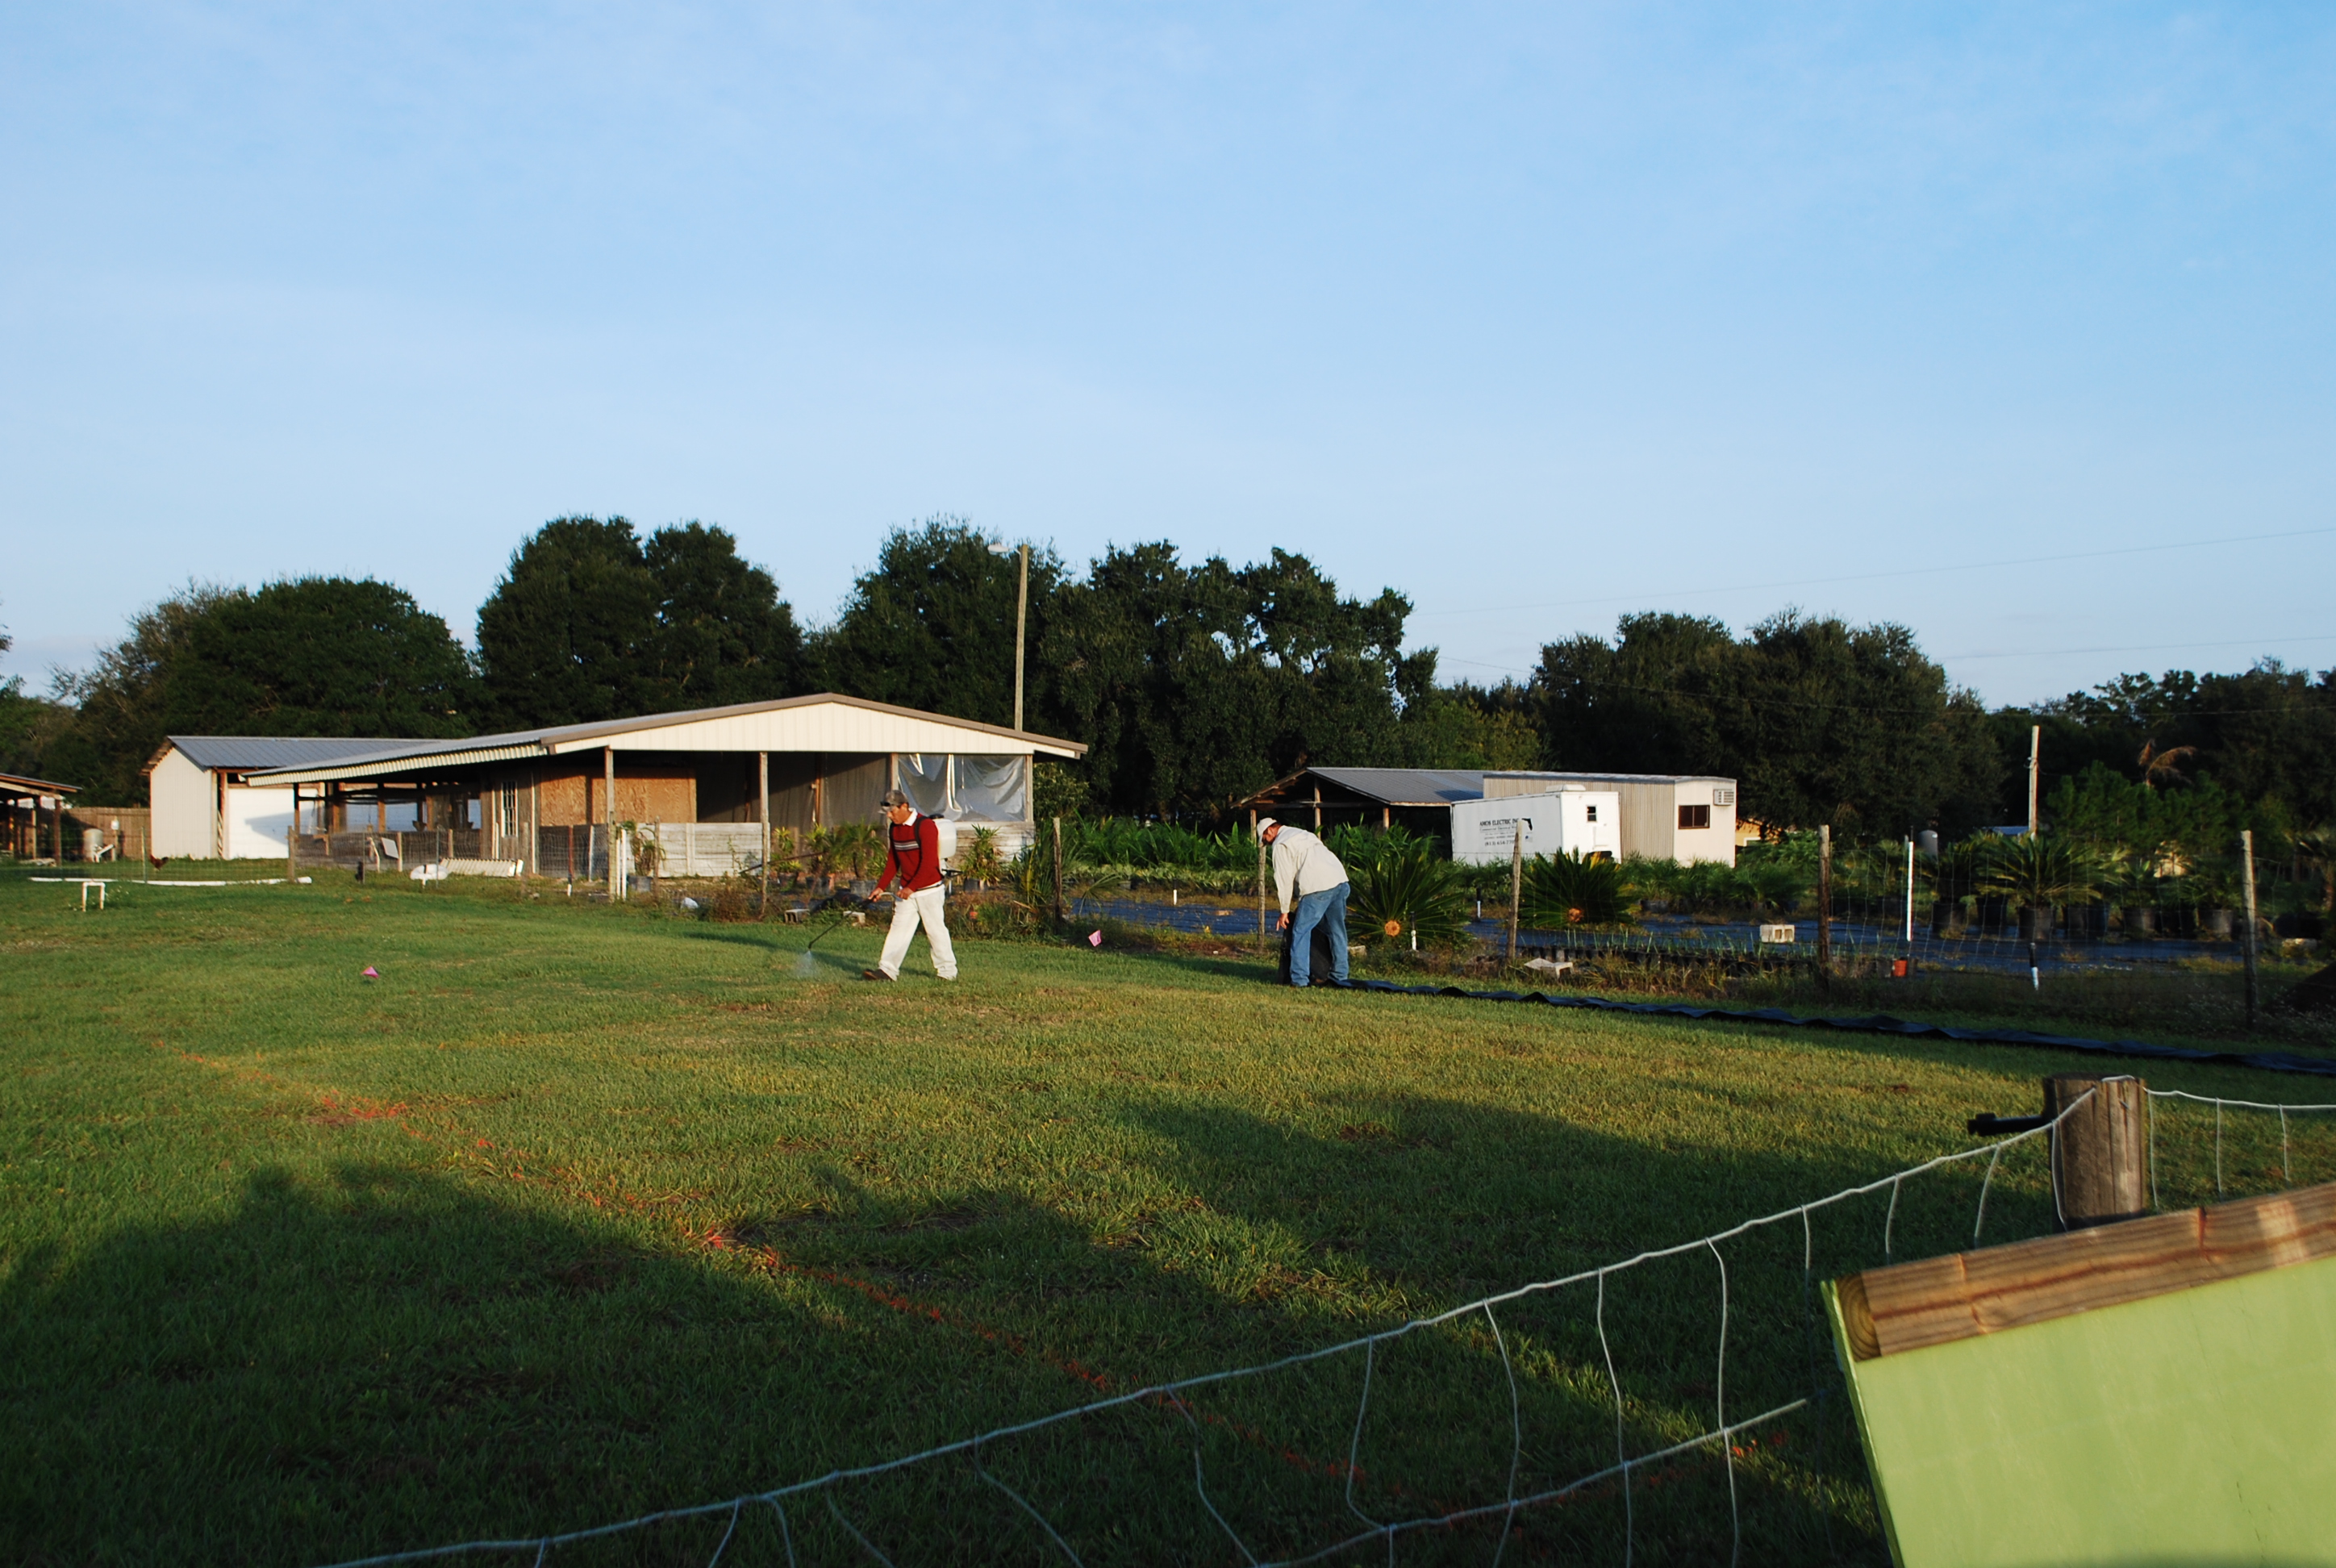
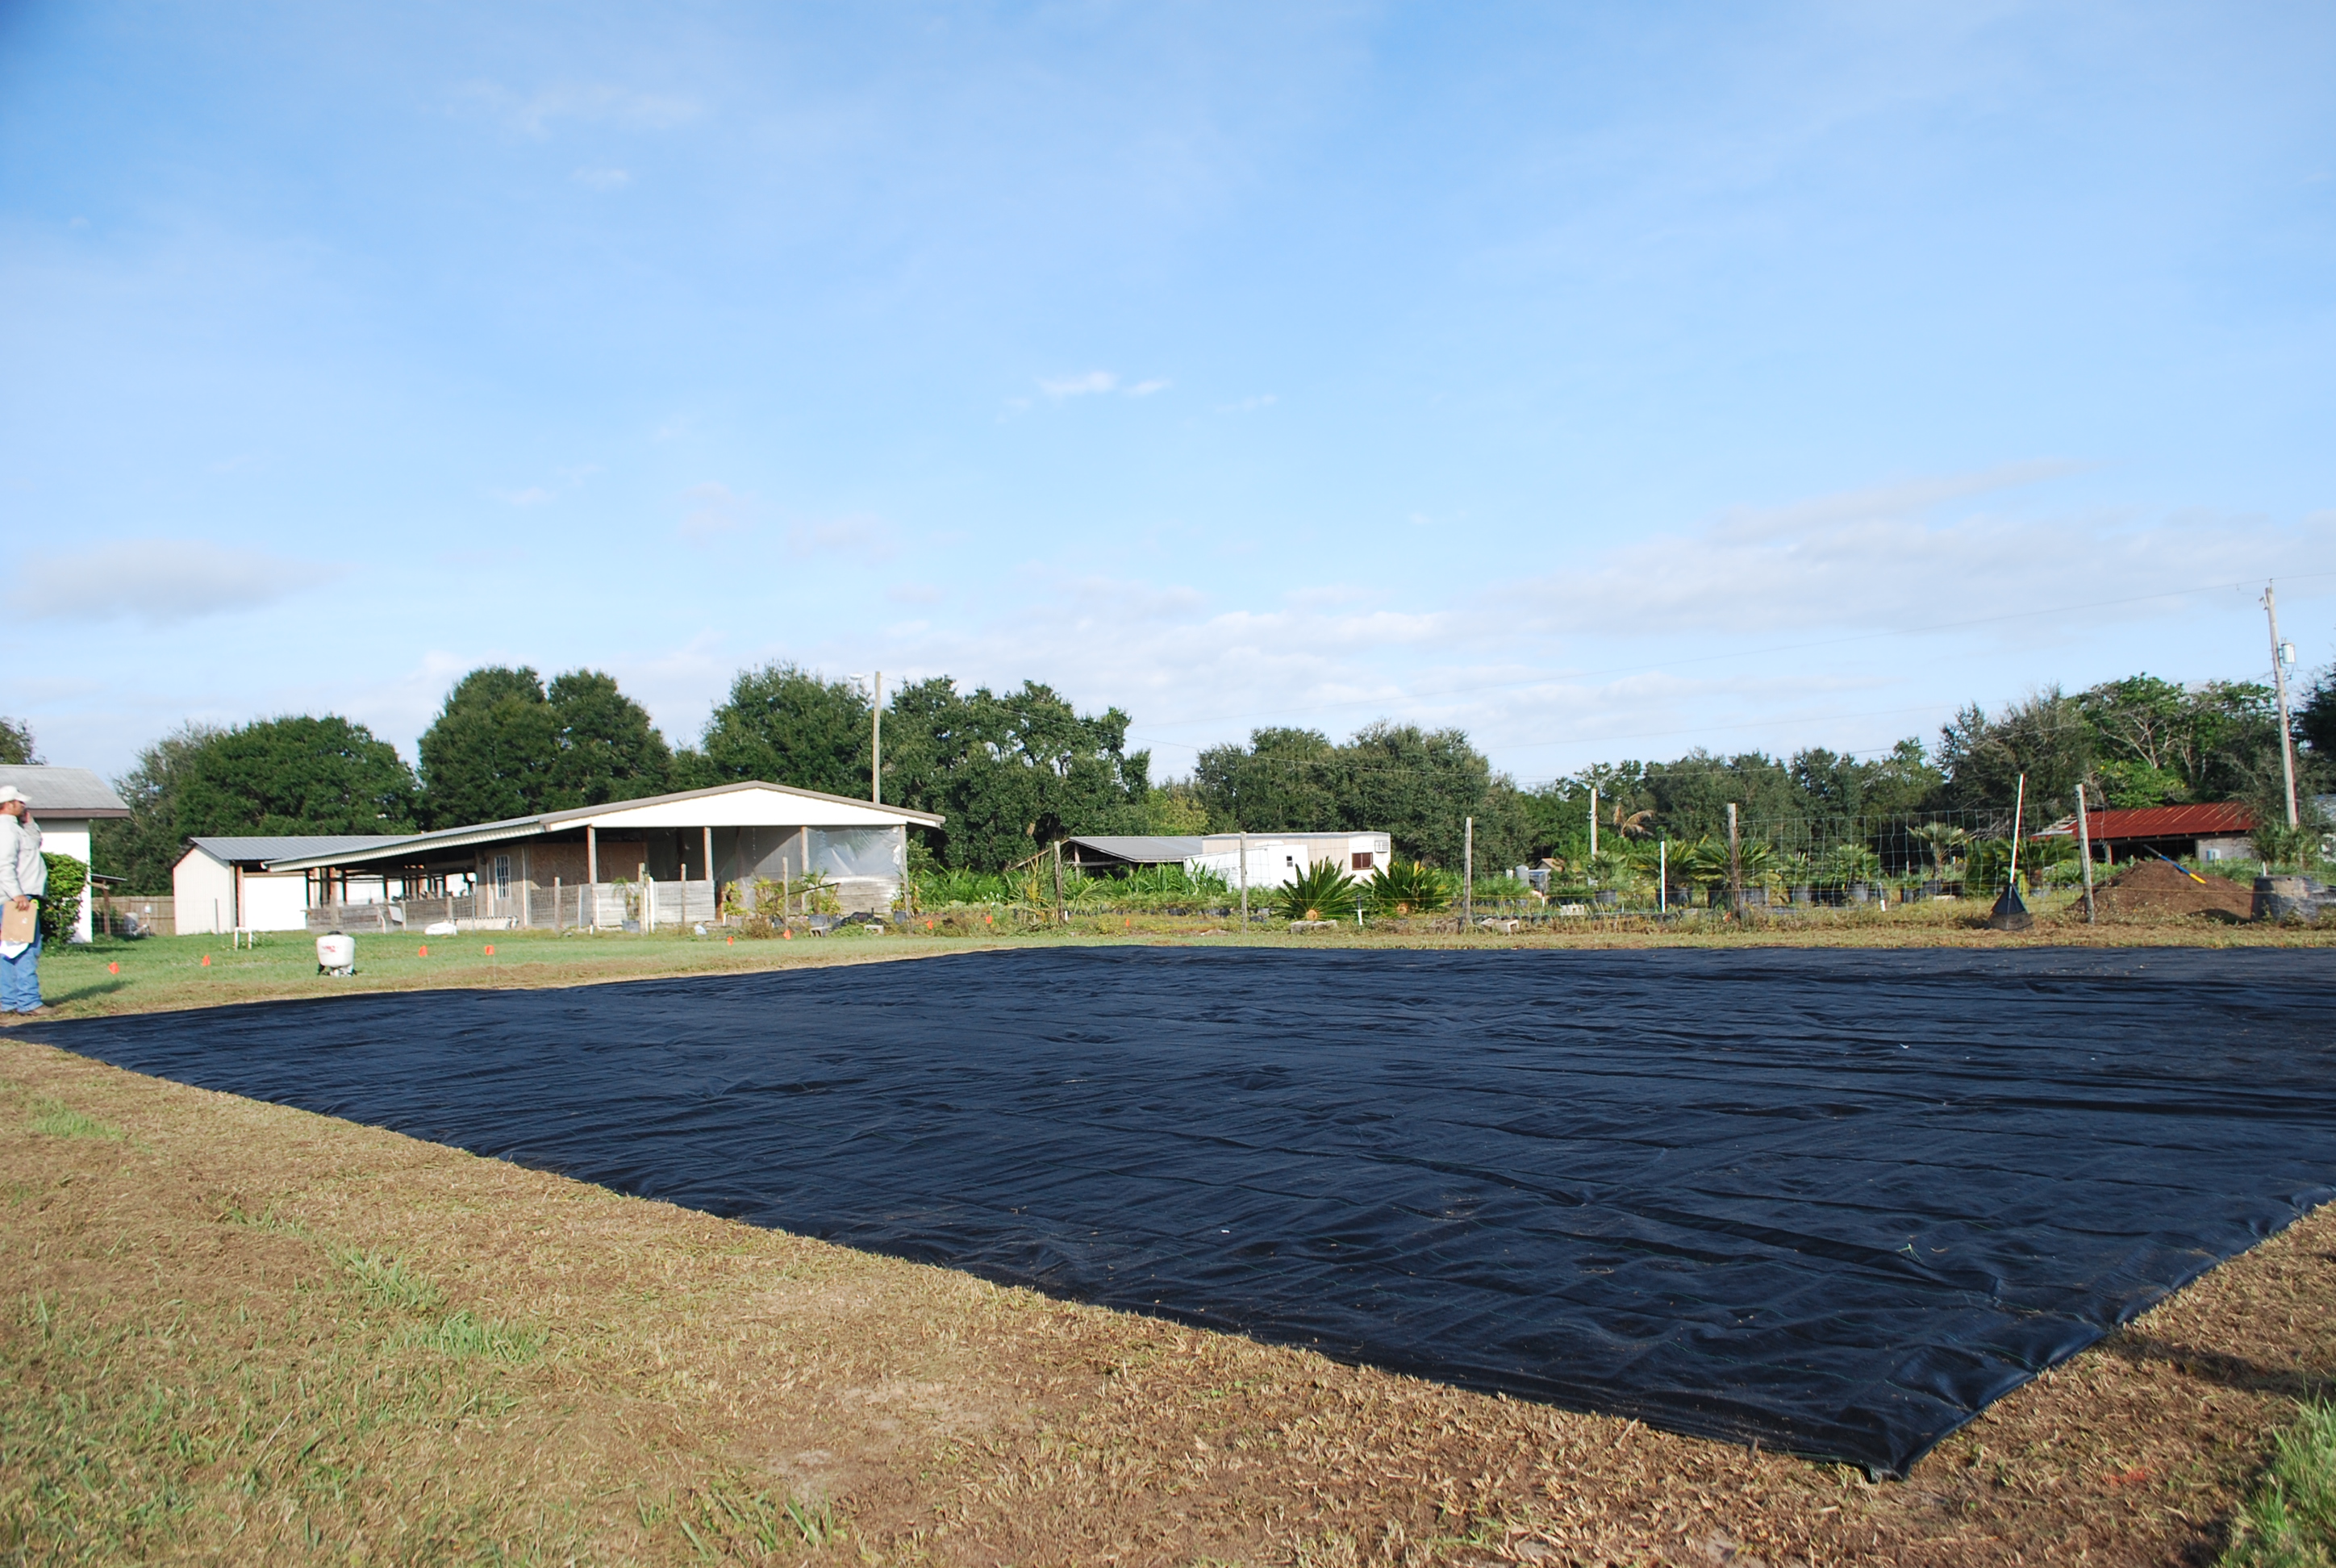
Prepping the area for the hydroponic farm.
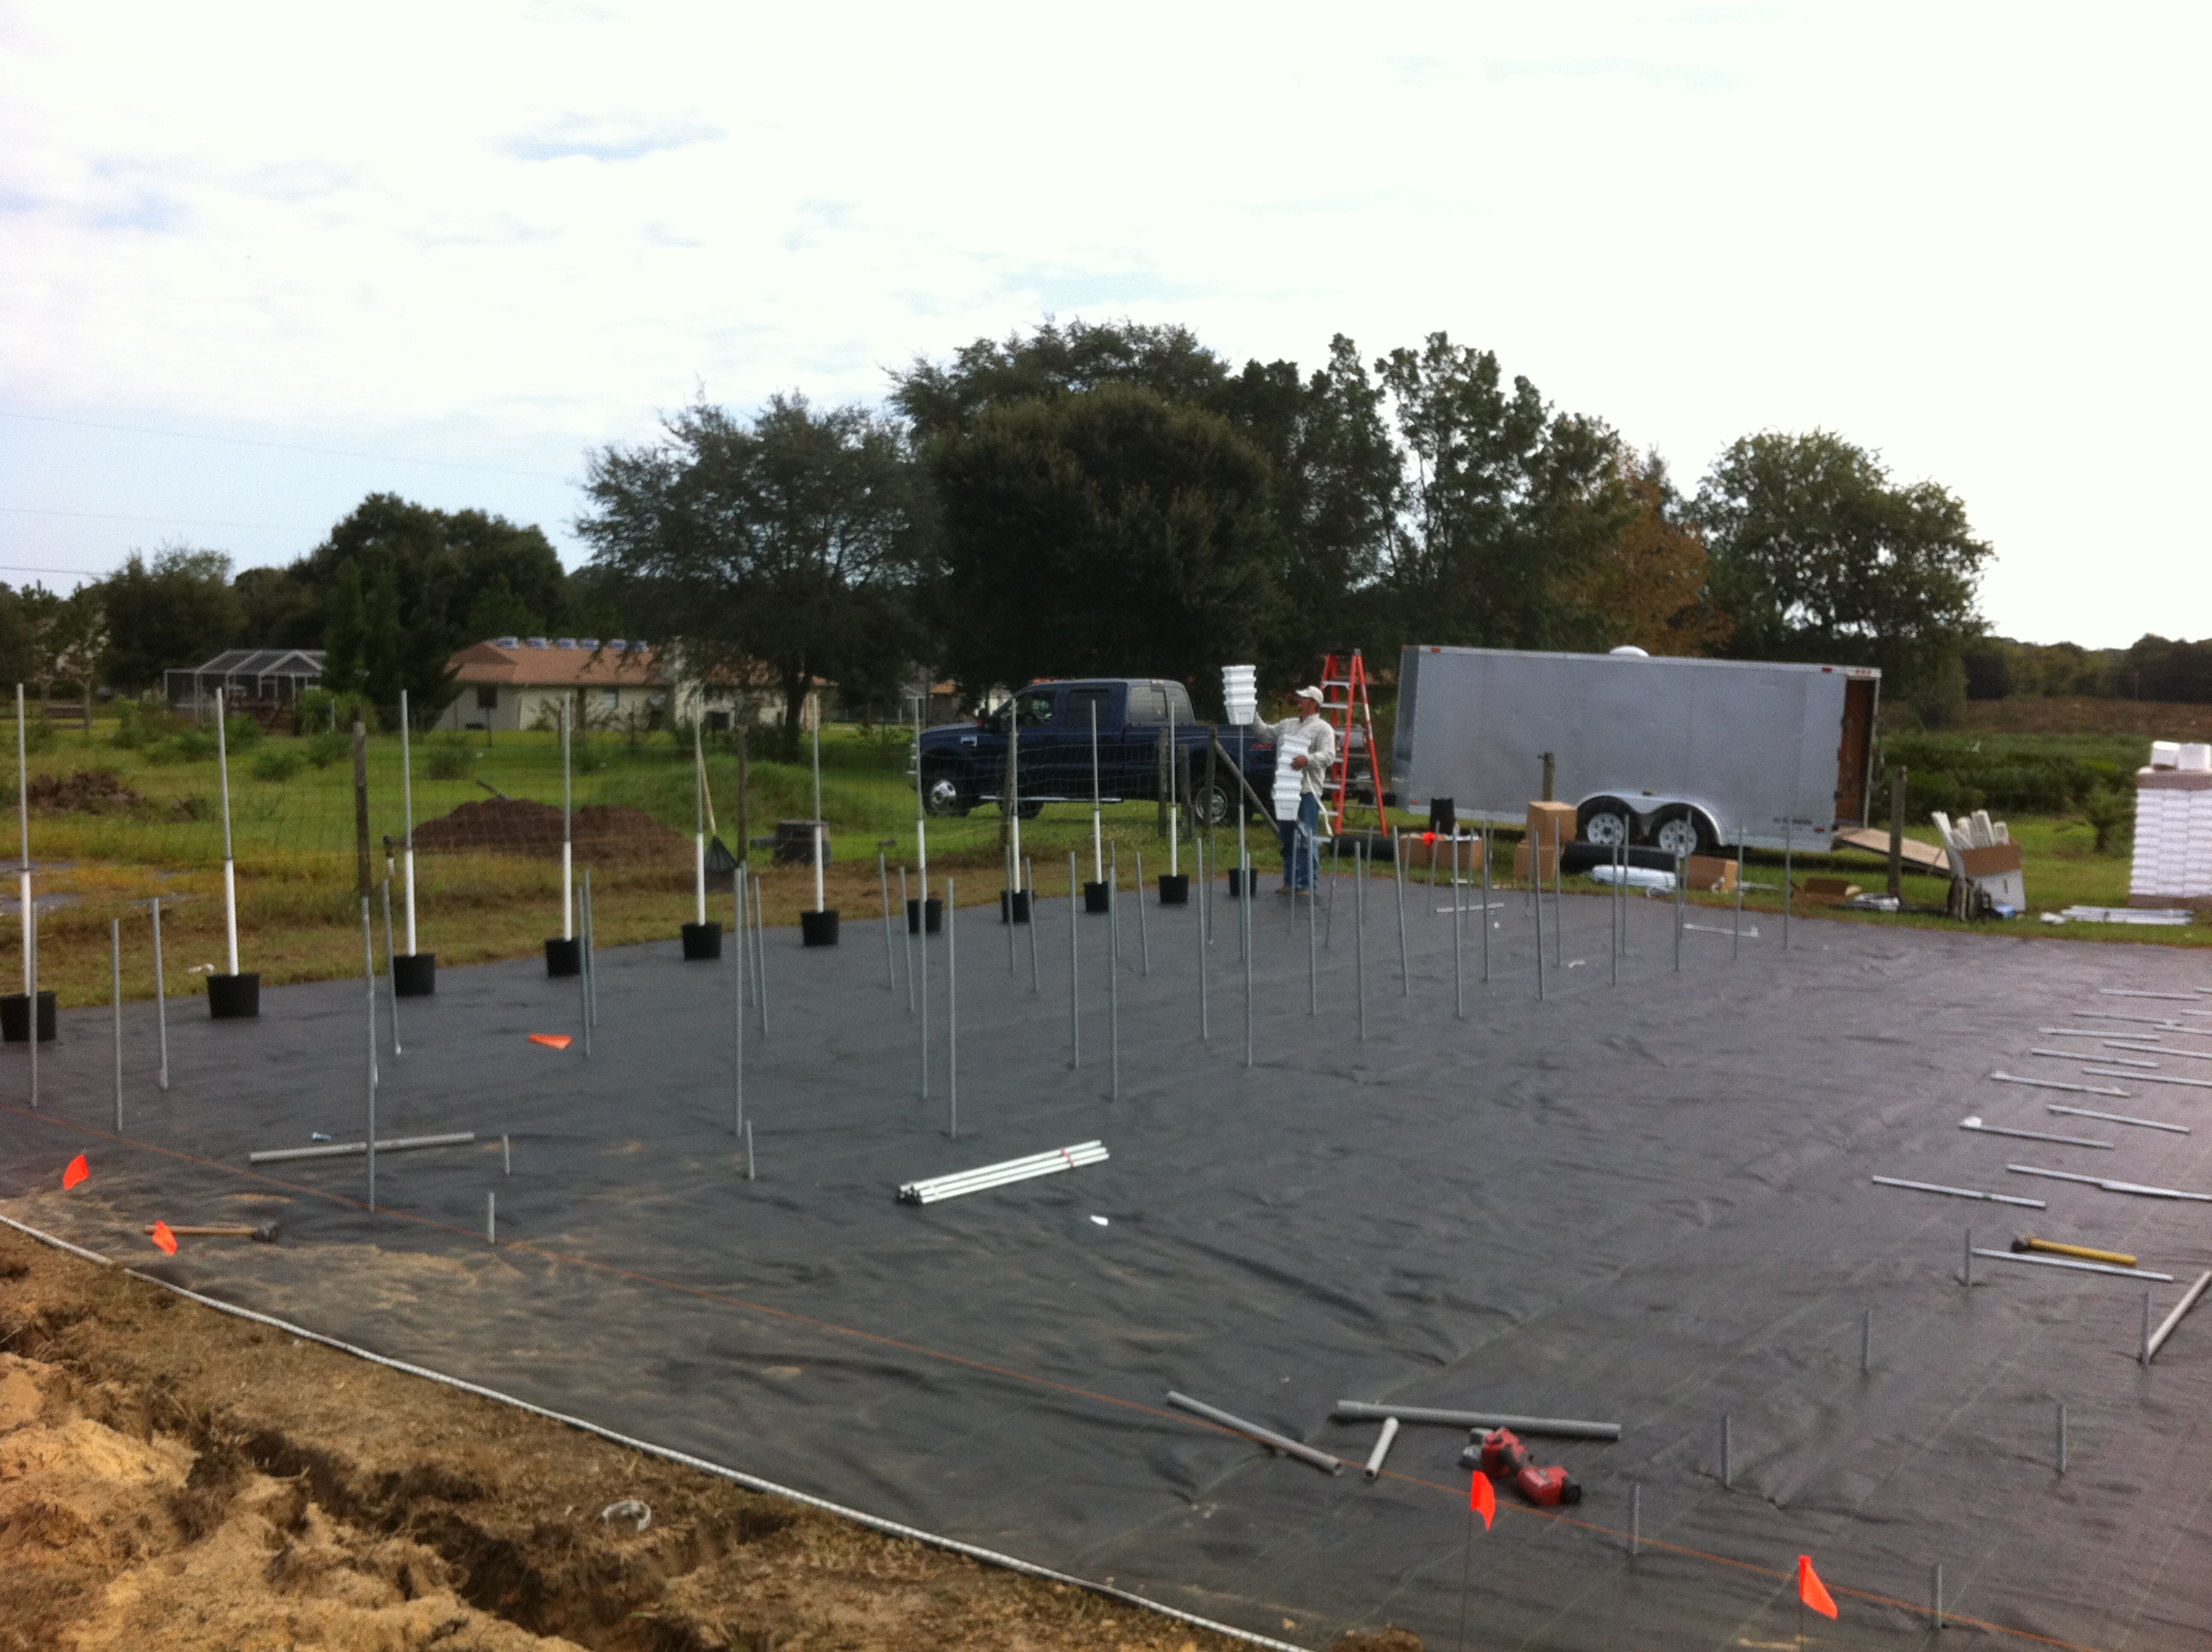
We marked out the area with contractors marking paint. The area was approximately 45ft by 50ft. After marking our area for the farm to be installed, we scalp mowed with a commercial walk behind lawn mower. After scalp mowing we sprayed a weed/grass killer onto the area to help prevent weeds from coming through the ground cover.
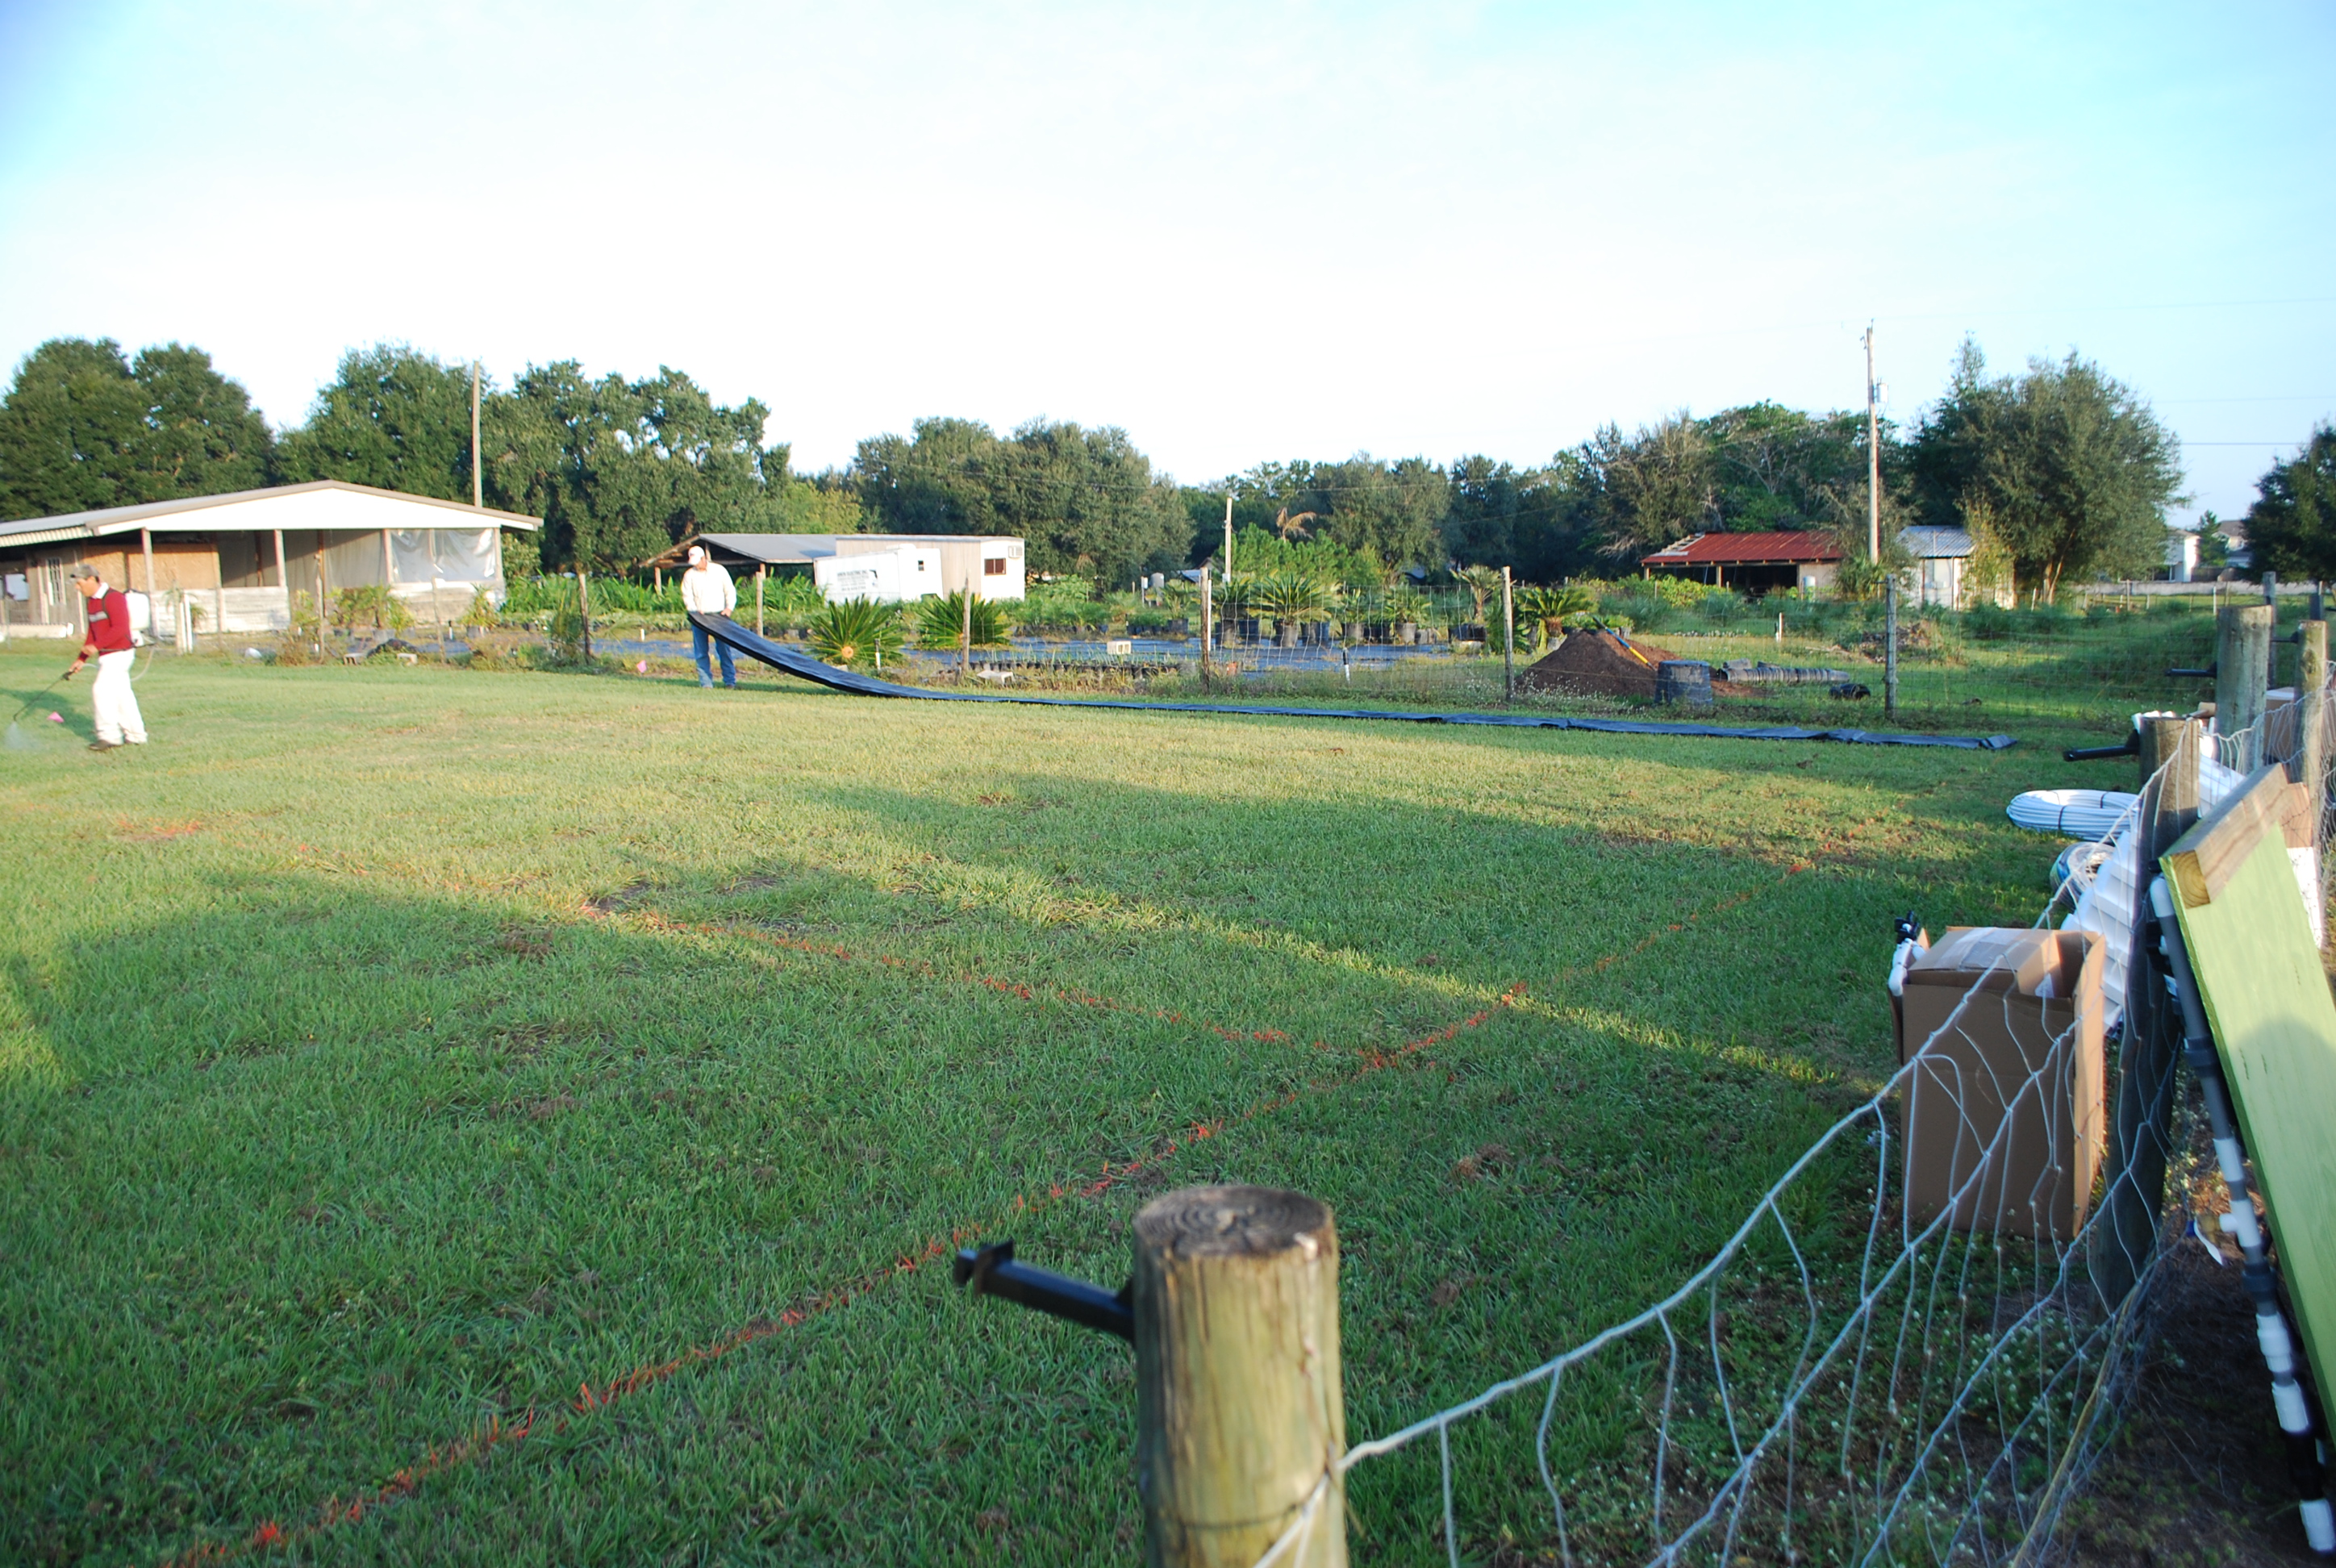
Rolling the ground cover out.
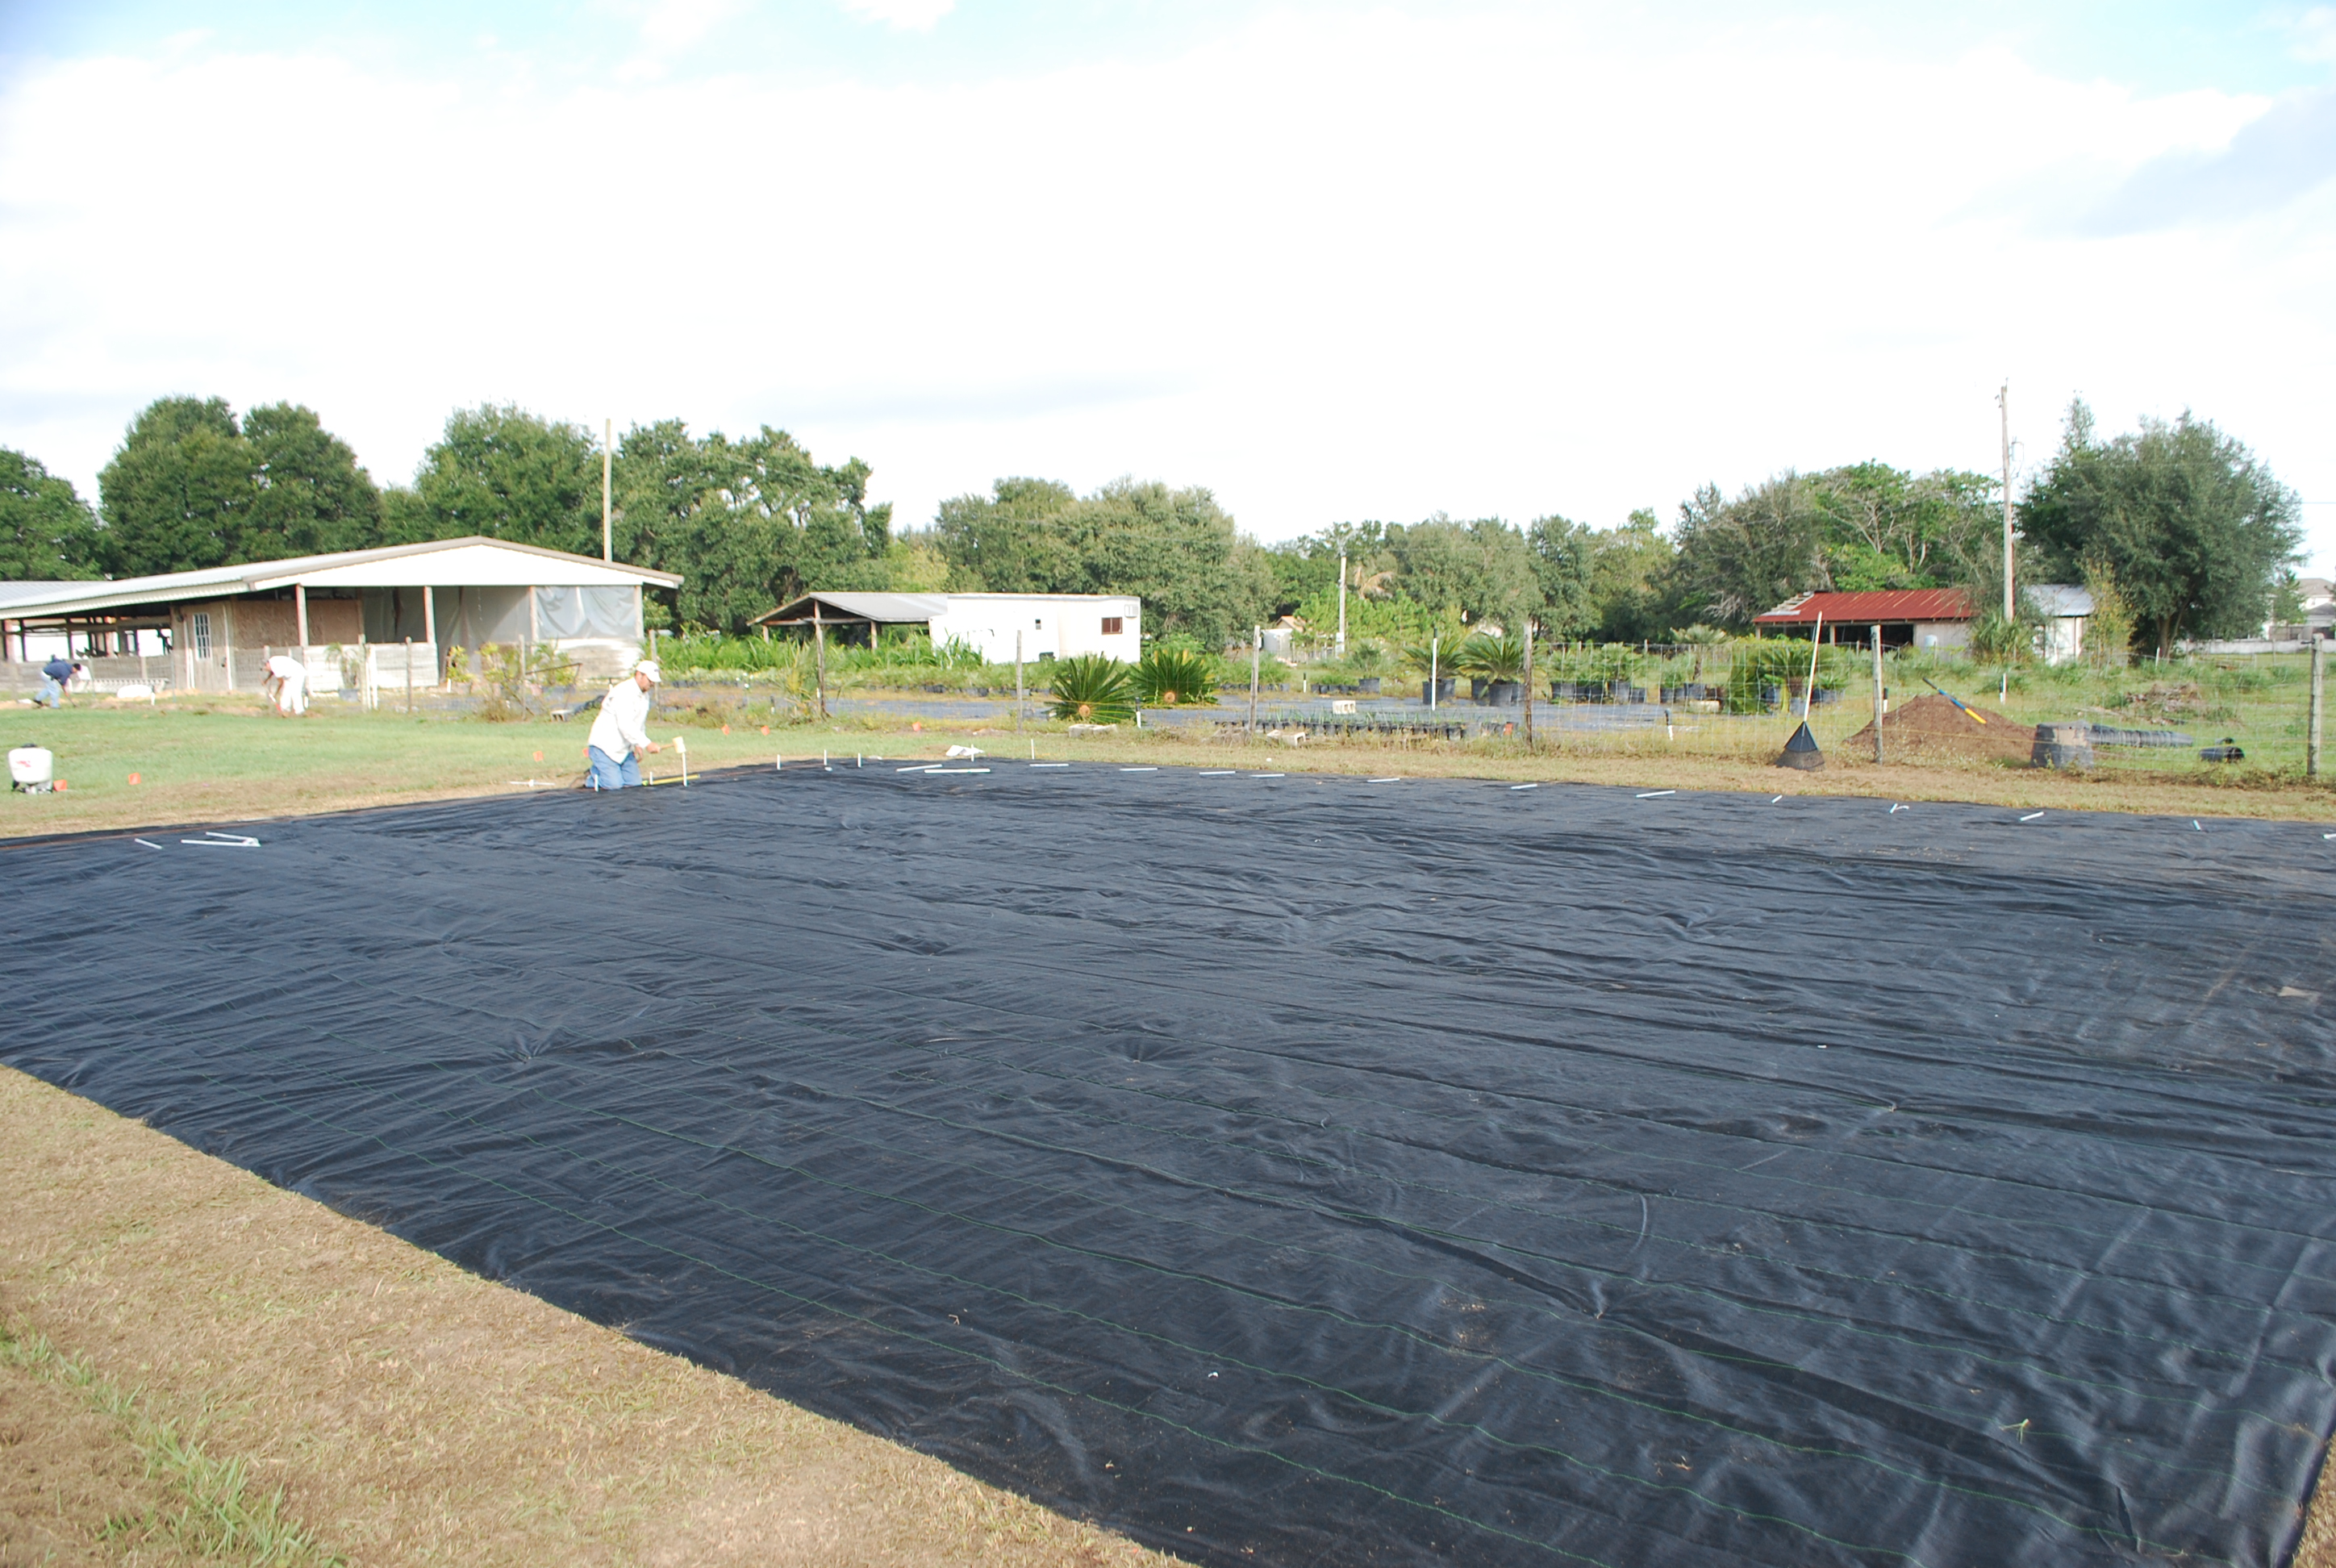
 Inserting staples to hold down the ground cover. The staples are spaced 1 foot apart and the cloth is doubled up along the edges.
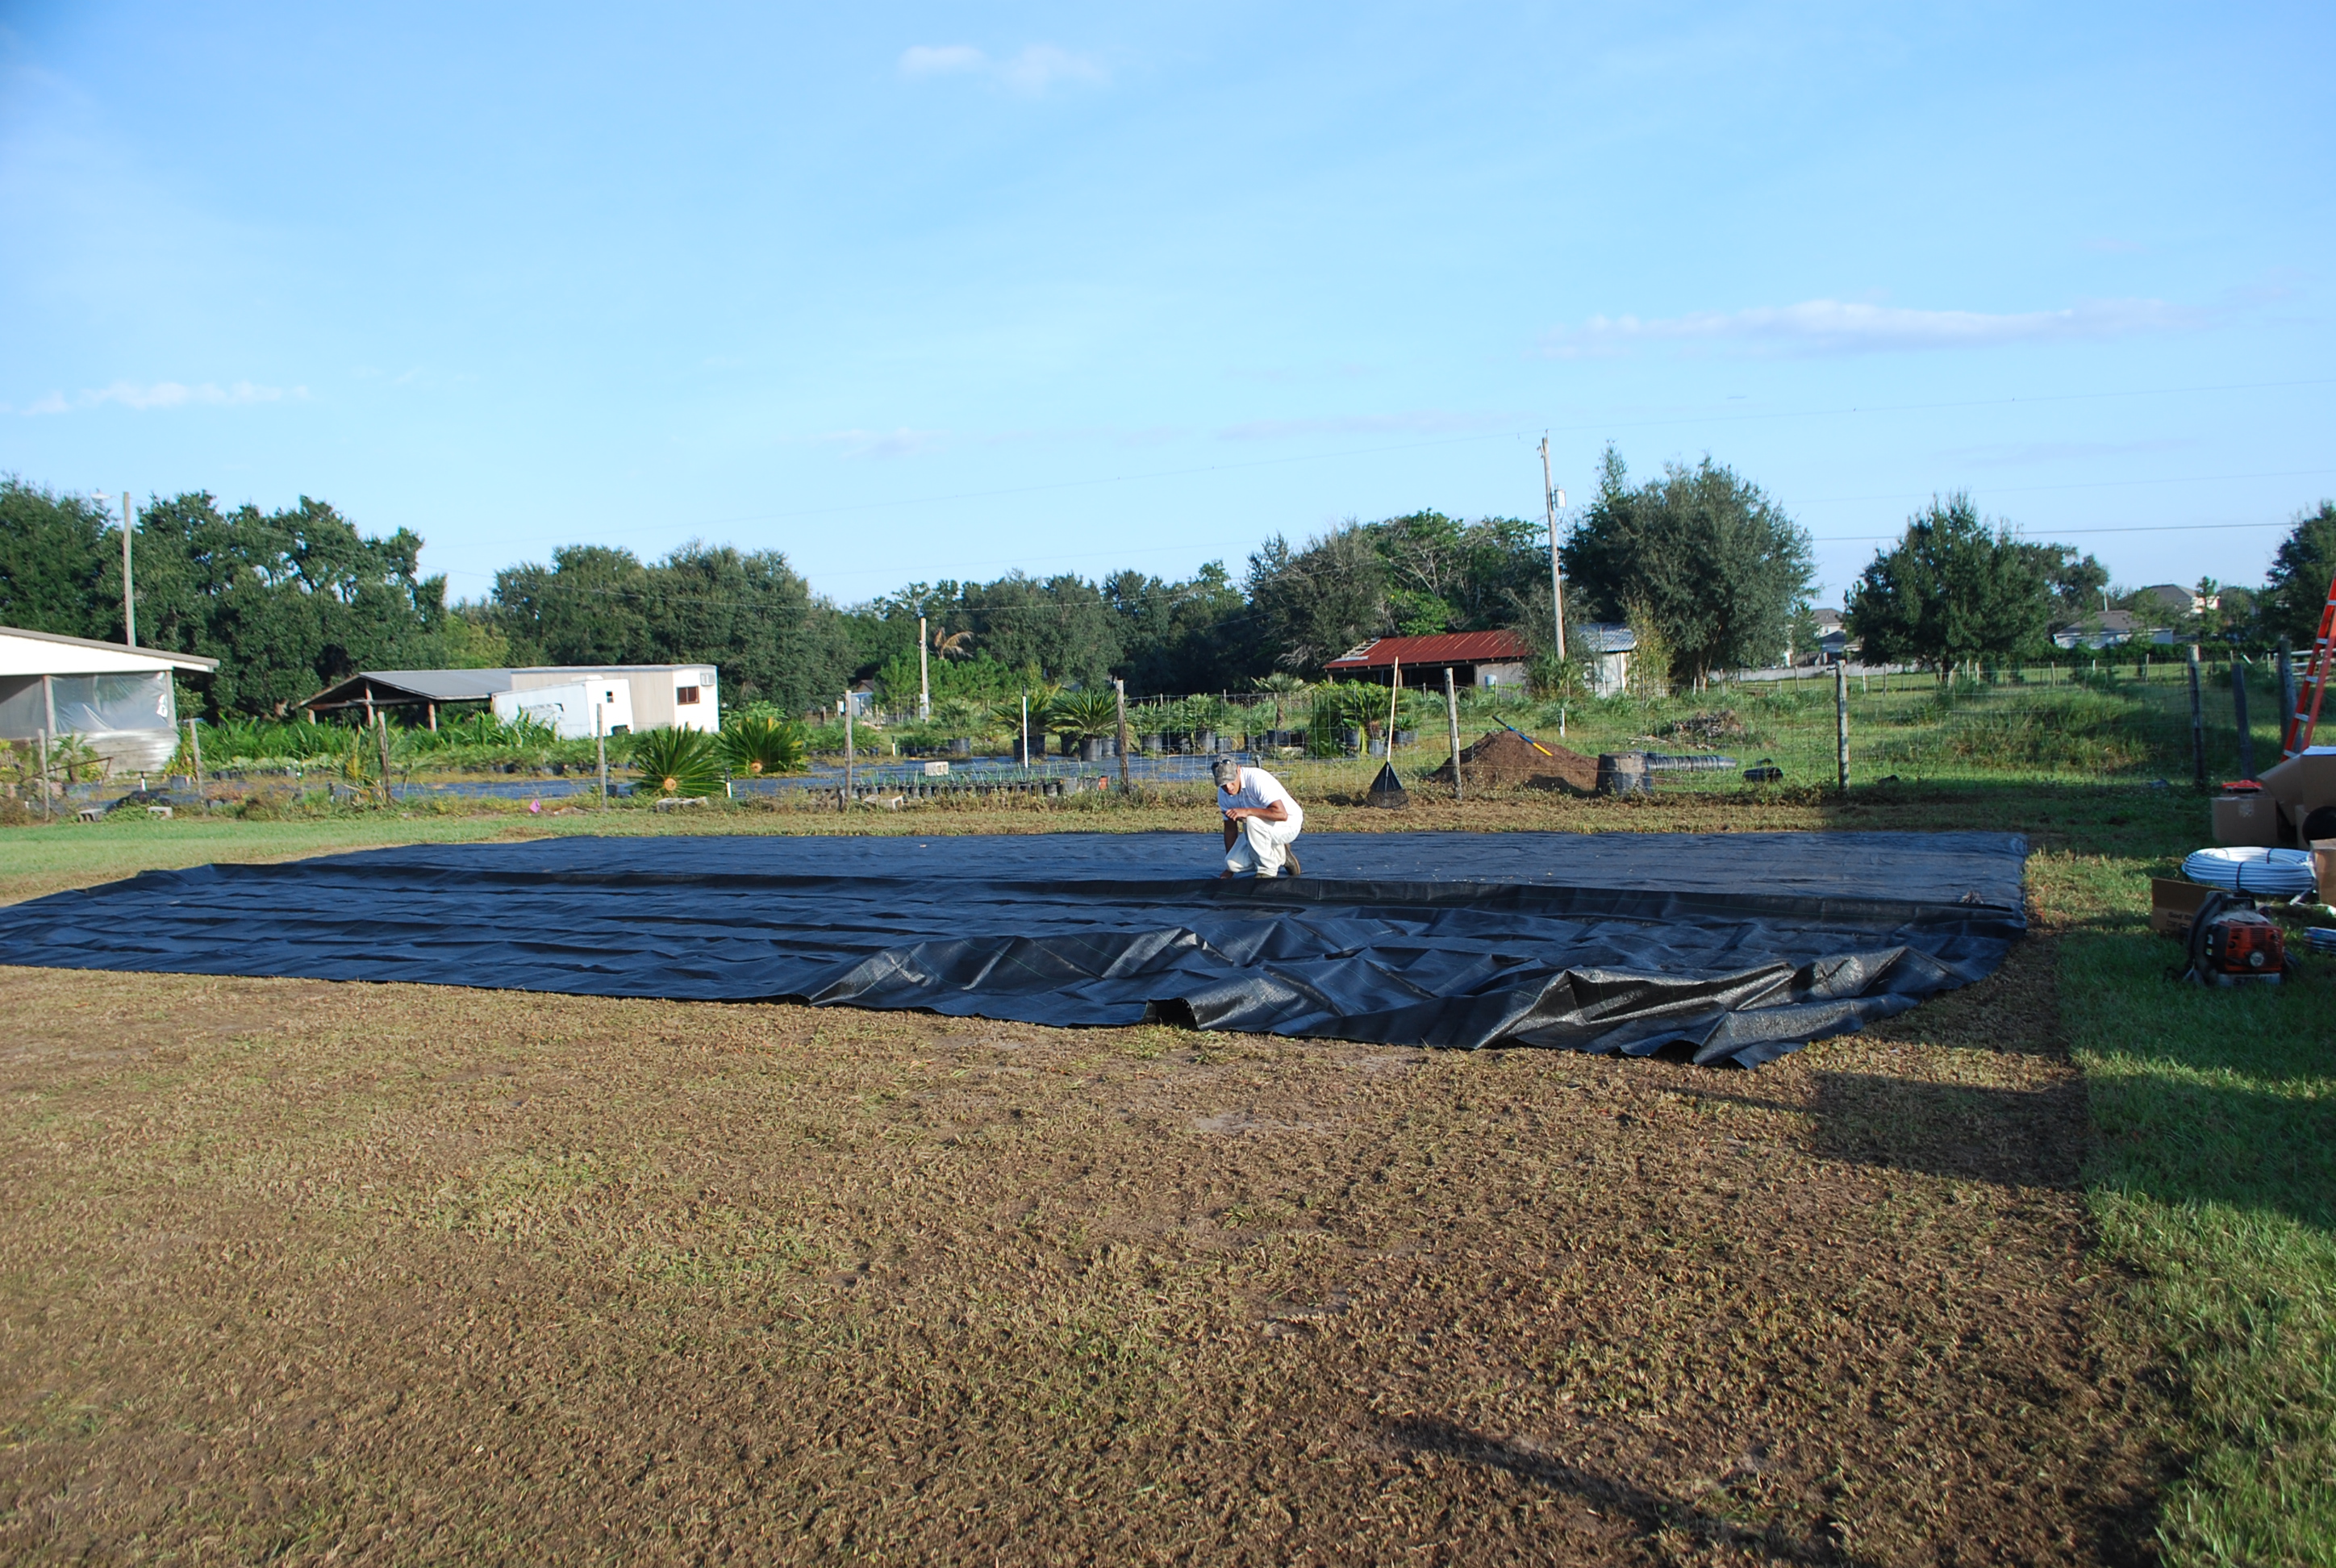 Installing the second ground cover. With the second cover you overlap the first by one foot.
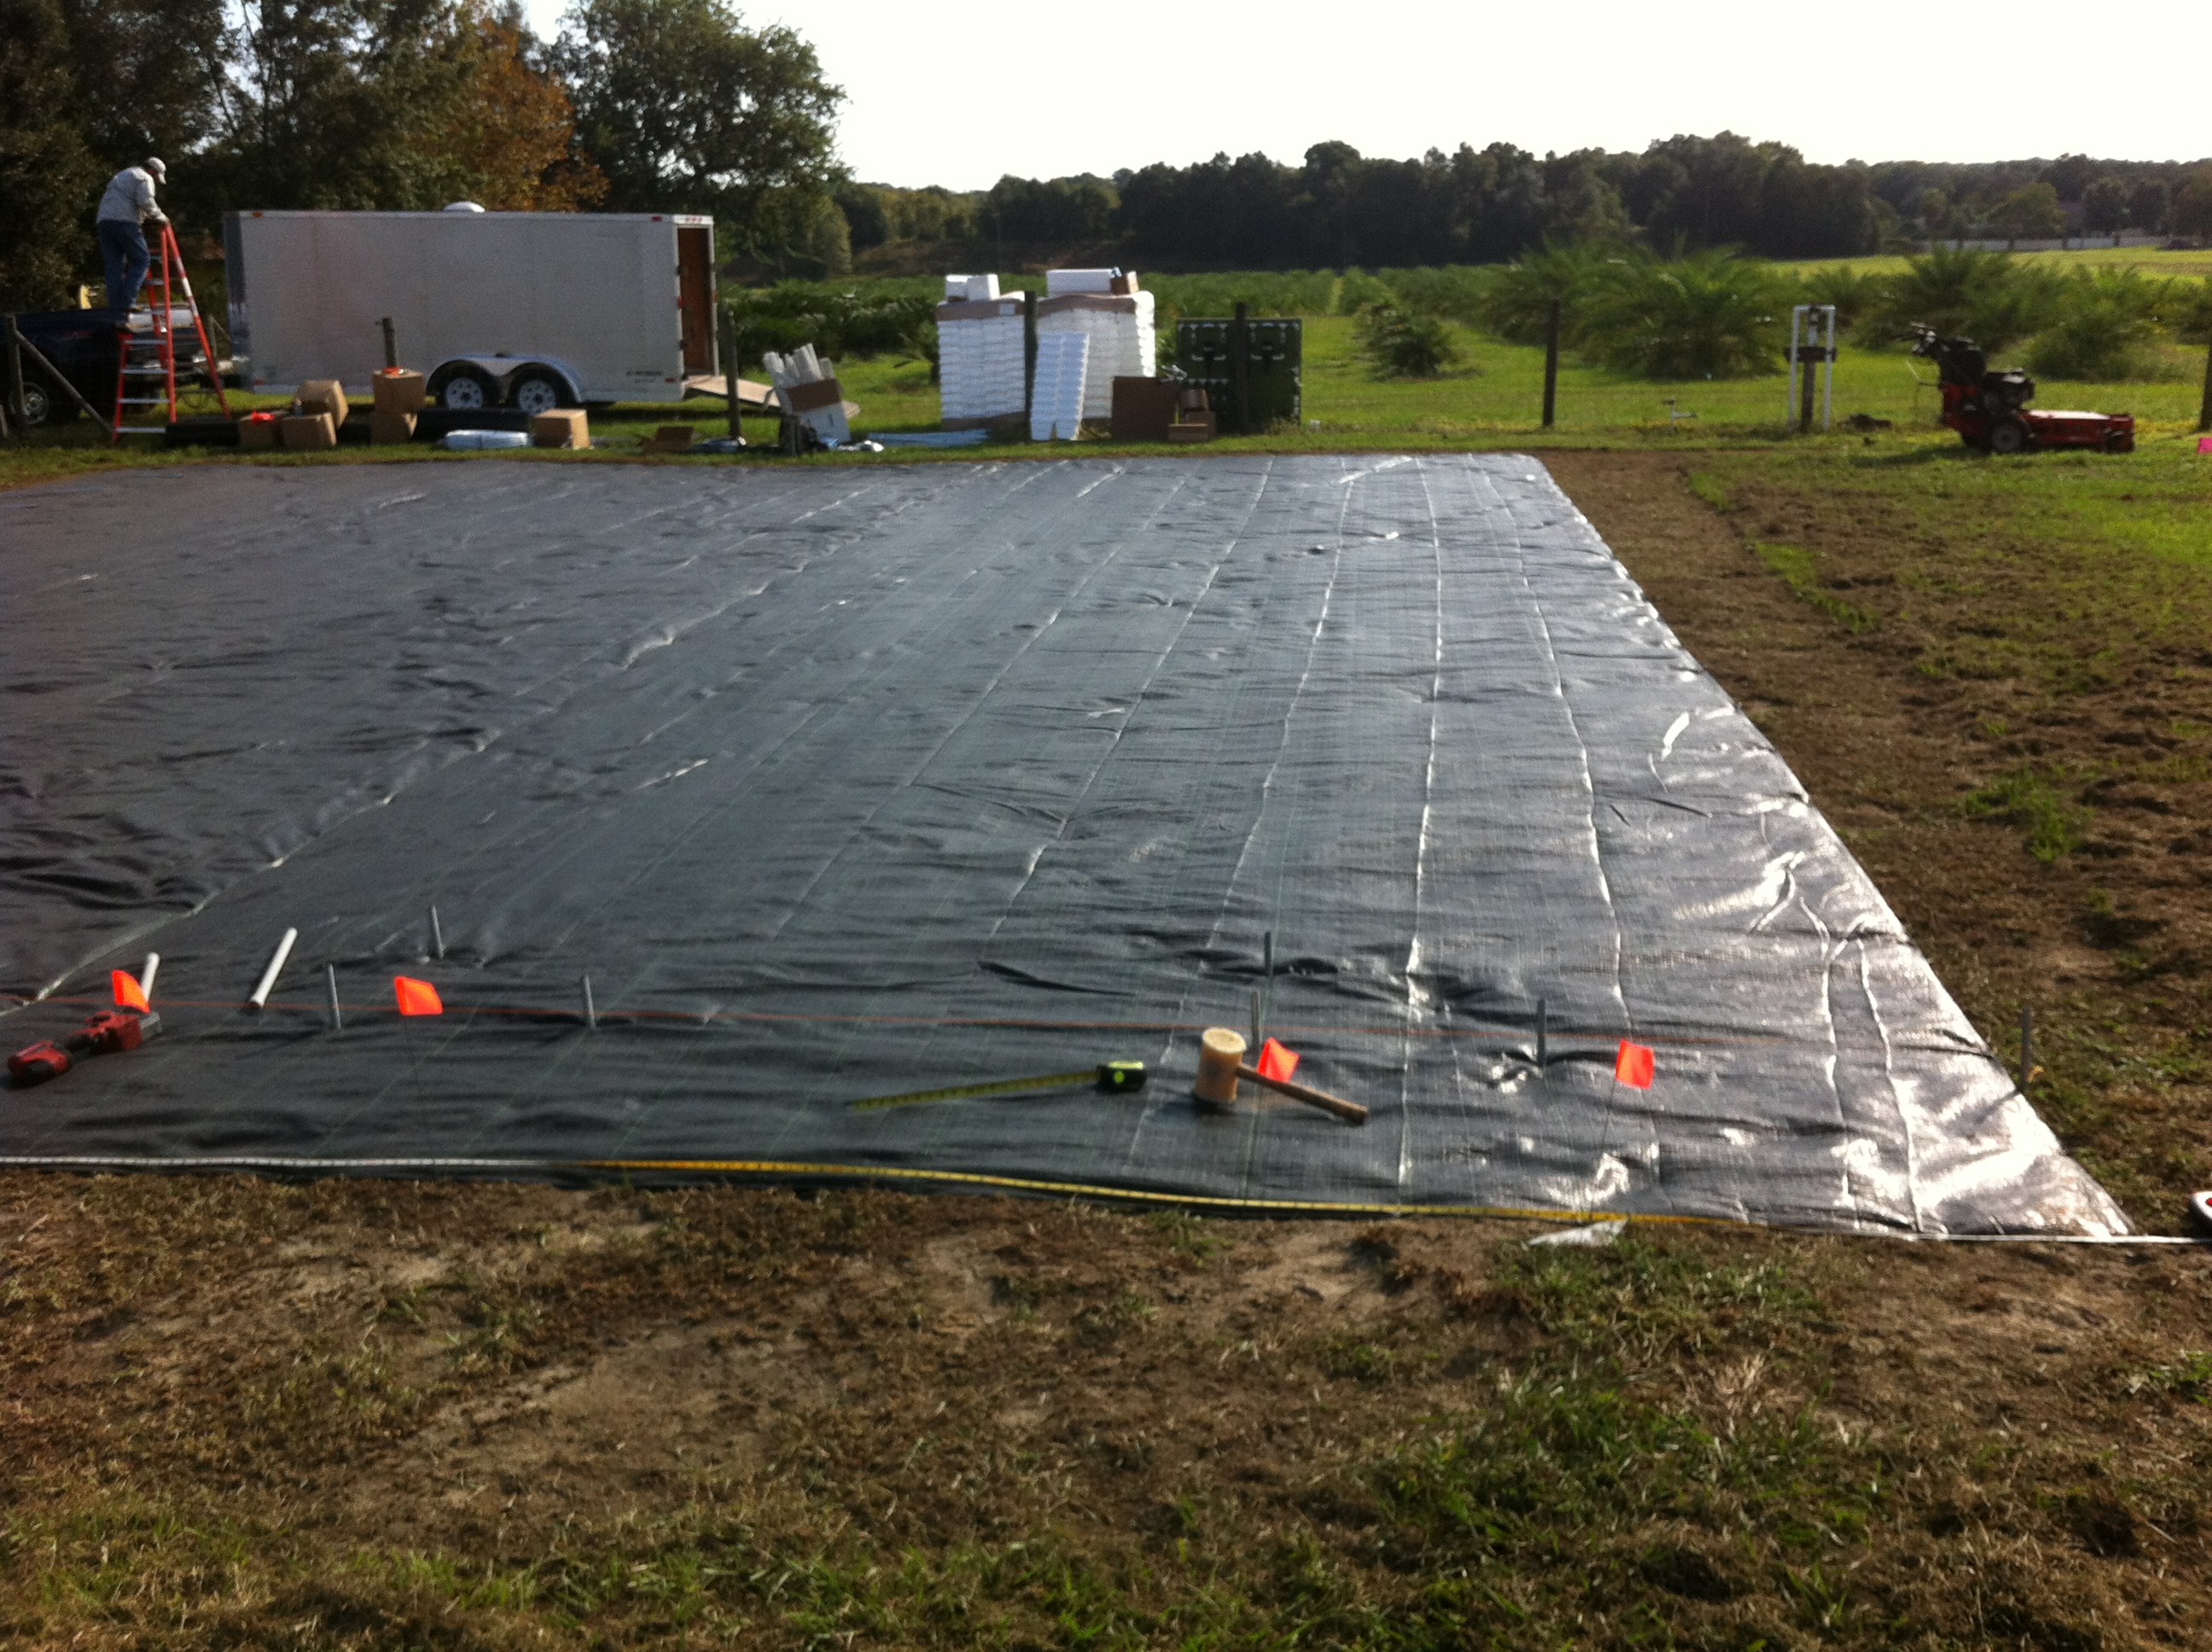
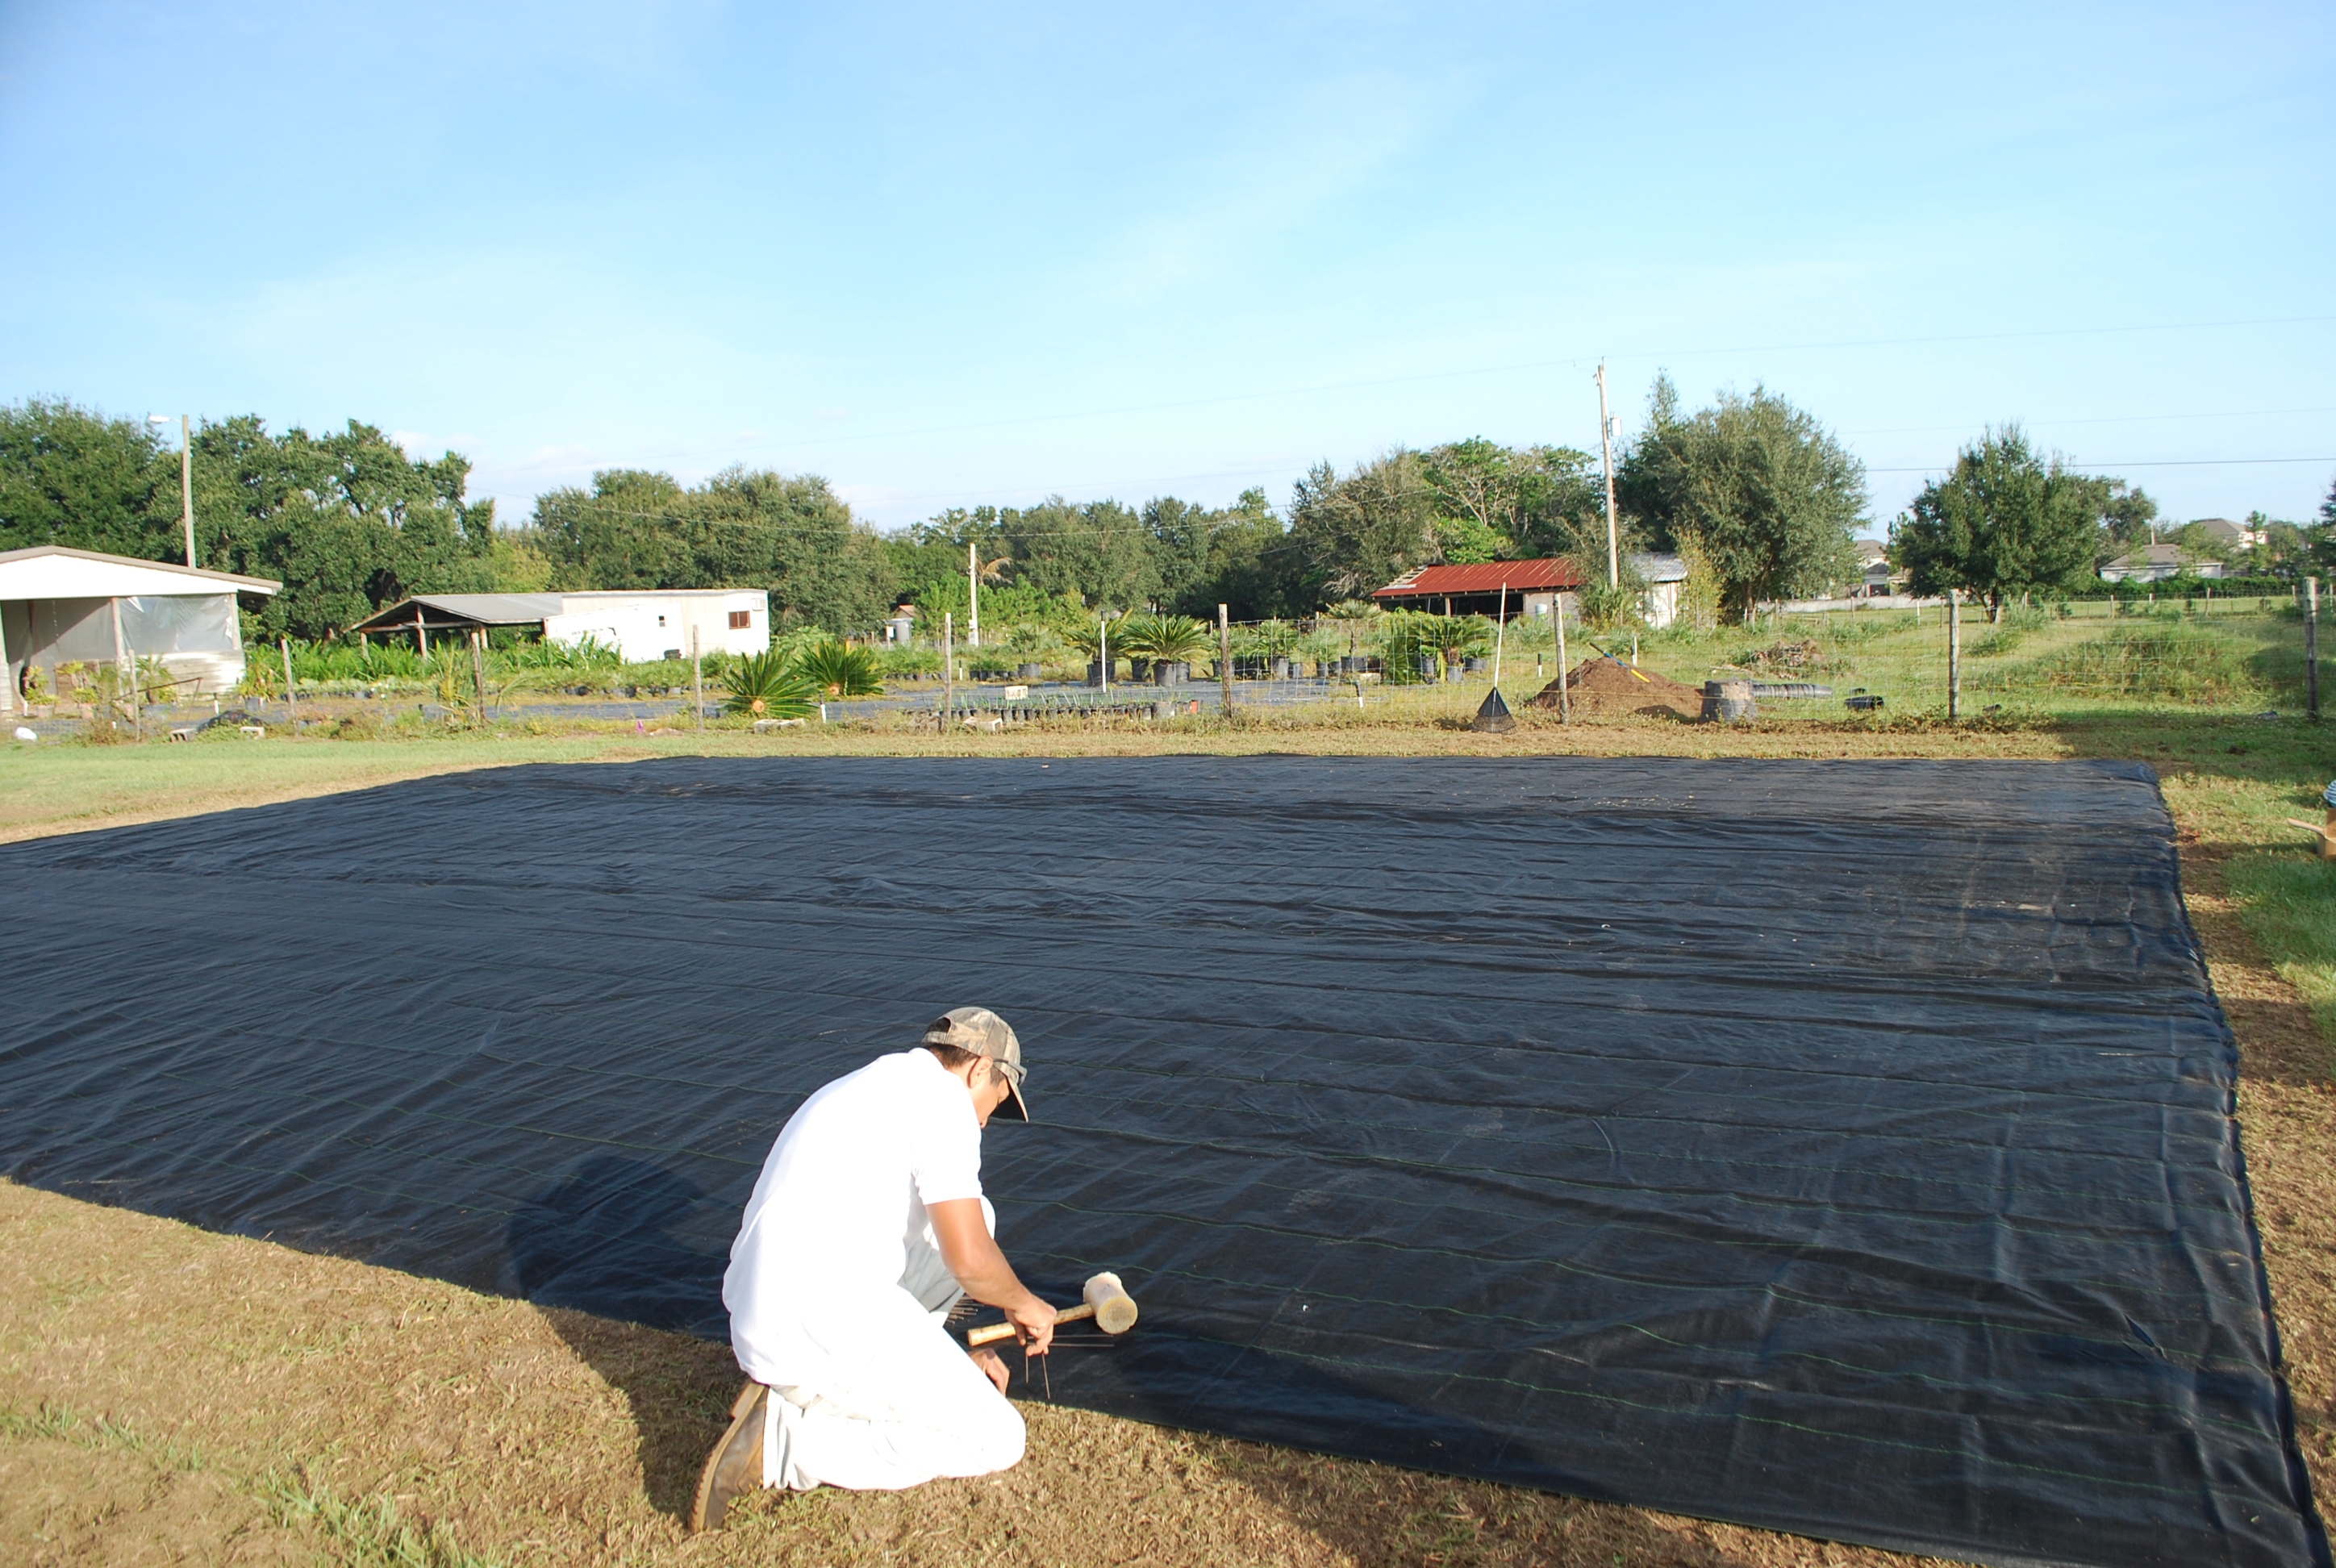 Finishing up the final and third ground cover. A rubber mallet like the one shown in the picture is used for pounding in the staples.
Notice the orange flags along the end of the ground cover? These flags are going to be our rows of hydroponic towers. Each flag set is two hydroponic rows of towers these are spaced 2 feet apart. Each zone is two flag sets (containing four rows of towers). Between each flag set is seven feet. This is easy to measure out and set up because on the ground cover cloth are lines that are one foot apart.
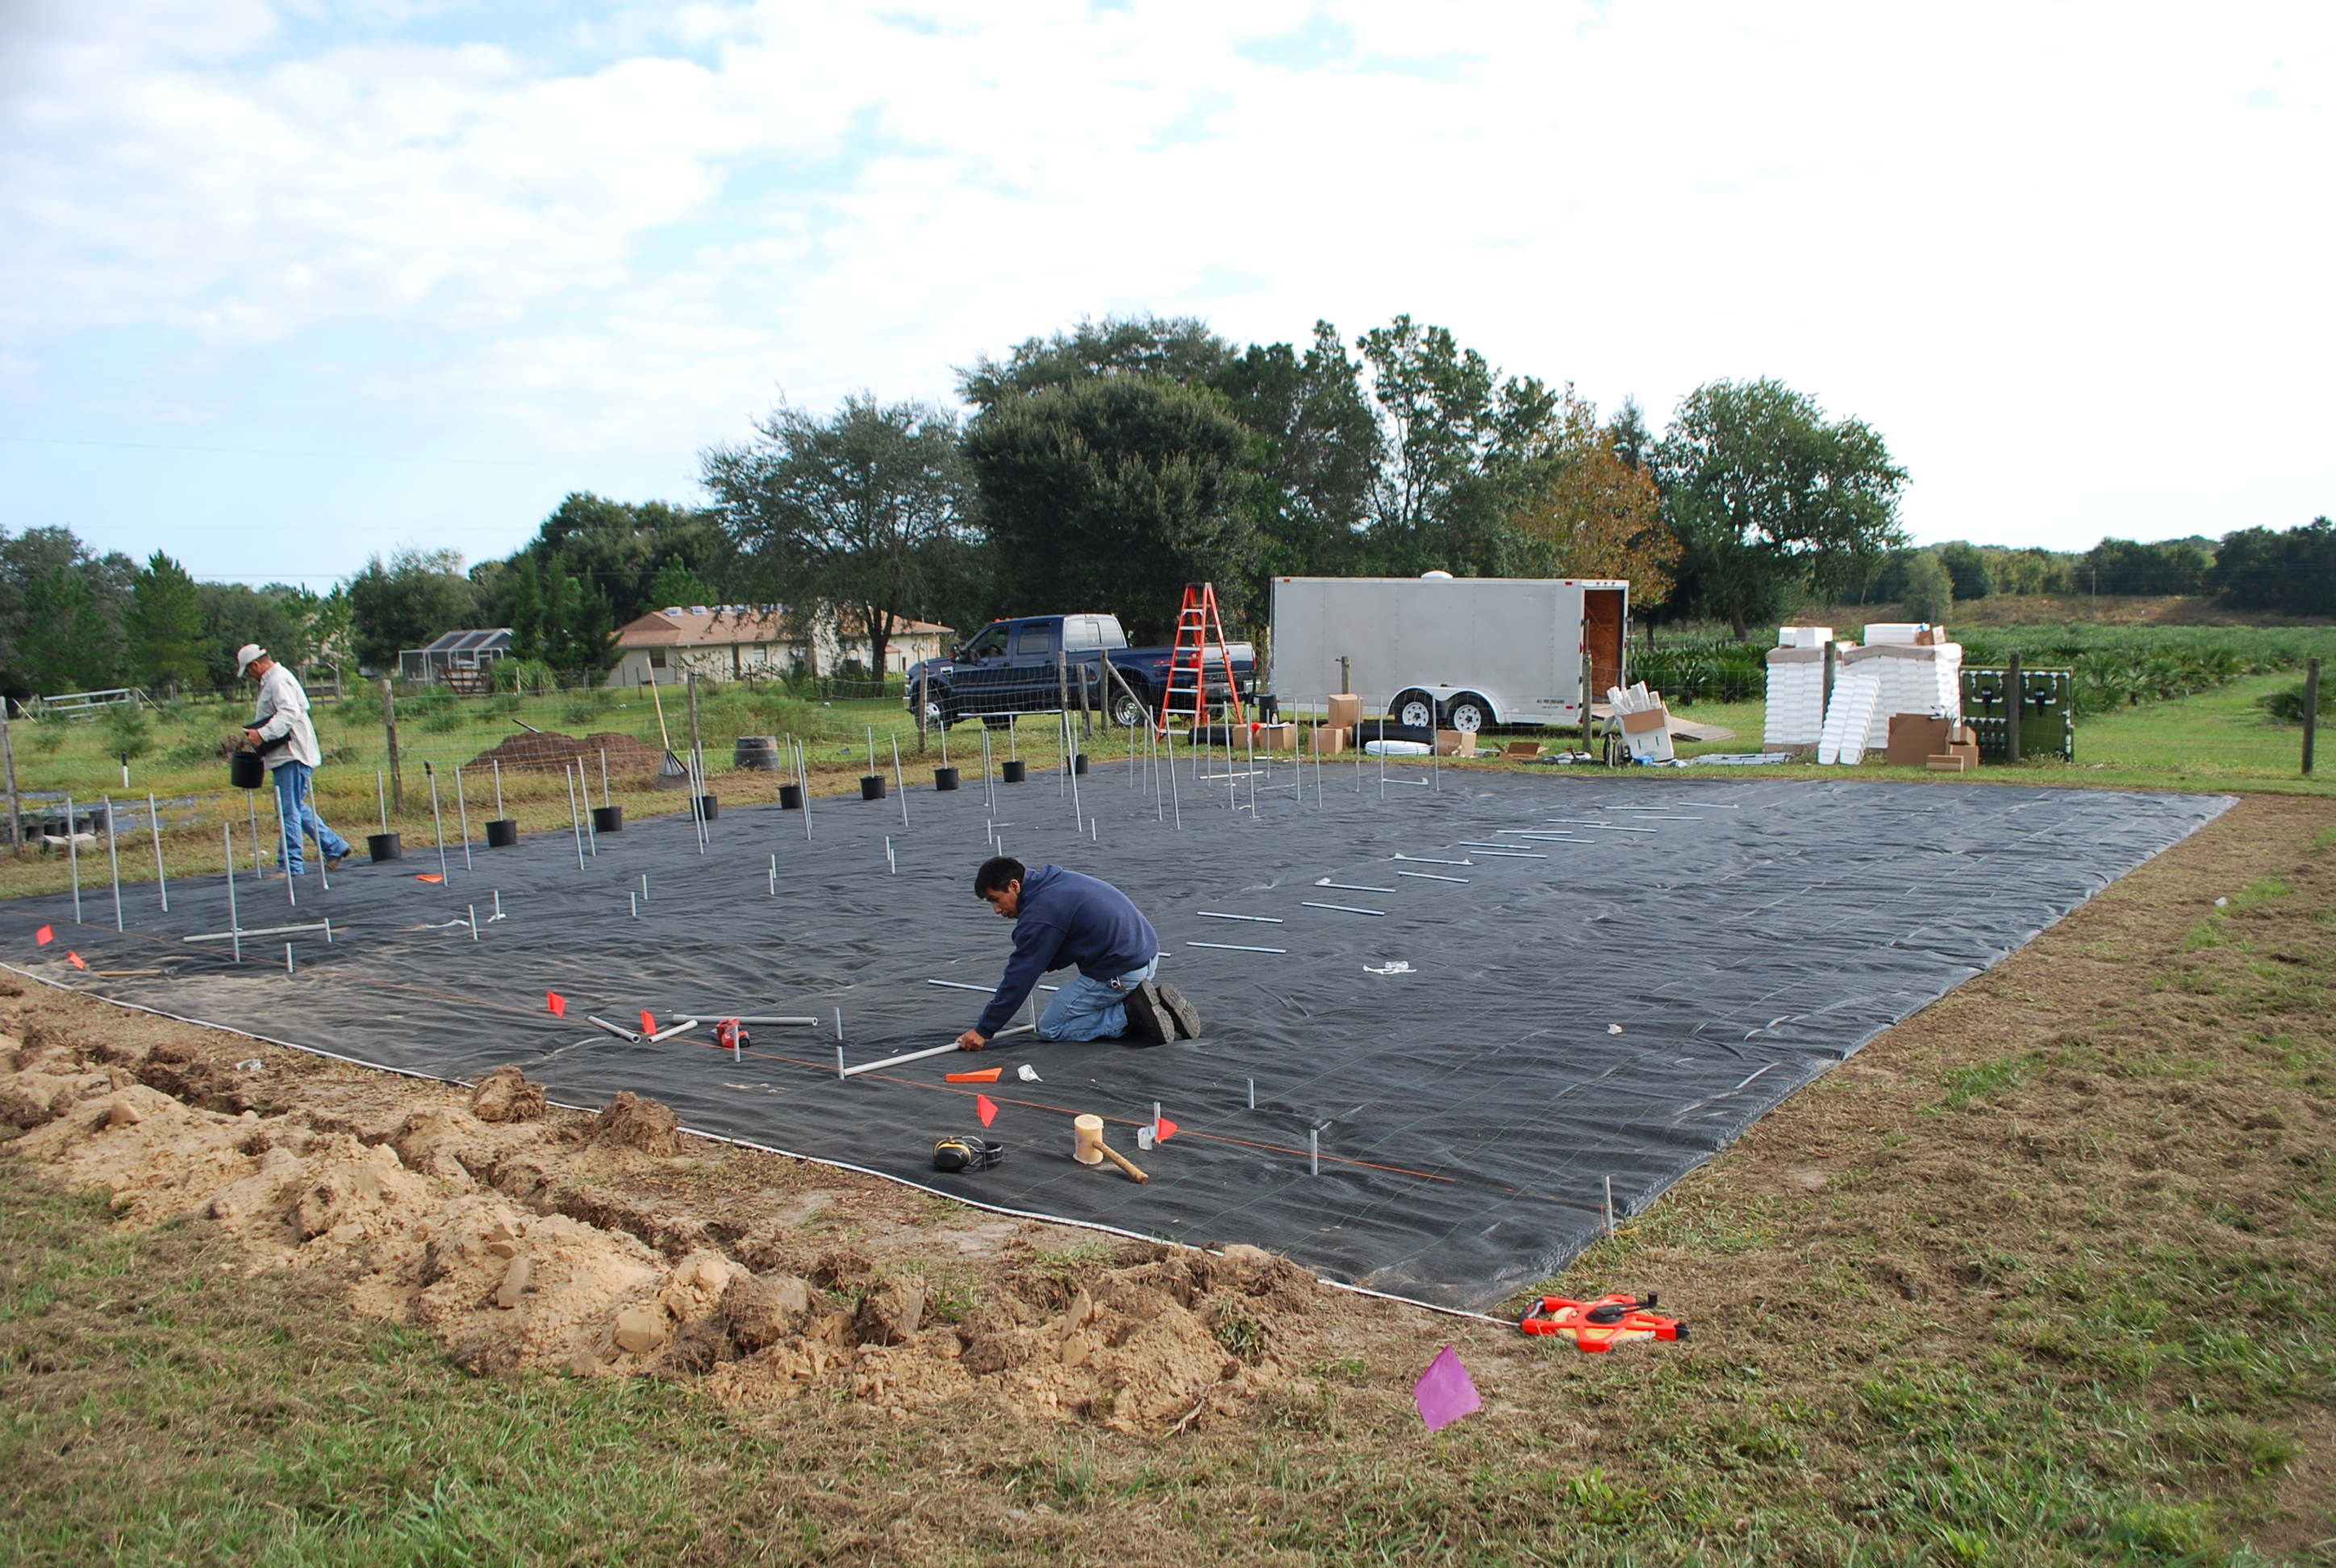
Pounding in the internal tower support pipe. These are driven into the ground approximately 1 foot.
This is what each set of rows will look like after you set up your initial tower support pipes.

After the initial internal support pipes are set up. Begin laying out the rest of the internal support pipes. These will be spaced 42 inches apart and will follow the lines on the ground cover to ensure that they are in a straight line. It is extremely important during this step that all of these are leveled because if they are not then your towers will be crooked and not stand straight.

After your internal support pipes are driven into the ground you will install the outside support pipe. The outside support pipe is in two pieces. You install the first by placing over the internal support pipe then drive into the ground as well. Make sure that use use the driver tool to avoid damaging the pipe because if you damage the pipe the swaged end will not fit into the support pipe.
 Continue laying out the internal support pipes. Begin putting ground pots on the outside tower support pipes. After the ground pot is installed, install the swaged end of the outside support pipe.
Install the riser pipe and the flat plastic piece to hold the towers up. After these two pieces are installed you can begin putting the vertigro pots onto the towers.
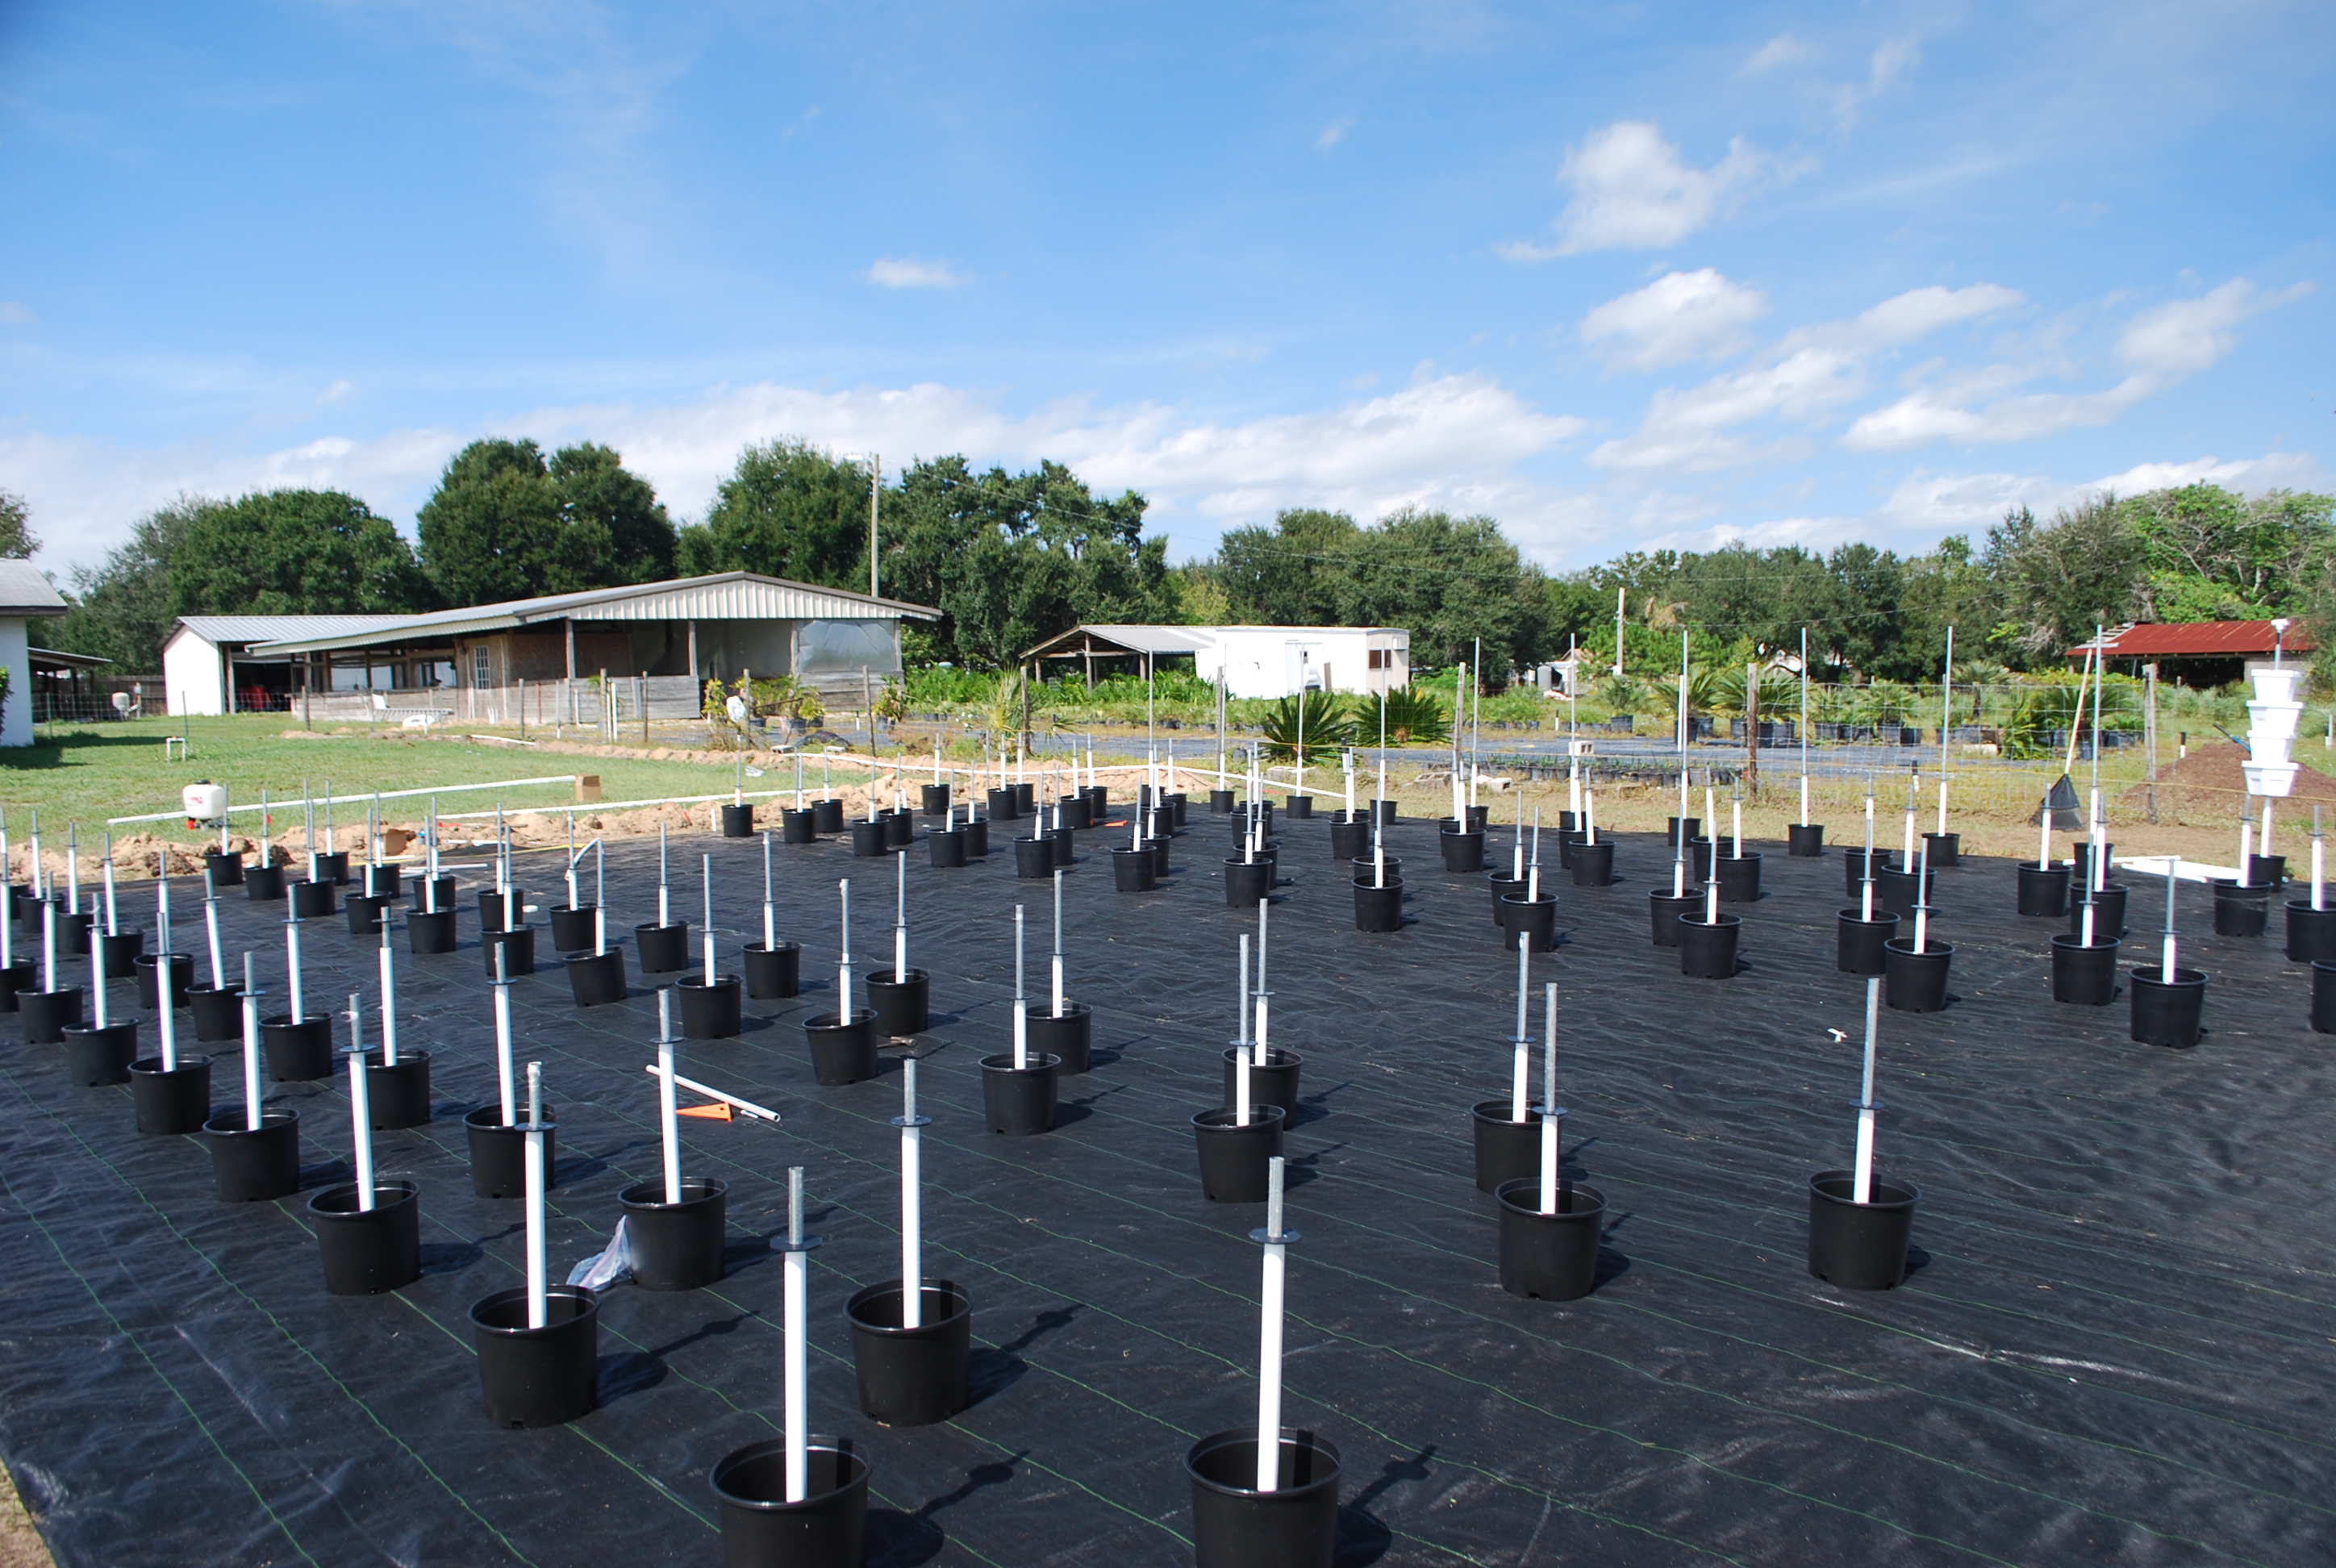 Picture of all the ground pots with risers installed. Ready for swaged end support pipe to be installed and pots to be installed.

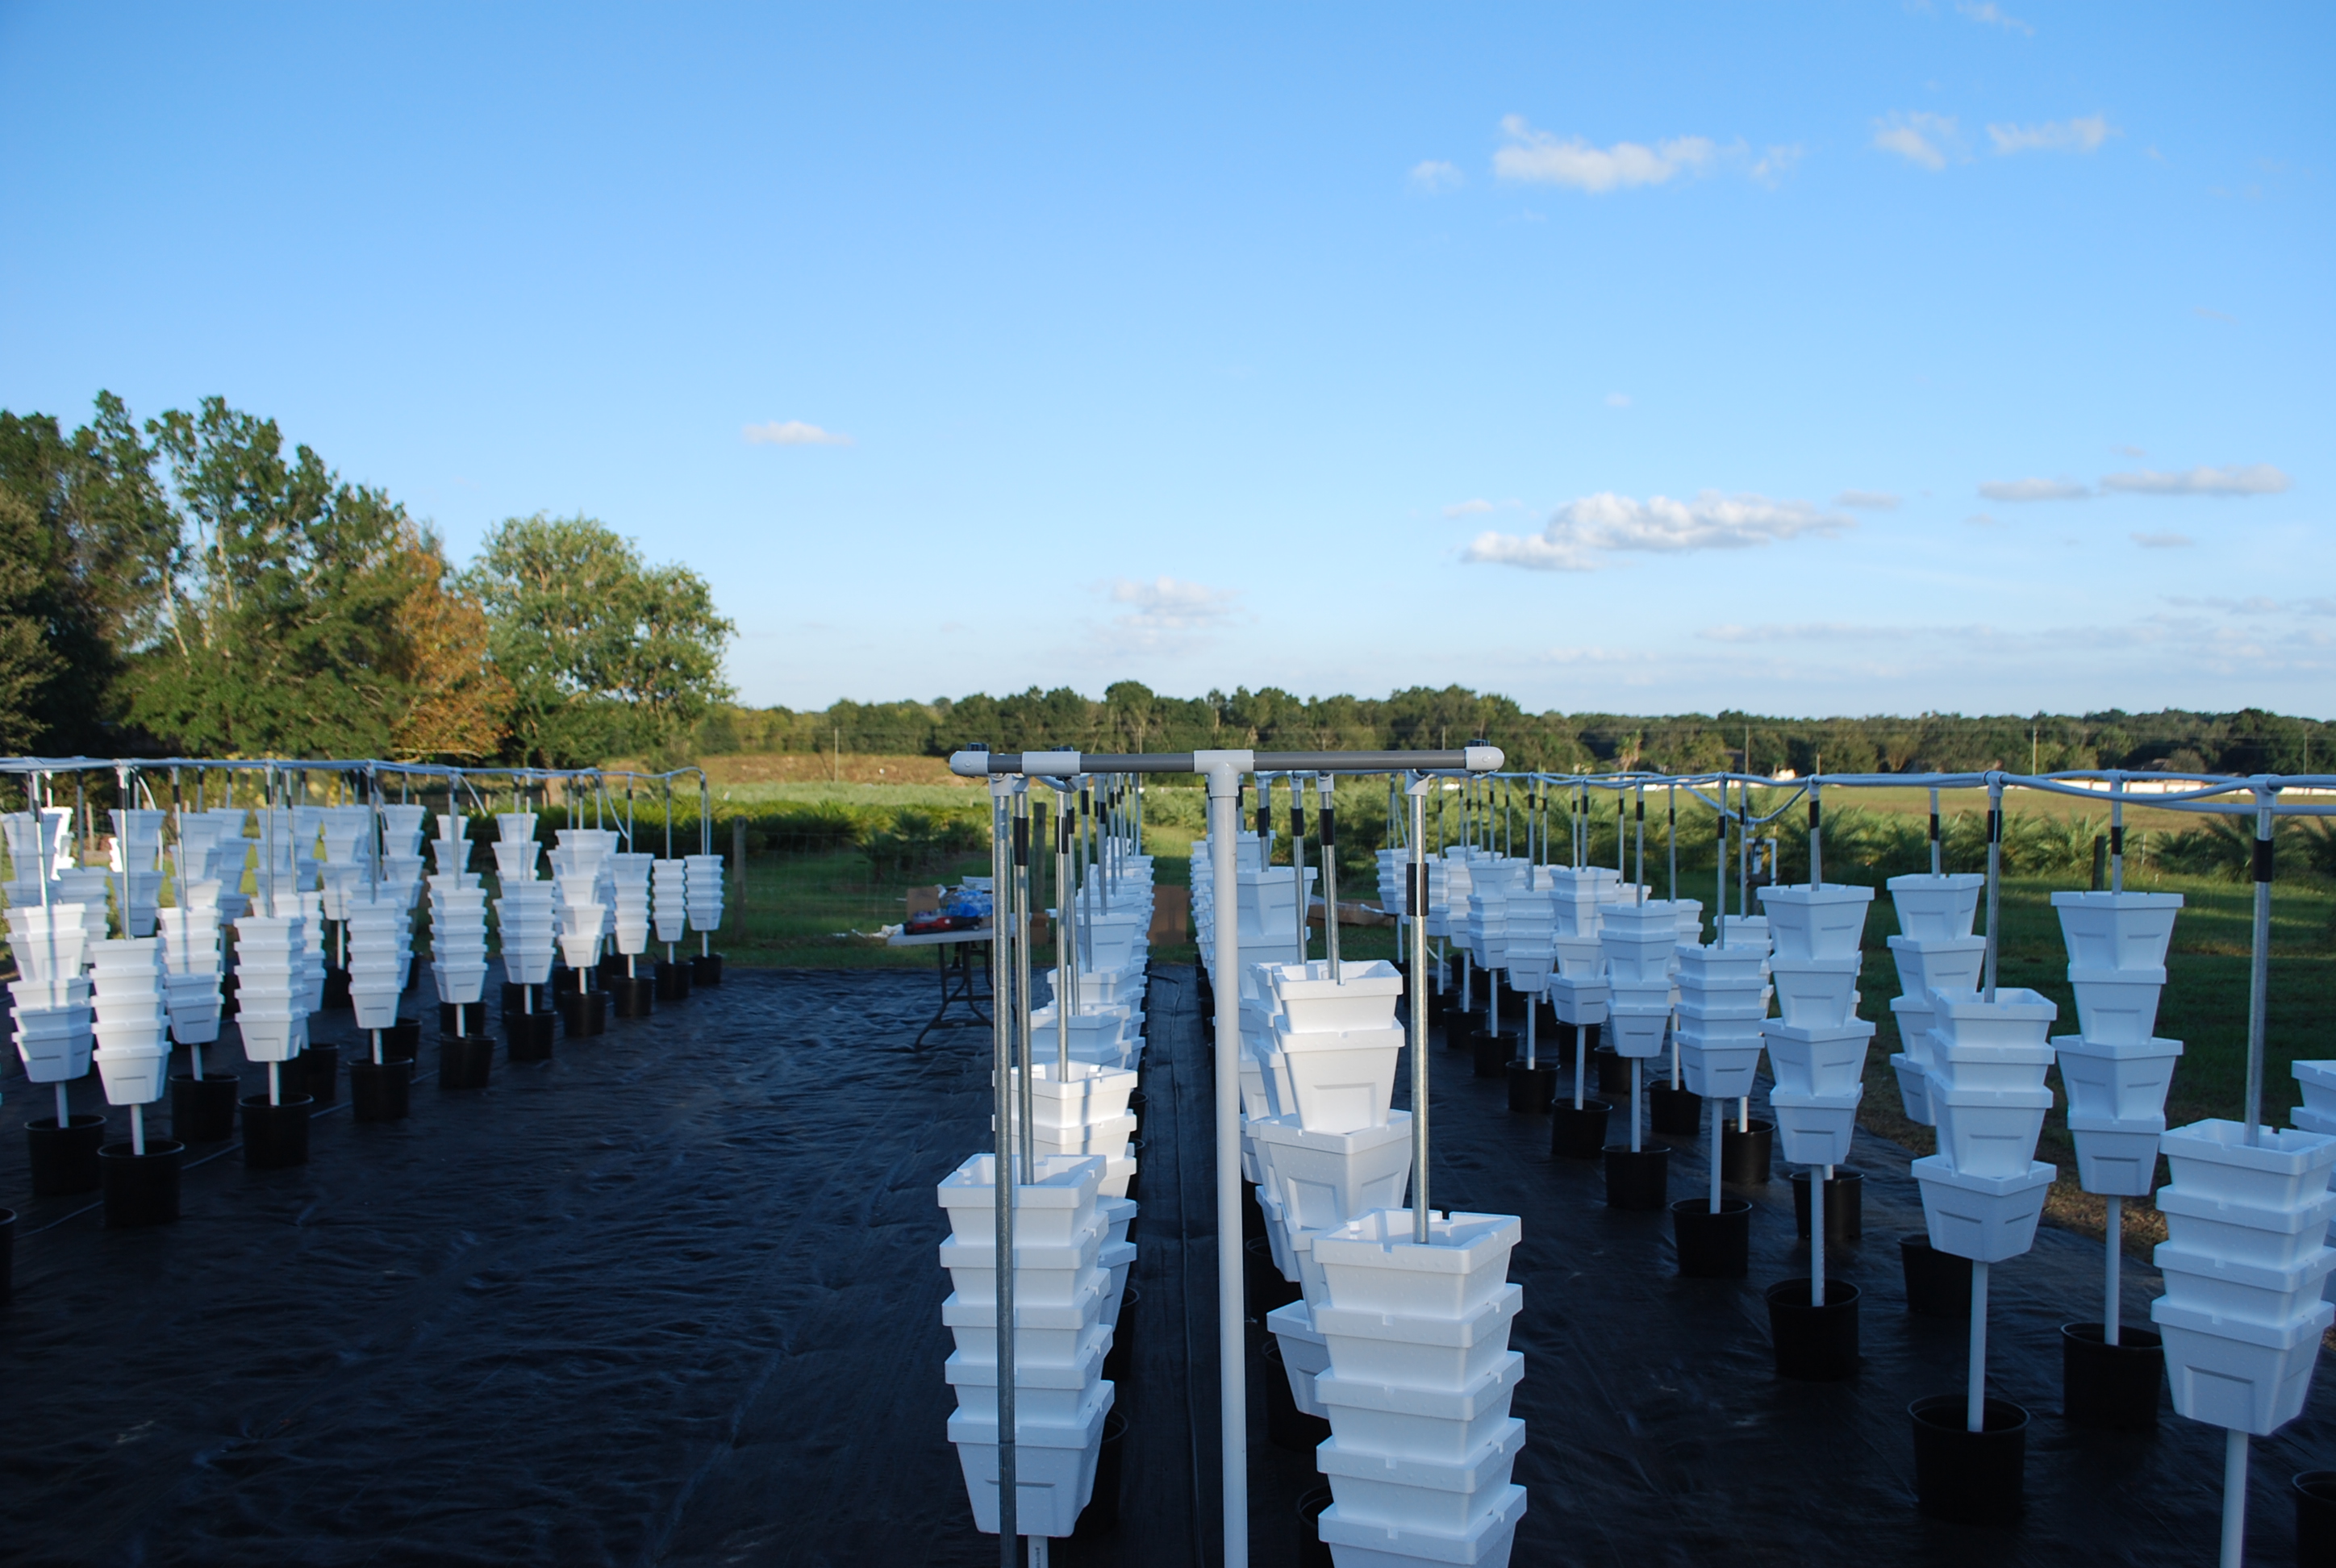
 Vertigro pots installed!

Install the T's onto the tops of the towers. After this run the pipe through the T's. Leave some extra at the ends.
Connect the pipes running through the T's to the pipe that comes from the injector board.

All of the pipes connected to the nutrient supply lines.
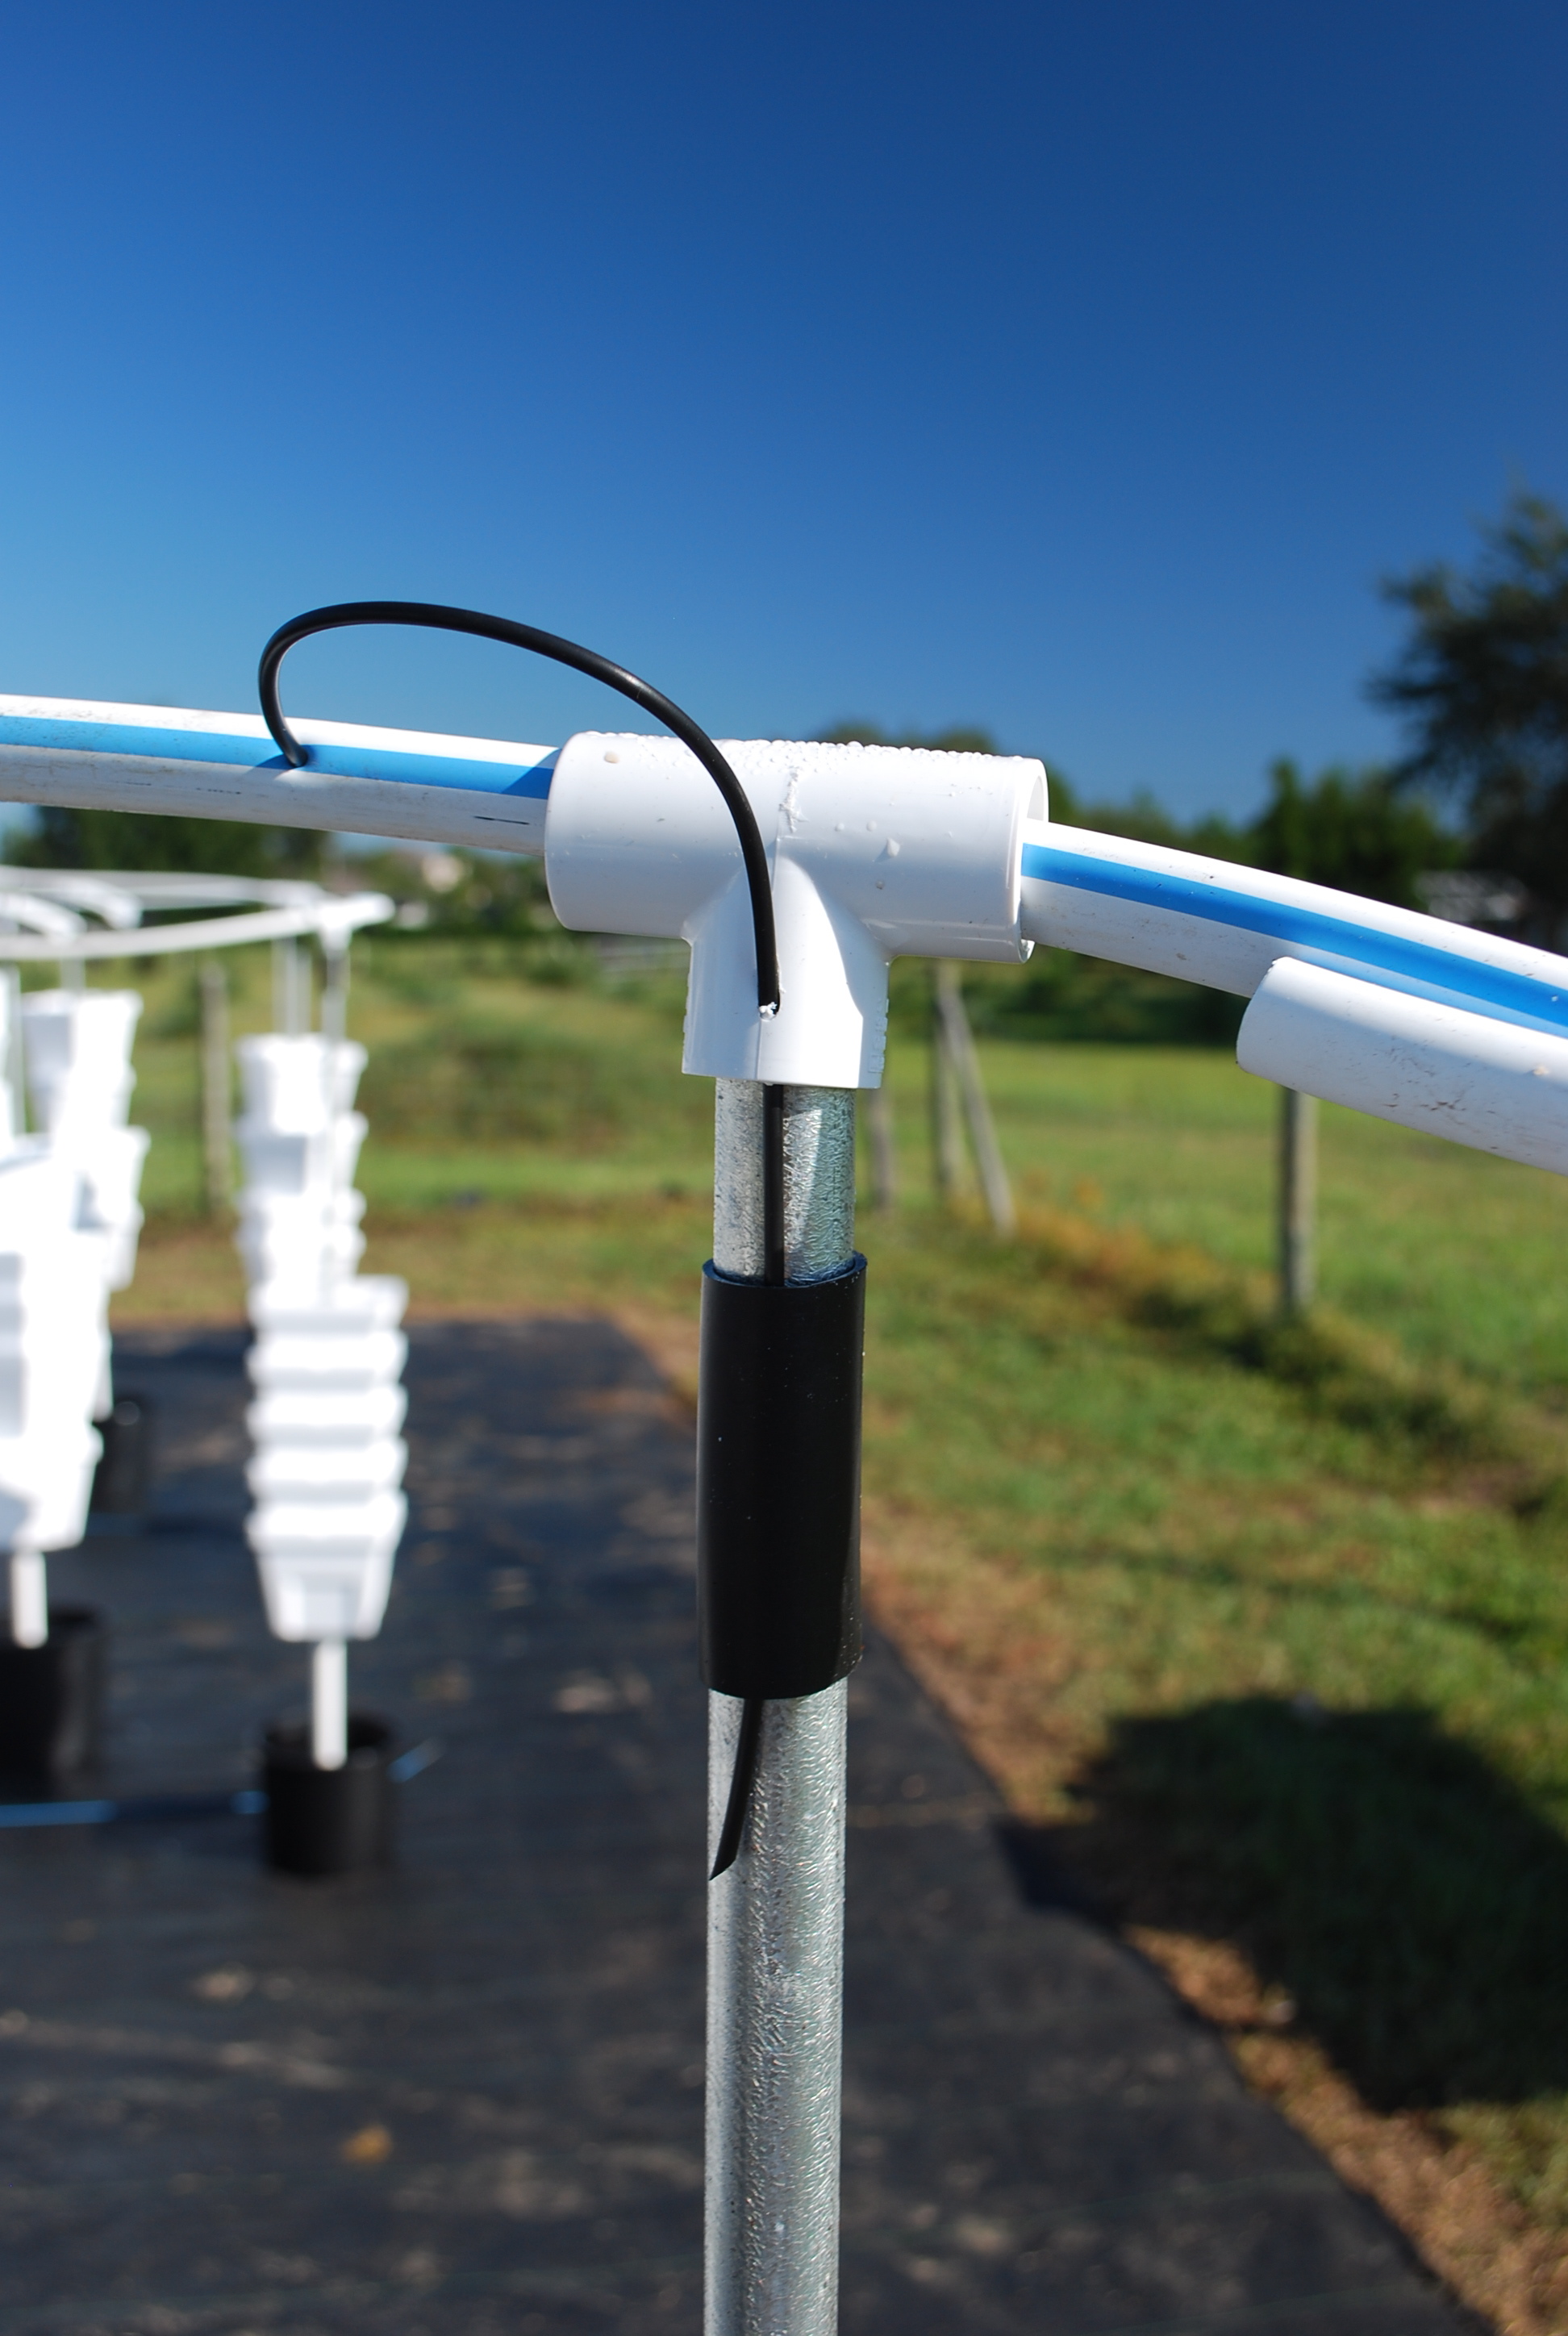
Install the distribution line to the nutrient supply line.

Picture of the towers filled with media and strawberry plants installed. Misting overhead to keep the plants cool. Absolutely beautiful!
Hope you enjoyed the install of our system. If you would like to learn more about the operation of the farm, how to identify bugs, etc. Please sign up for our farm education package!